Planting tomatoes correctly is important to get off to the best possible start. Follow this simple process to ensure healthy plants and large harvests of delicious homegrown tomatoes.
Supplies
First take a moment to gather up everything you need for the job.
- Shovel or digging fork
- Transplants
- Compost
- Fertilizer
- Garden stake and Sharpie
- Mulch
- Tomato cage
- Water hose
Process
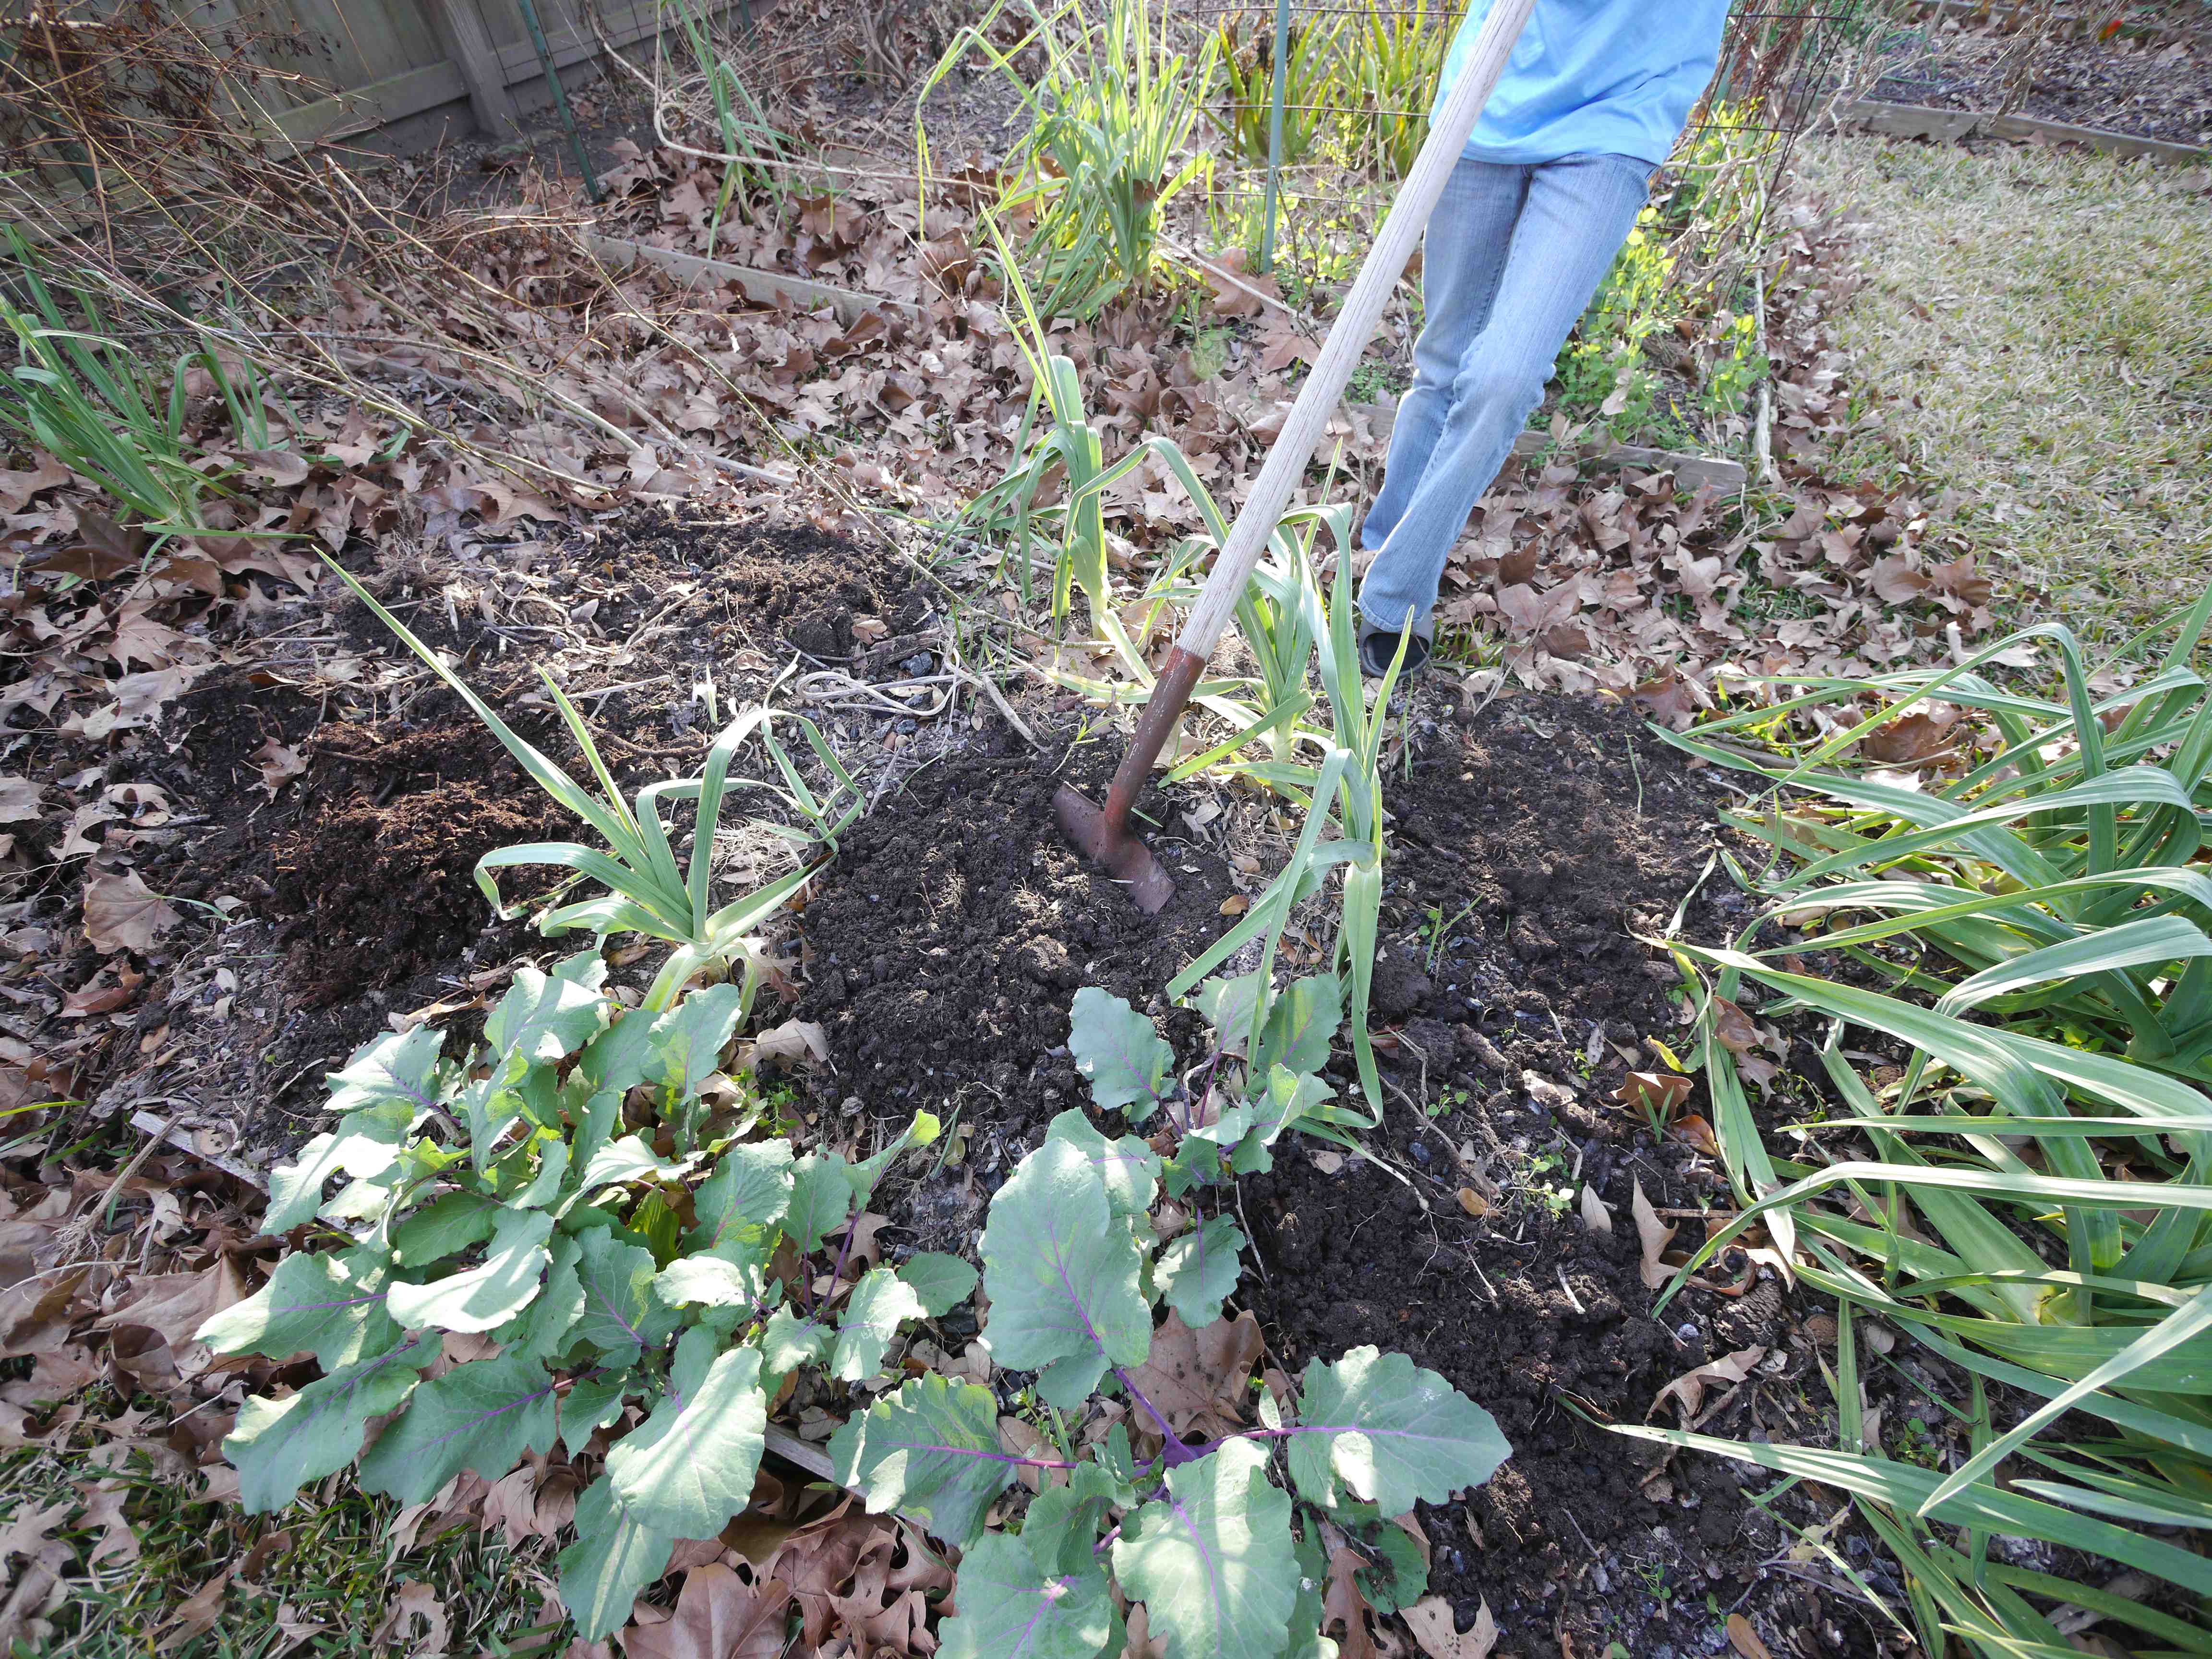
Start by using a shovel or digging fork to loosen up the soil where you will plant the tomato. Shoot for an area about 8-12″ deep and about 12″ in diameter. Here we are interplanting some tomatoes with volunteer garlic and extra kohlrabi transplants. Make sure to plant your tomatoes at least 24″ apart in all directions. It’s best to rotate locations within your garden as much as possible. Try to space the plants all around the garden, intermixed with other plants to make it more difficult for insects and disease to spread from plant to plant.
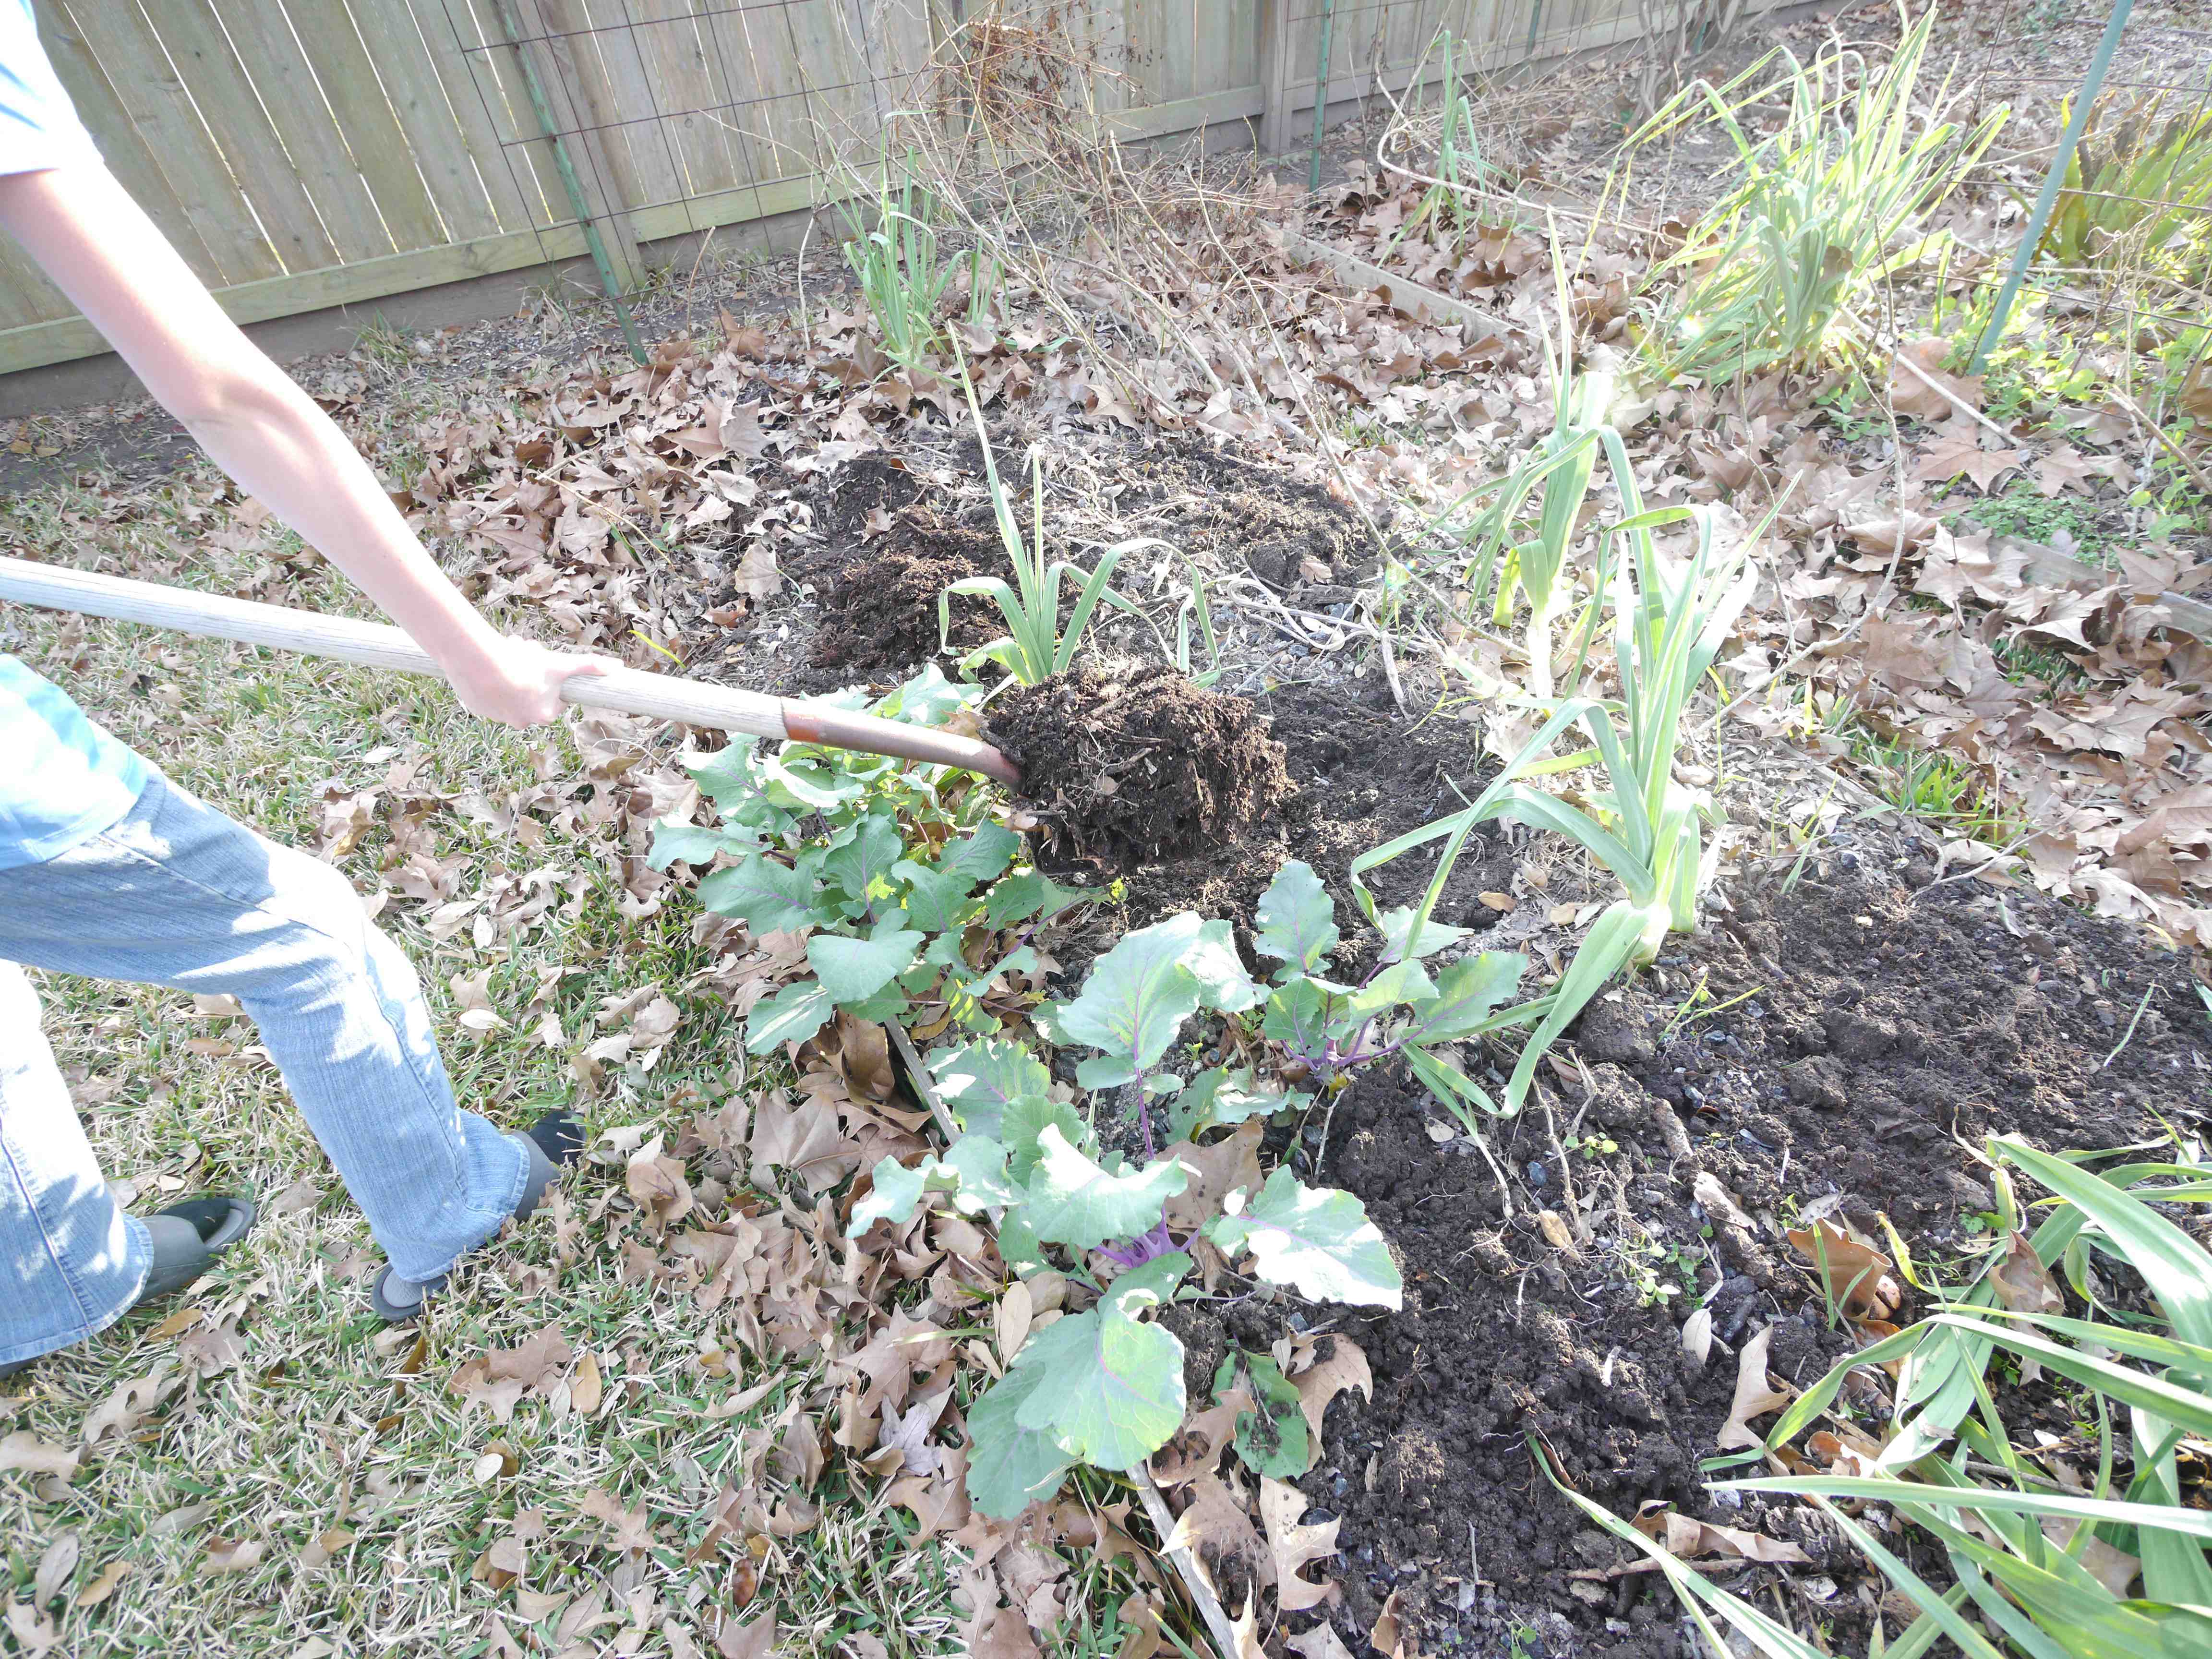
Add a shovel full of compost on top of the worked up area and mix in. This may be one of the most critical steps! Compost provides both fertilizer and organic matter that builds soil and helps grow healthy plants. Not sure how to make compost? Learn our process here –> https://www.harvestgardener.com/howto/composting/the-compost-pile/
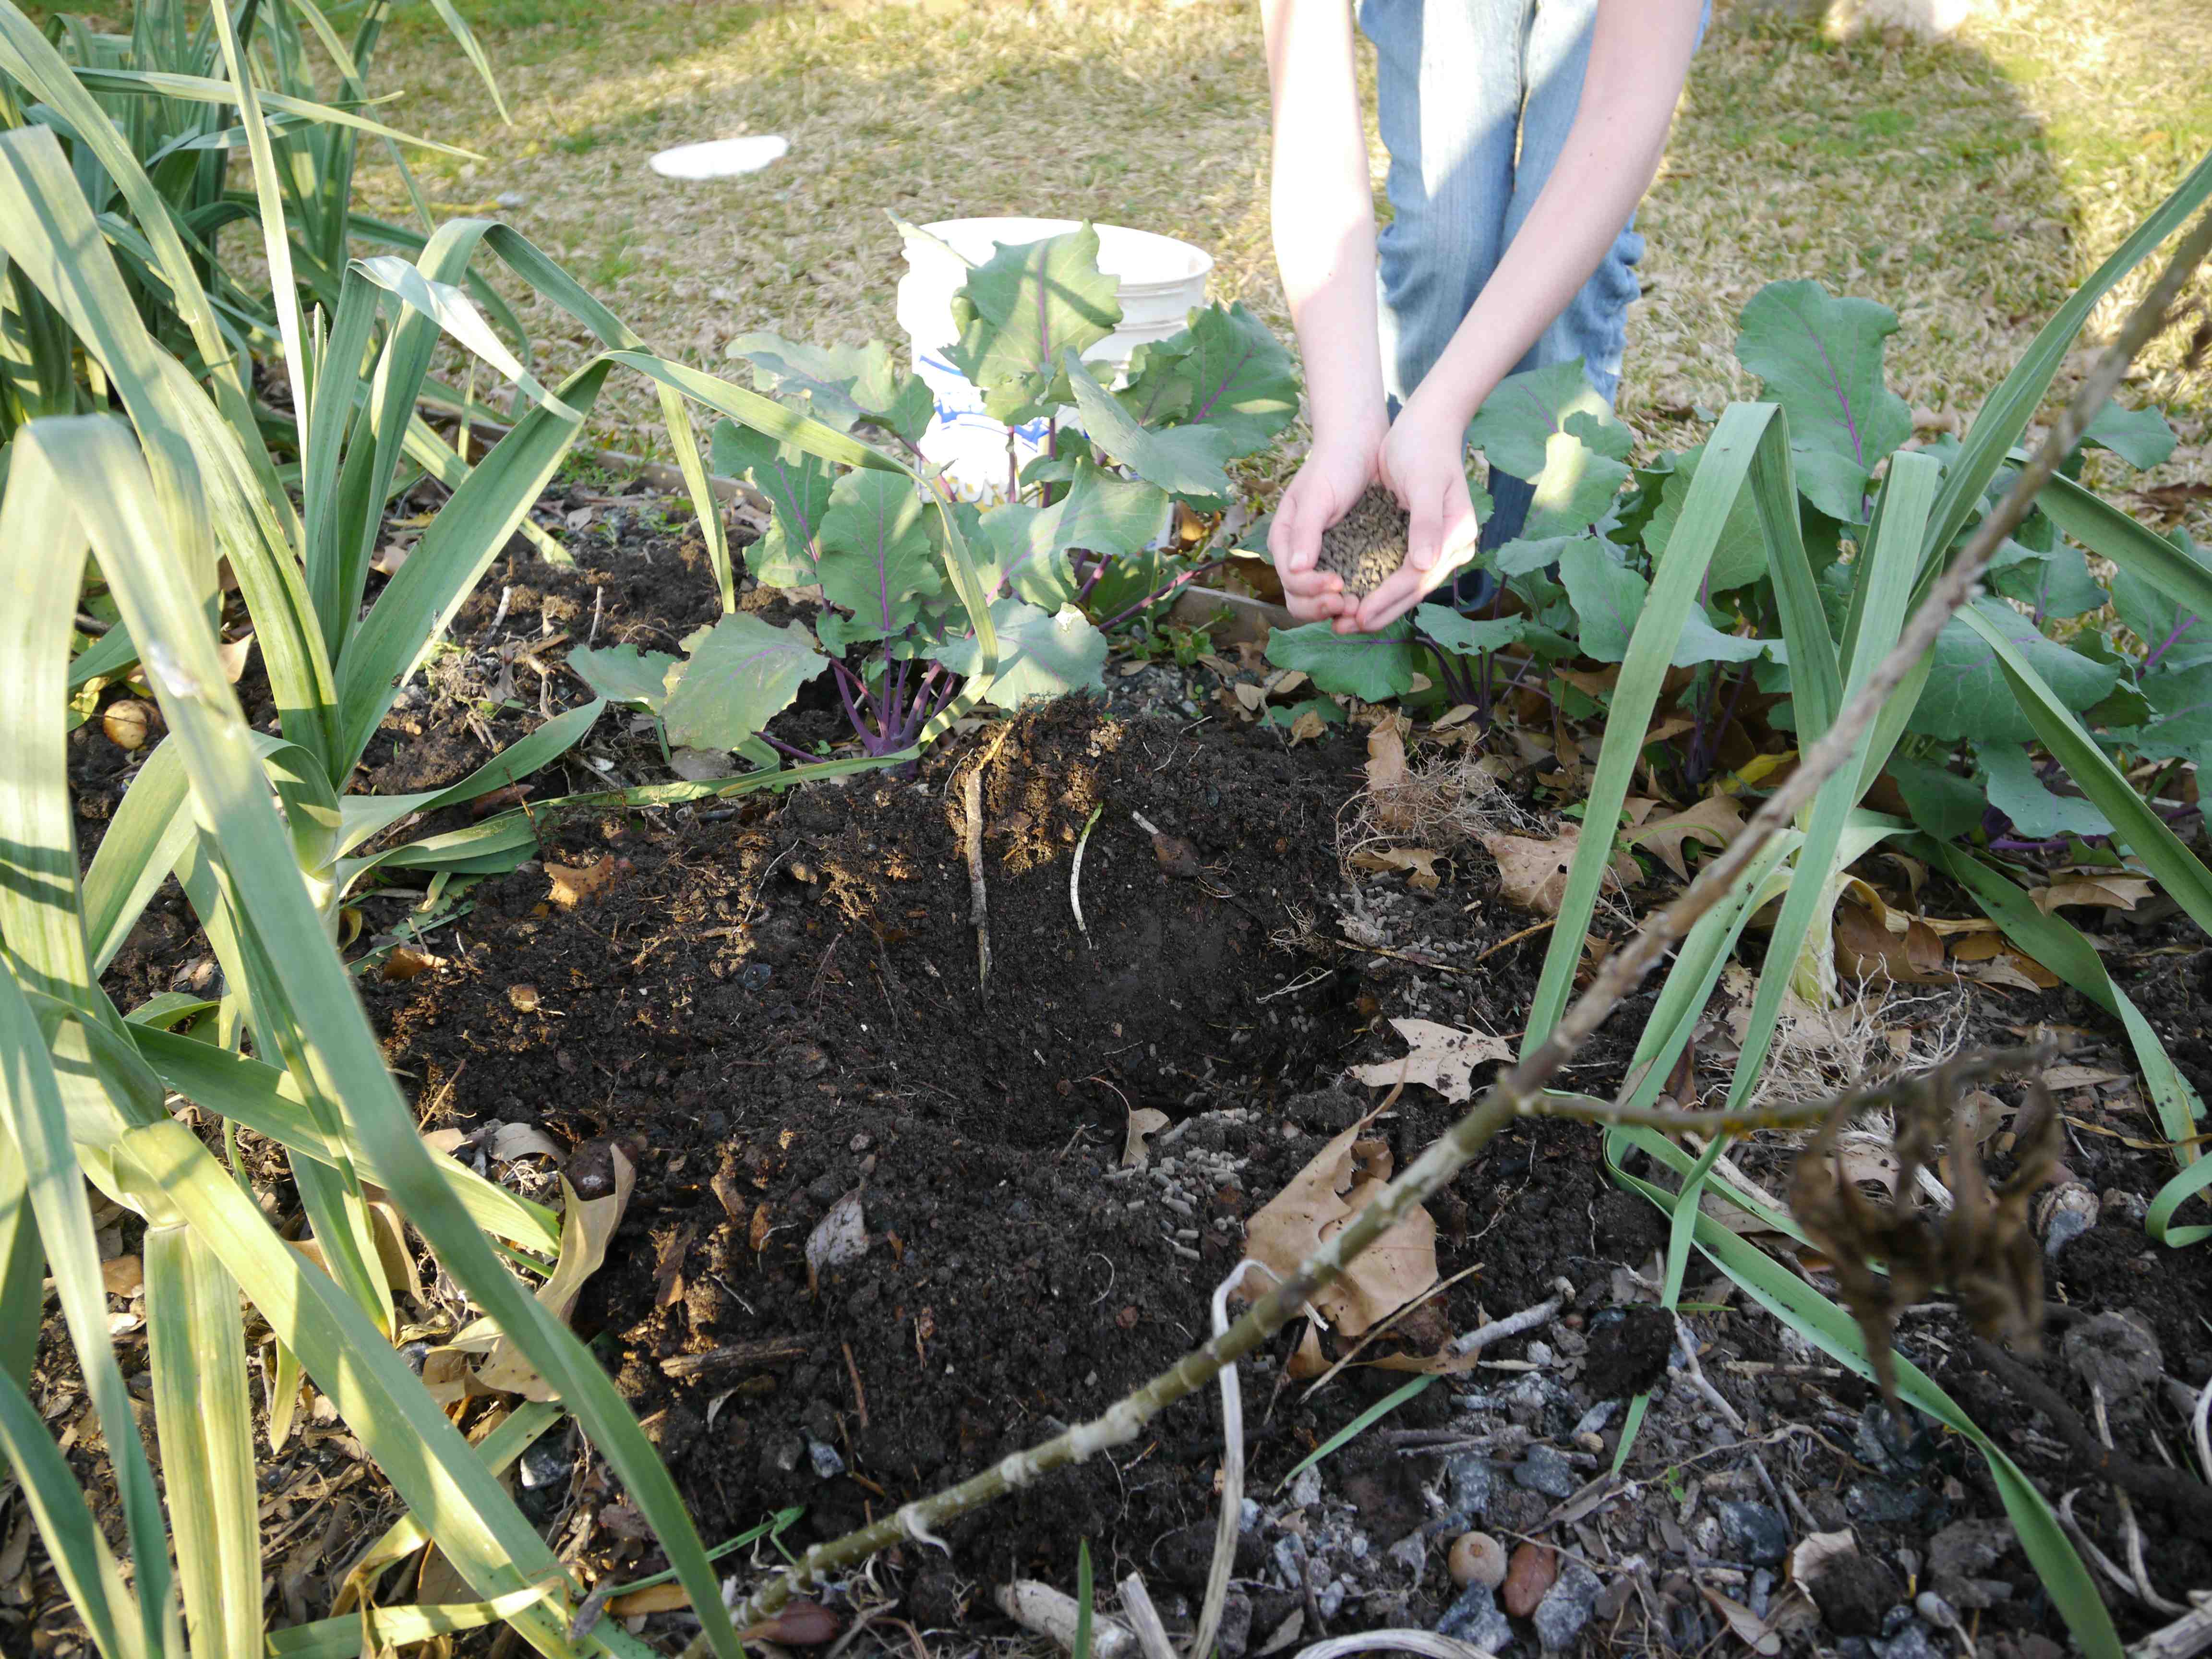
Add a handful of organic fertilizer. We use a granulated 6-2-4 slow-release organic fertilizer that does a great job. Sprinkle the fertilizer both in the hole as well as in the soil all around the hole that will go back in. Note that this is all the fertilizer that is needed until you see the first small green tomatoes, at which time you will add one more handful per plant. Too much fertilizer (specifically Nitrogen) will grow a huge plant with no tomatoes!
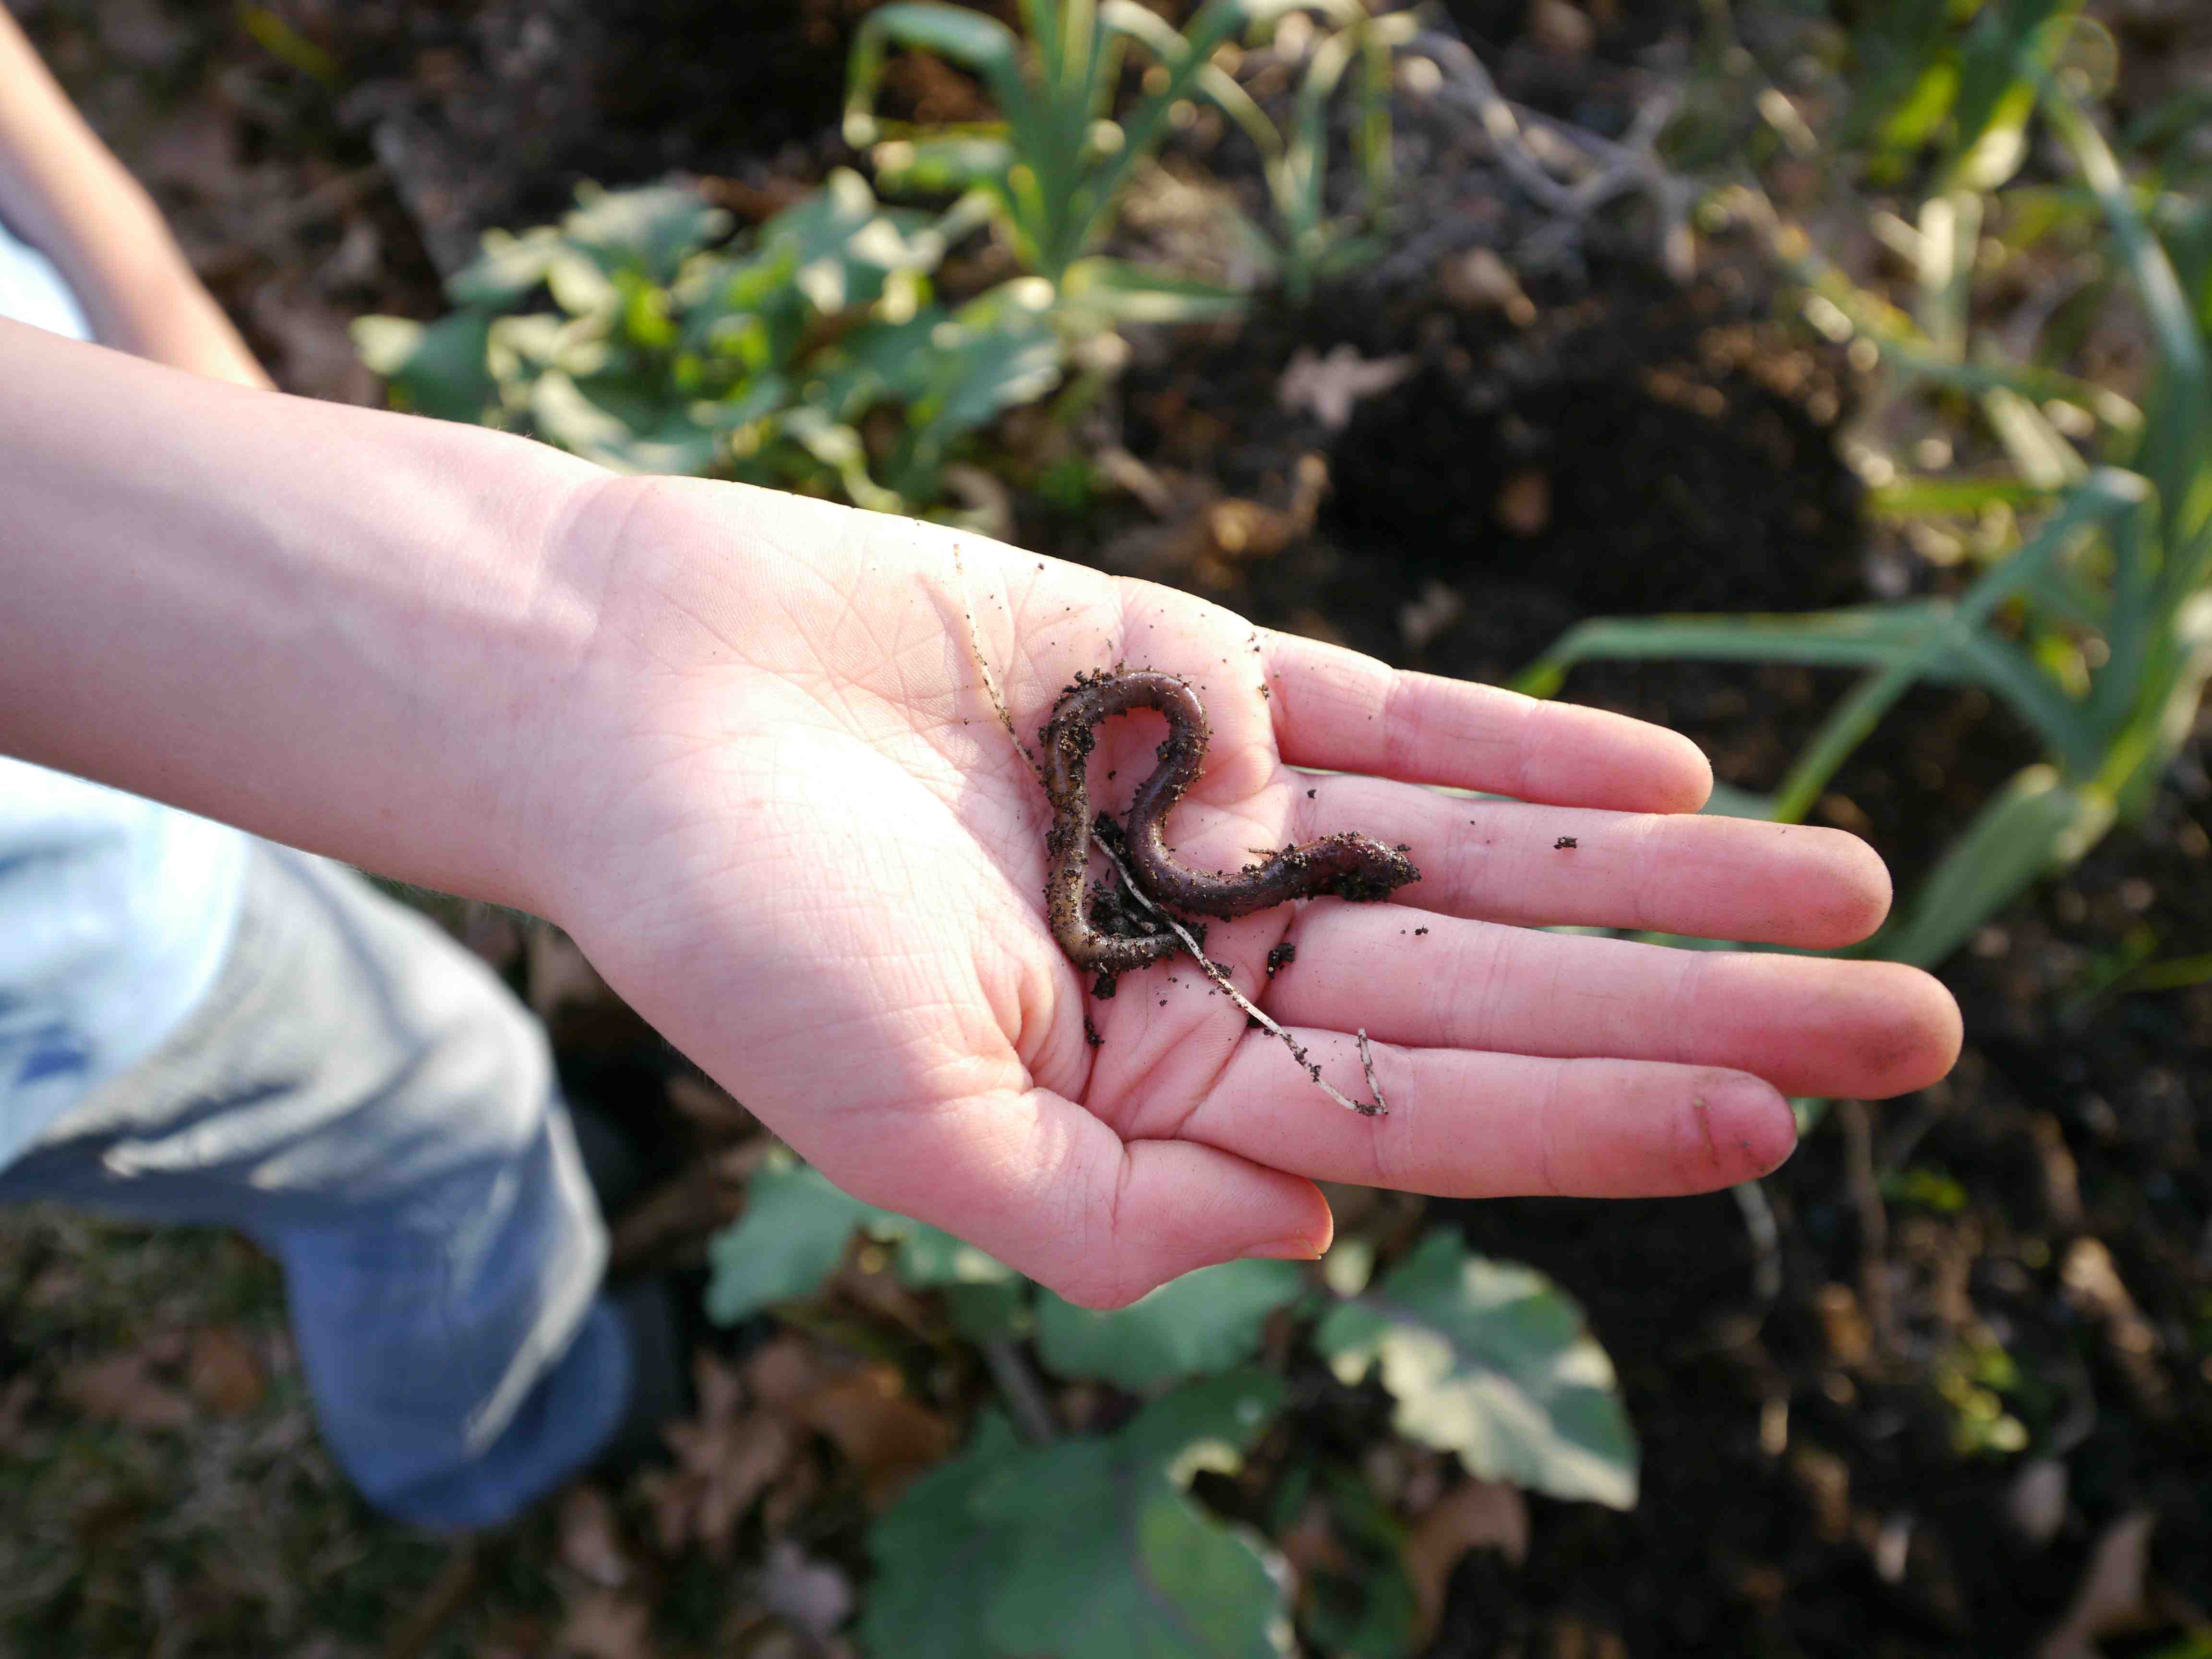
Take time to play with the earth worms. Note that if you don’t see earth worms while you are working in the garden, you need to be adding more compost and using more mulch. Earth worms are one of the most obvious indicators of a healthy living soil.
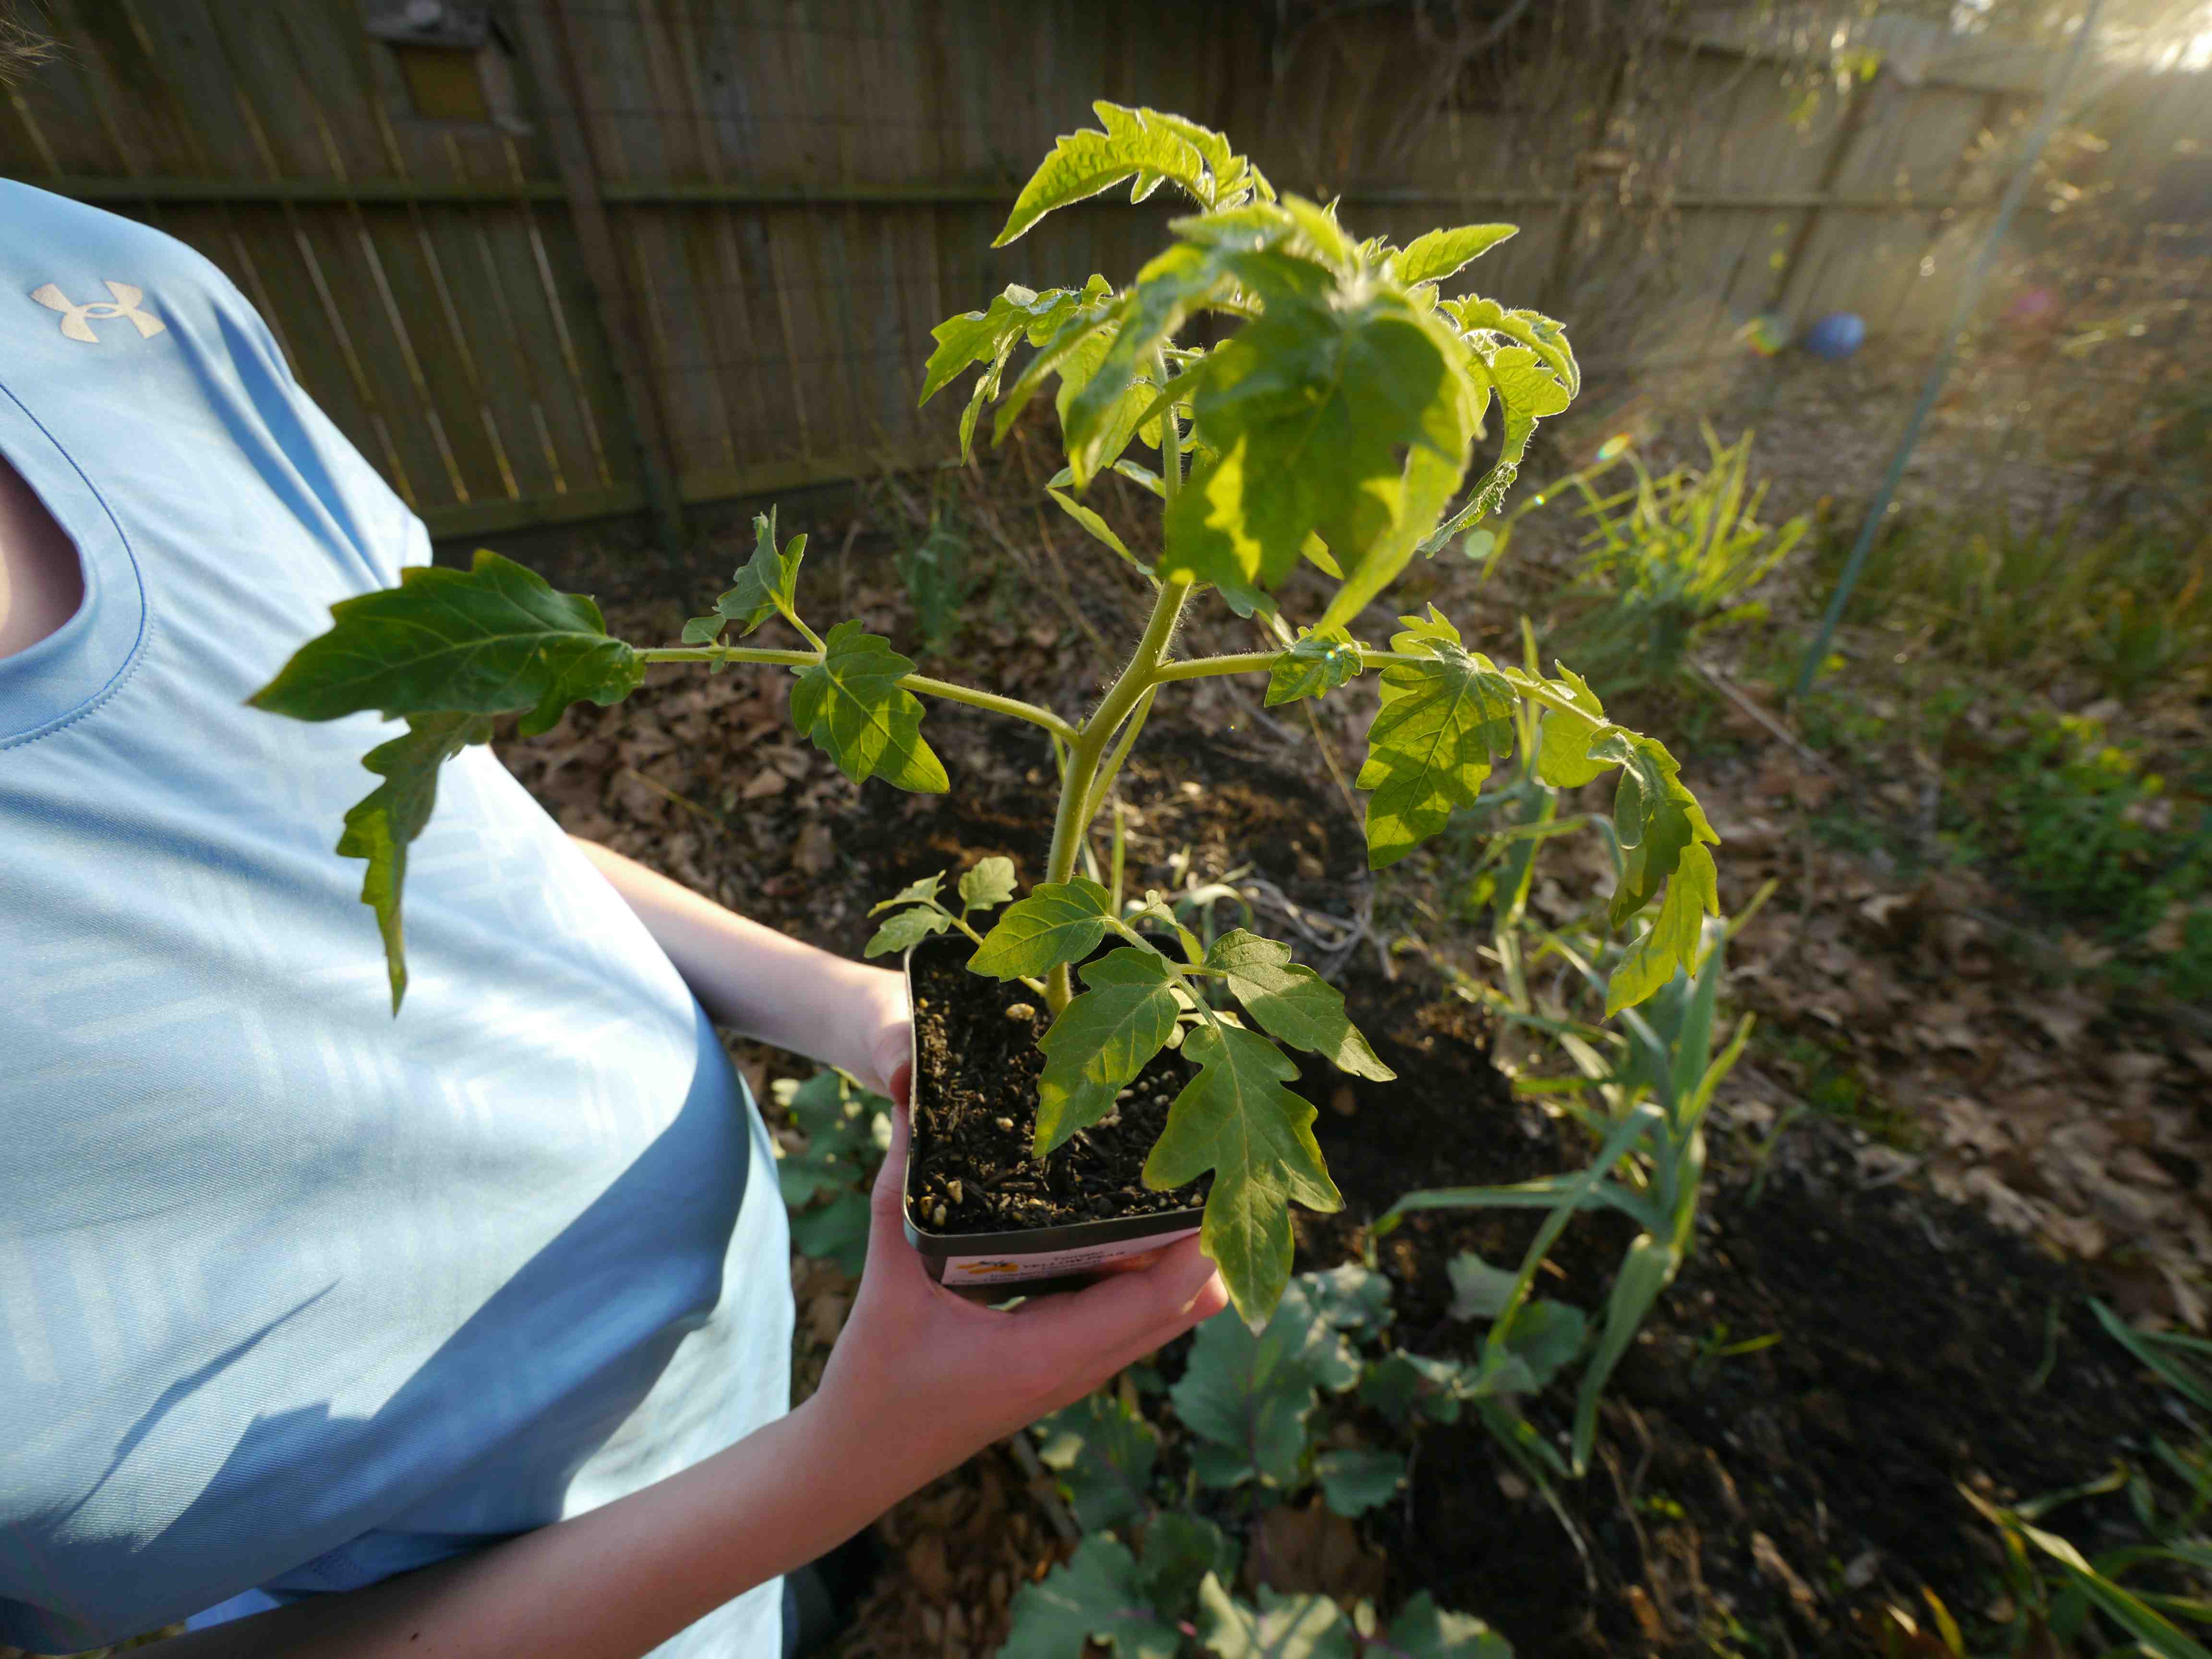
Grab your super-healthy transplant that you have grown from seed or purchased from a reputable source.
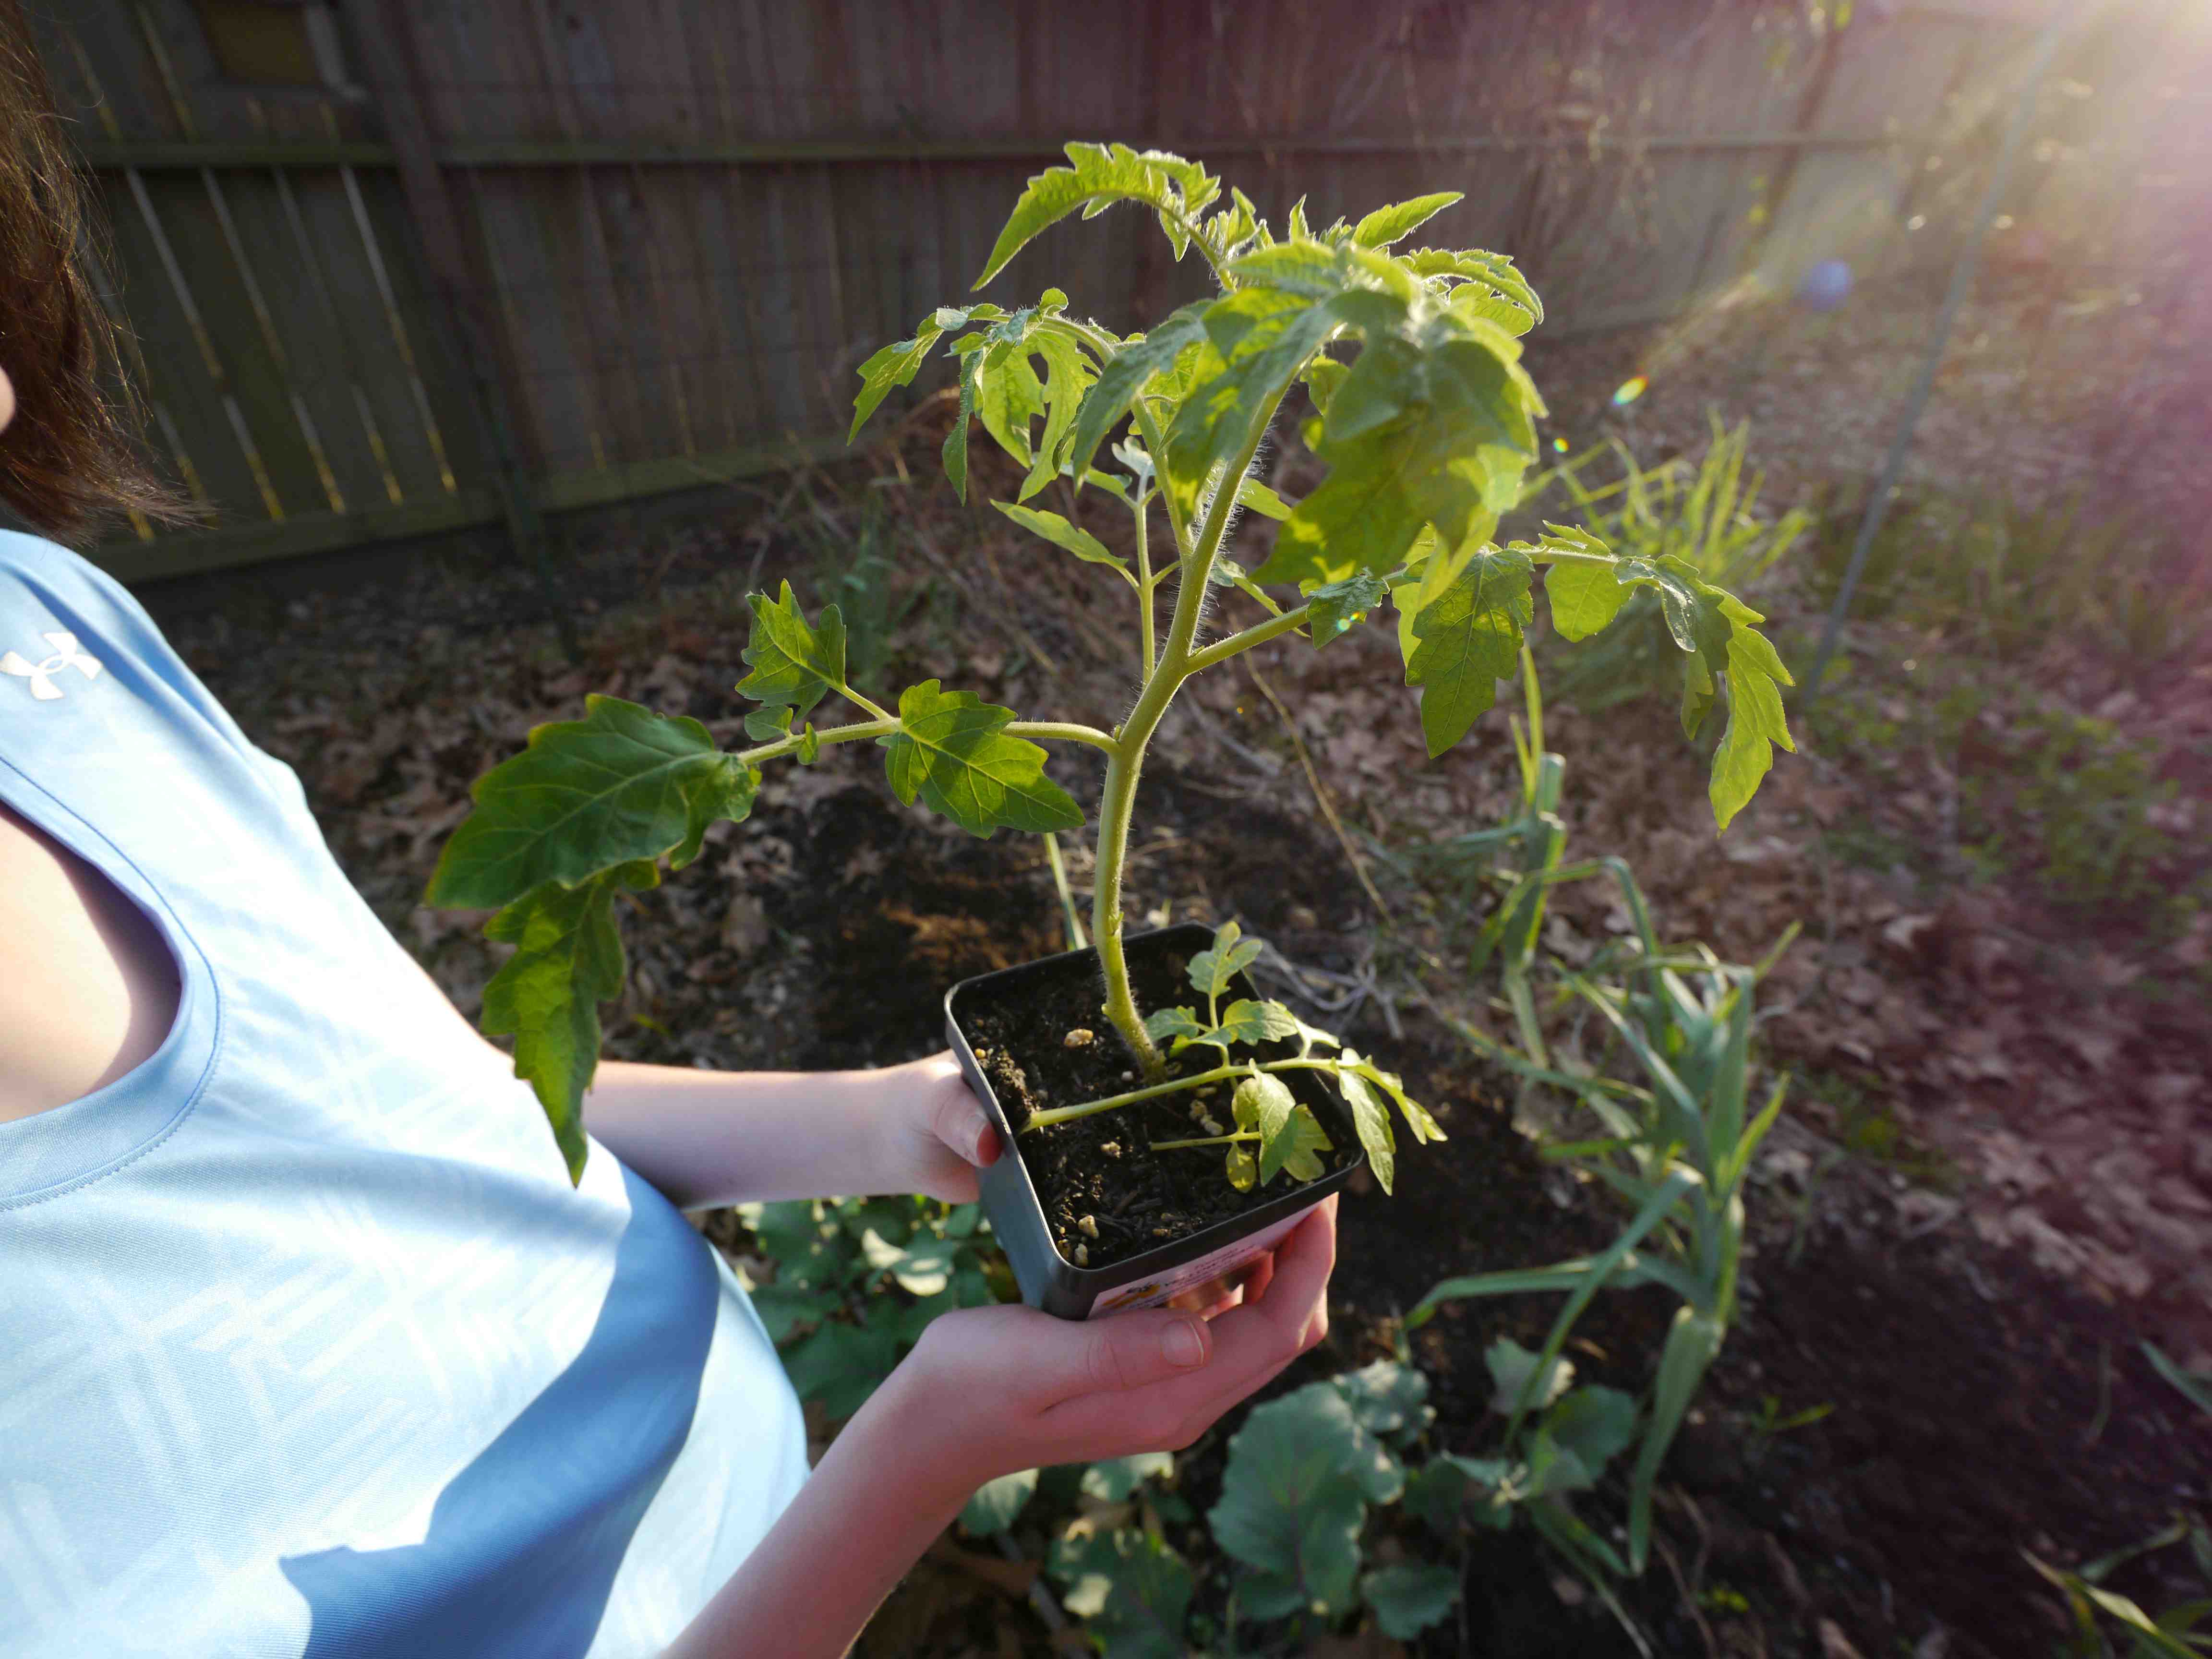
Pinch off the the lower leaves so the plant stem can be planted as deep in the hole as possible. Note the pinched off leaves in this photo.
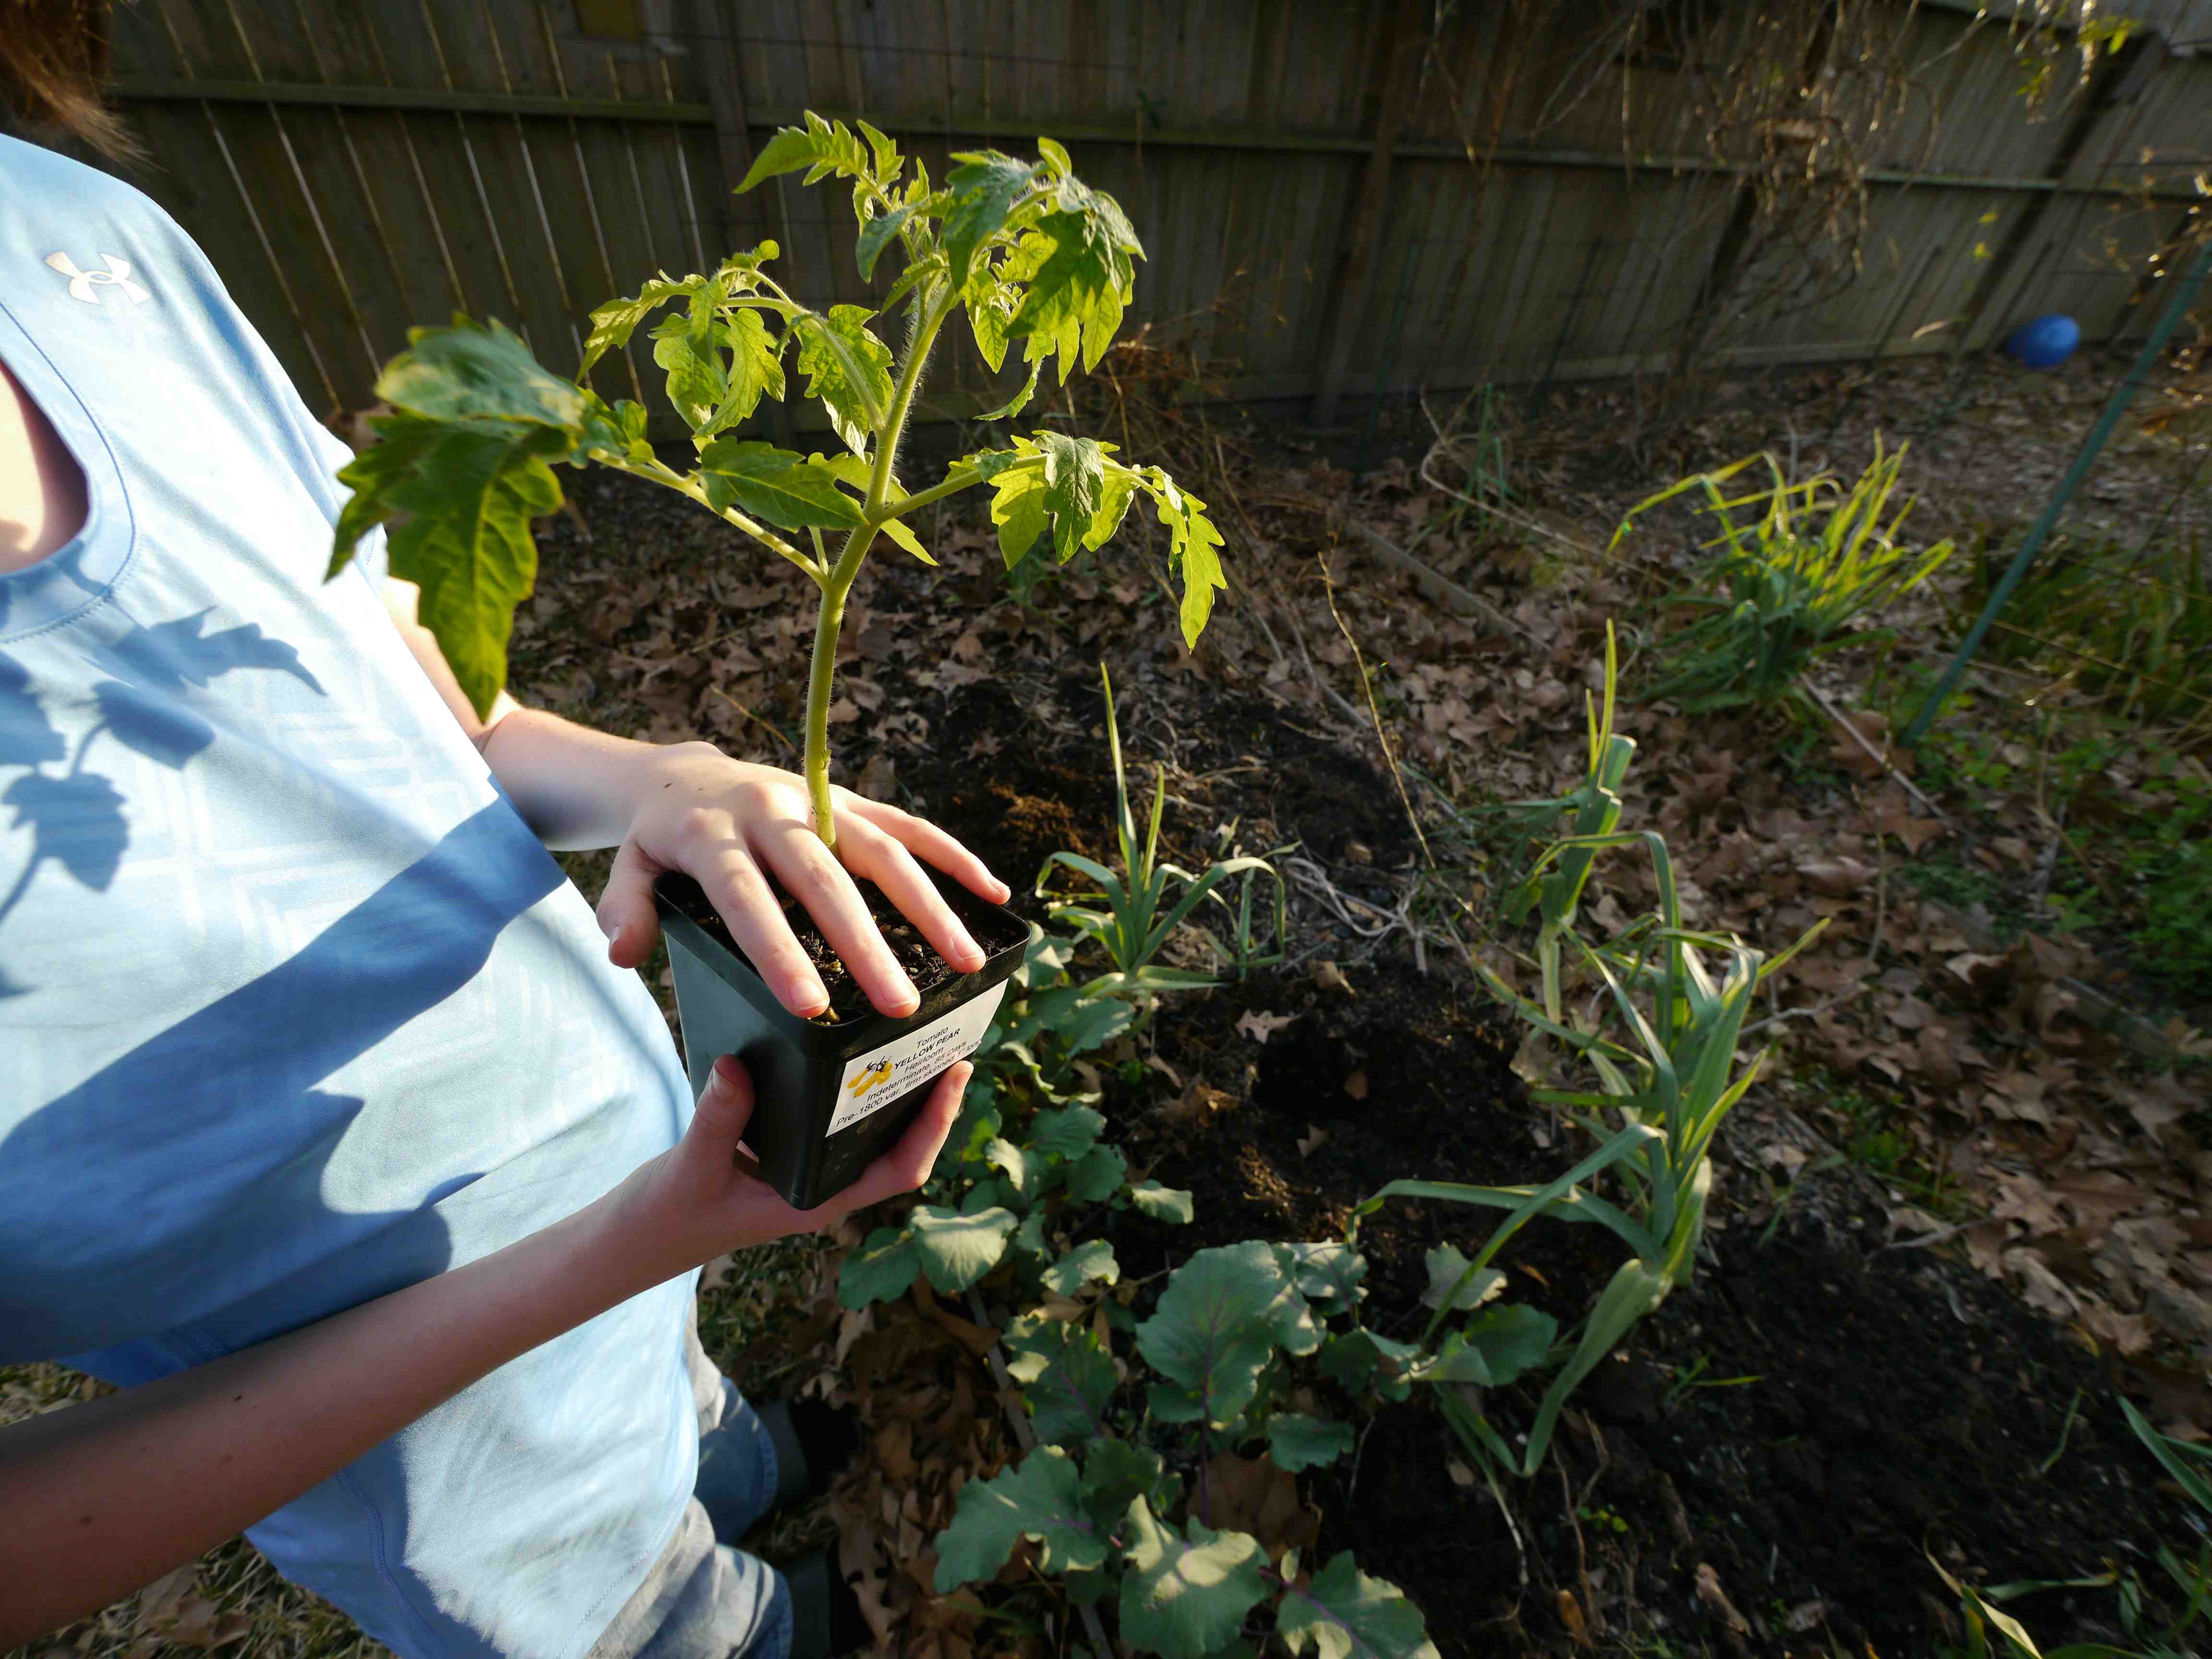
Place your hand on top of the container as shown with the stem between your fingers.
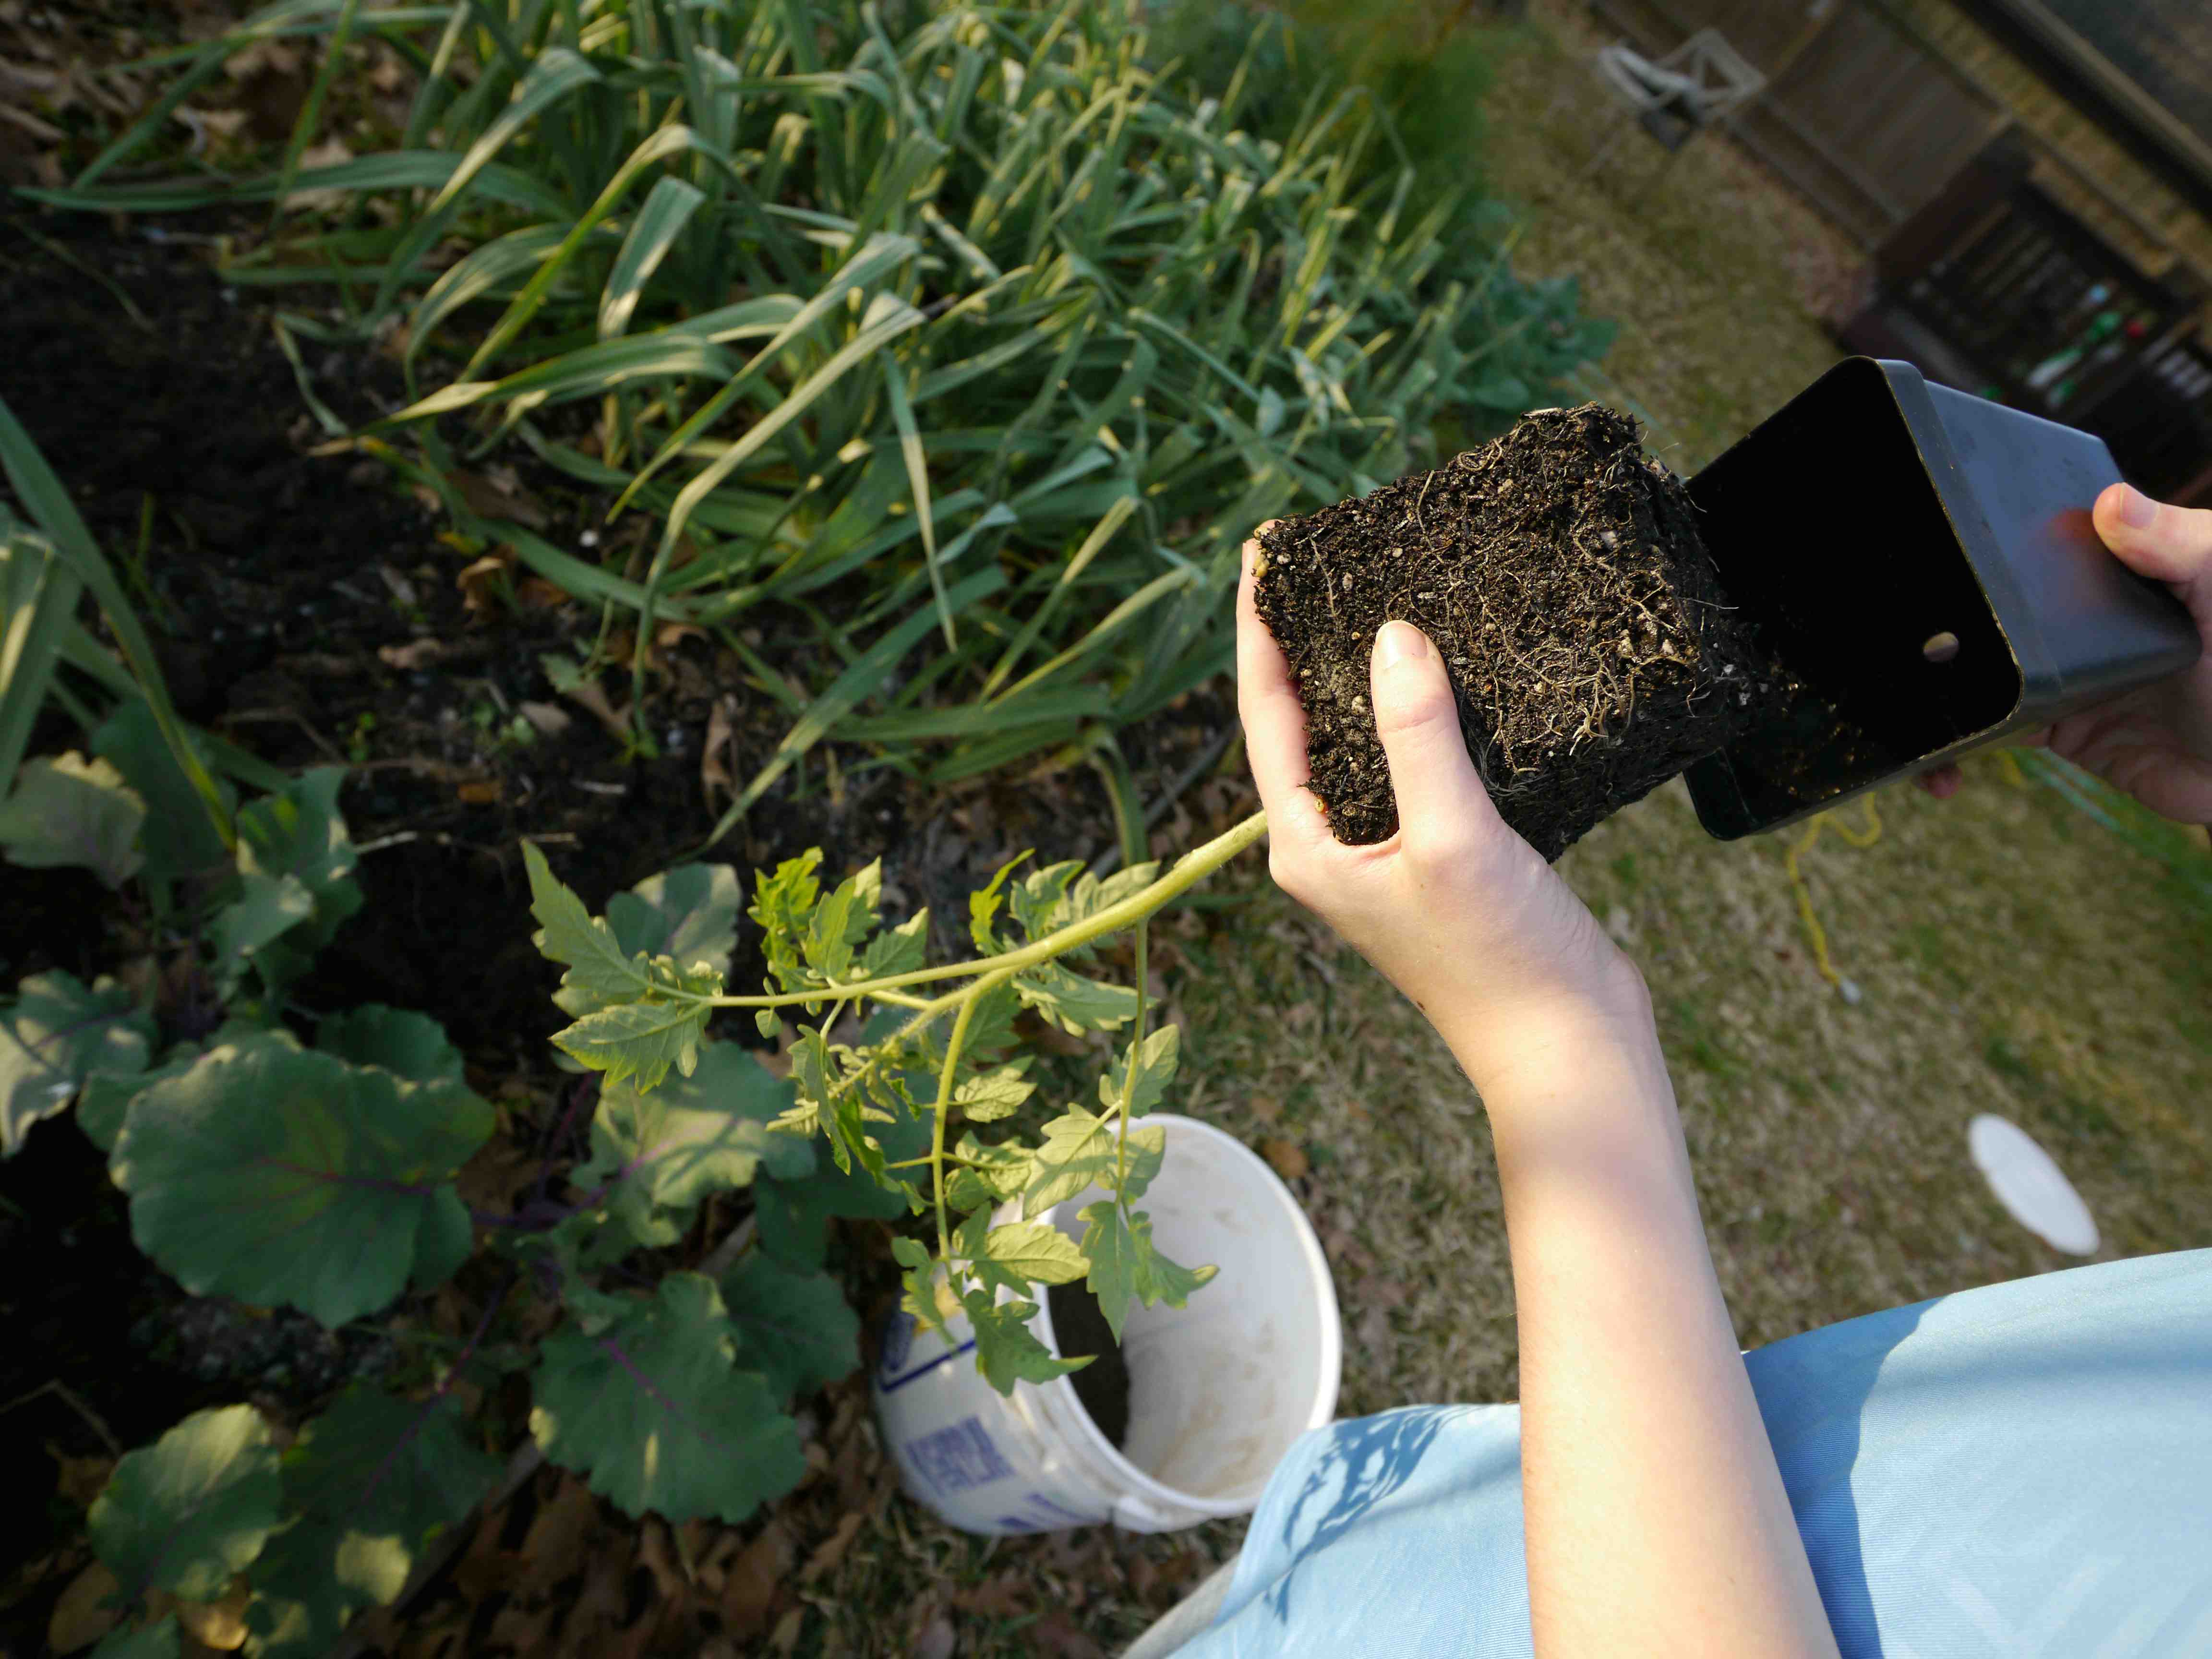
Tip the container upside down to remove the transplant from the pot without damaging it. Squeeze the sides of the container gently, if needed, to loosen the plant.
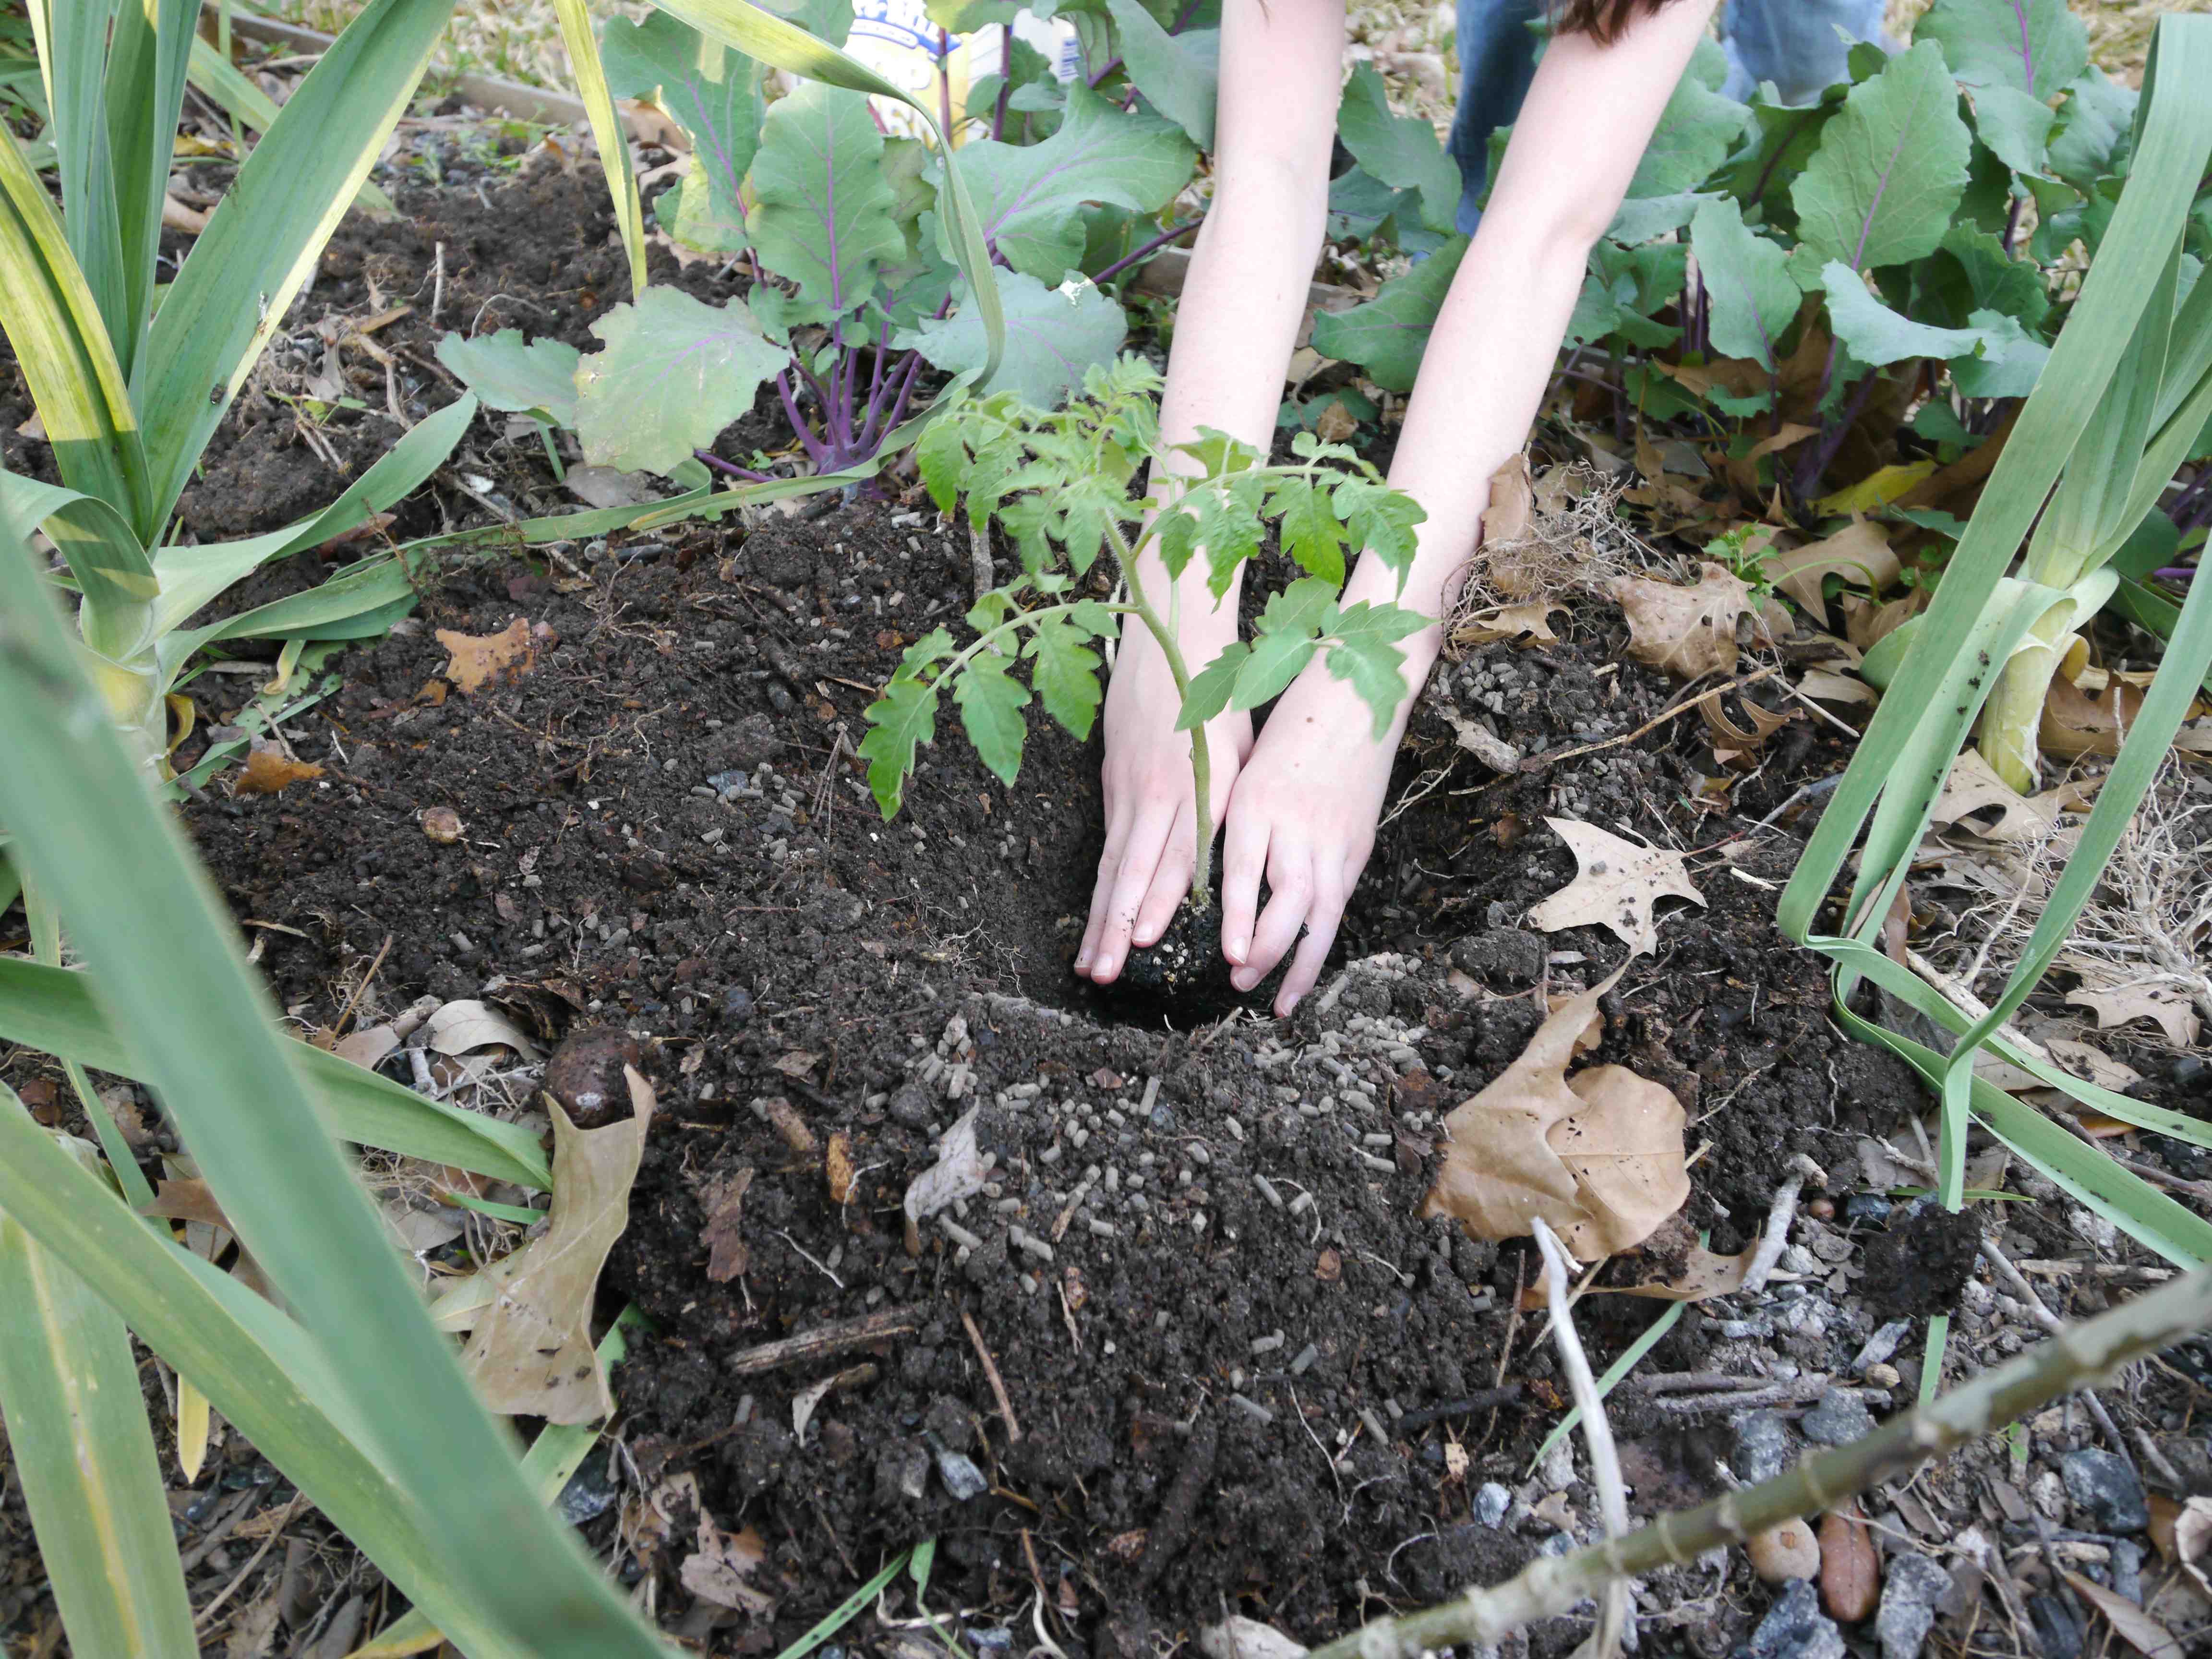
Place the transplant in the hole as deep as possible. The stem will actually sprout roots underground which will help grow the strongest plant possible. Note the soil, compost, and organic fertilizer all mixed together. This is what living, healthy soil with lots of organic matter looks like!
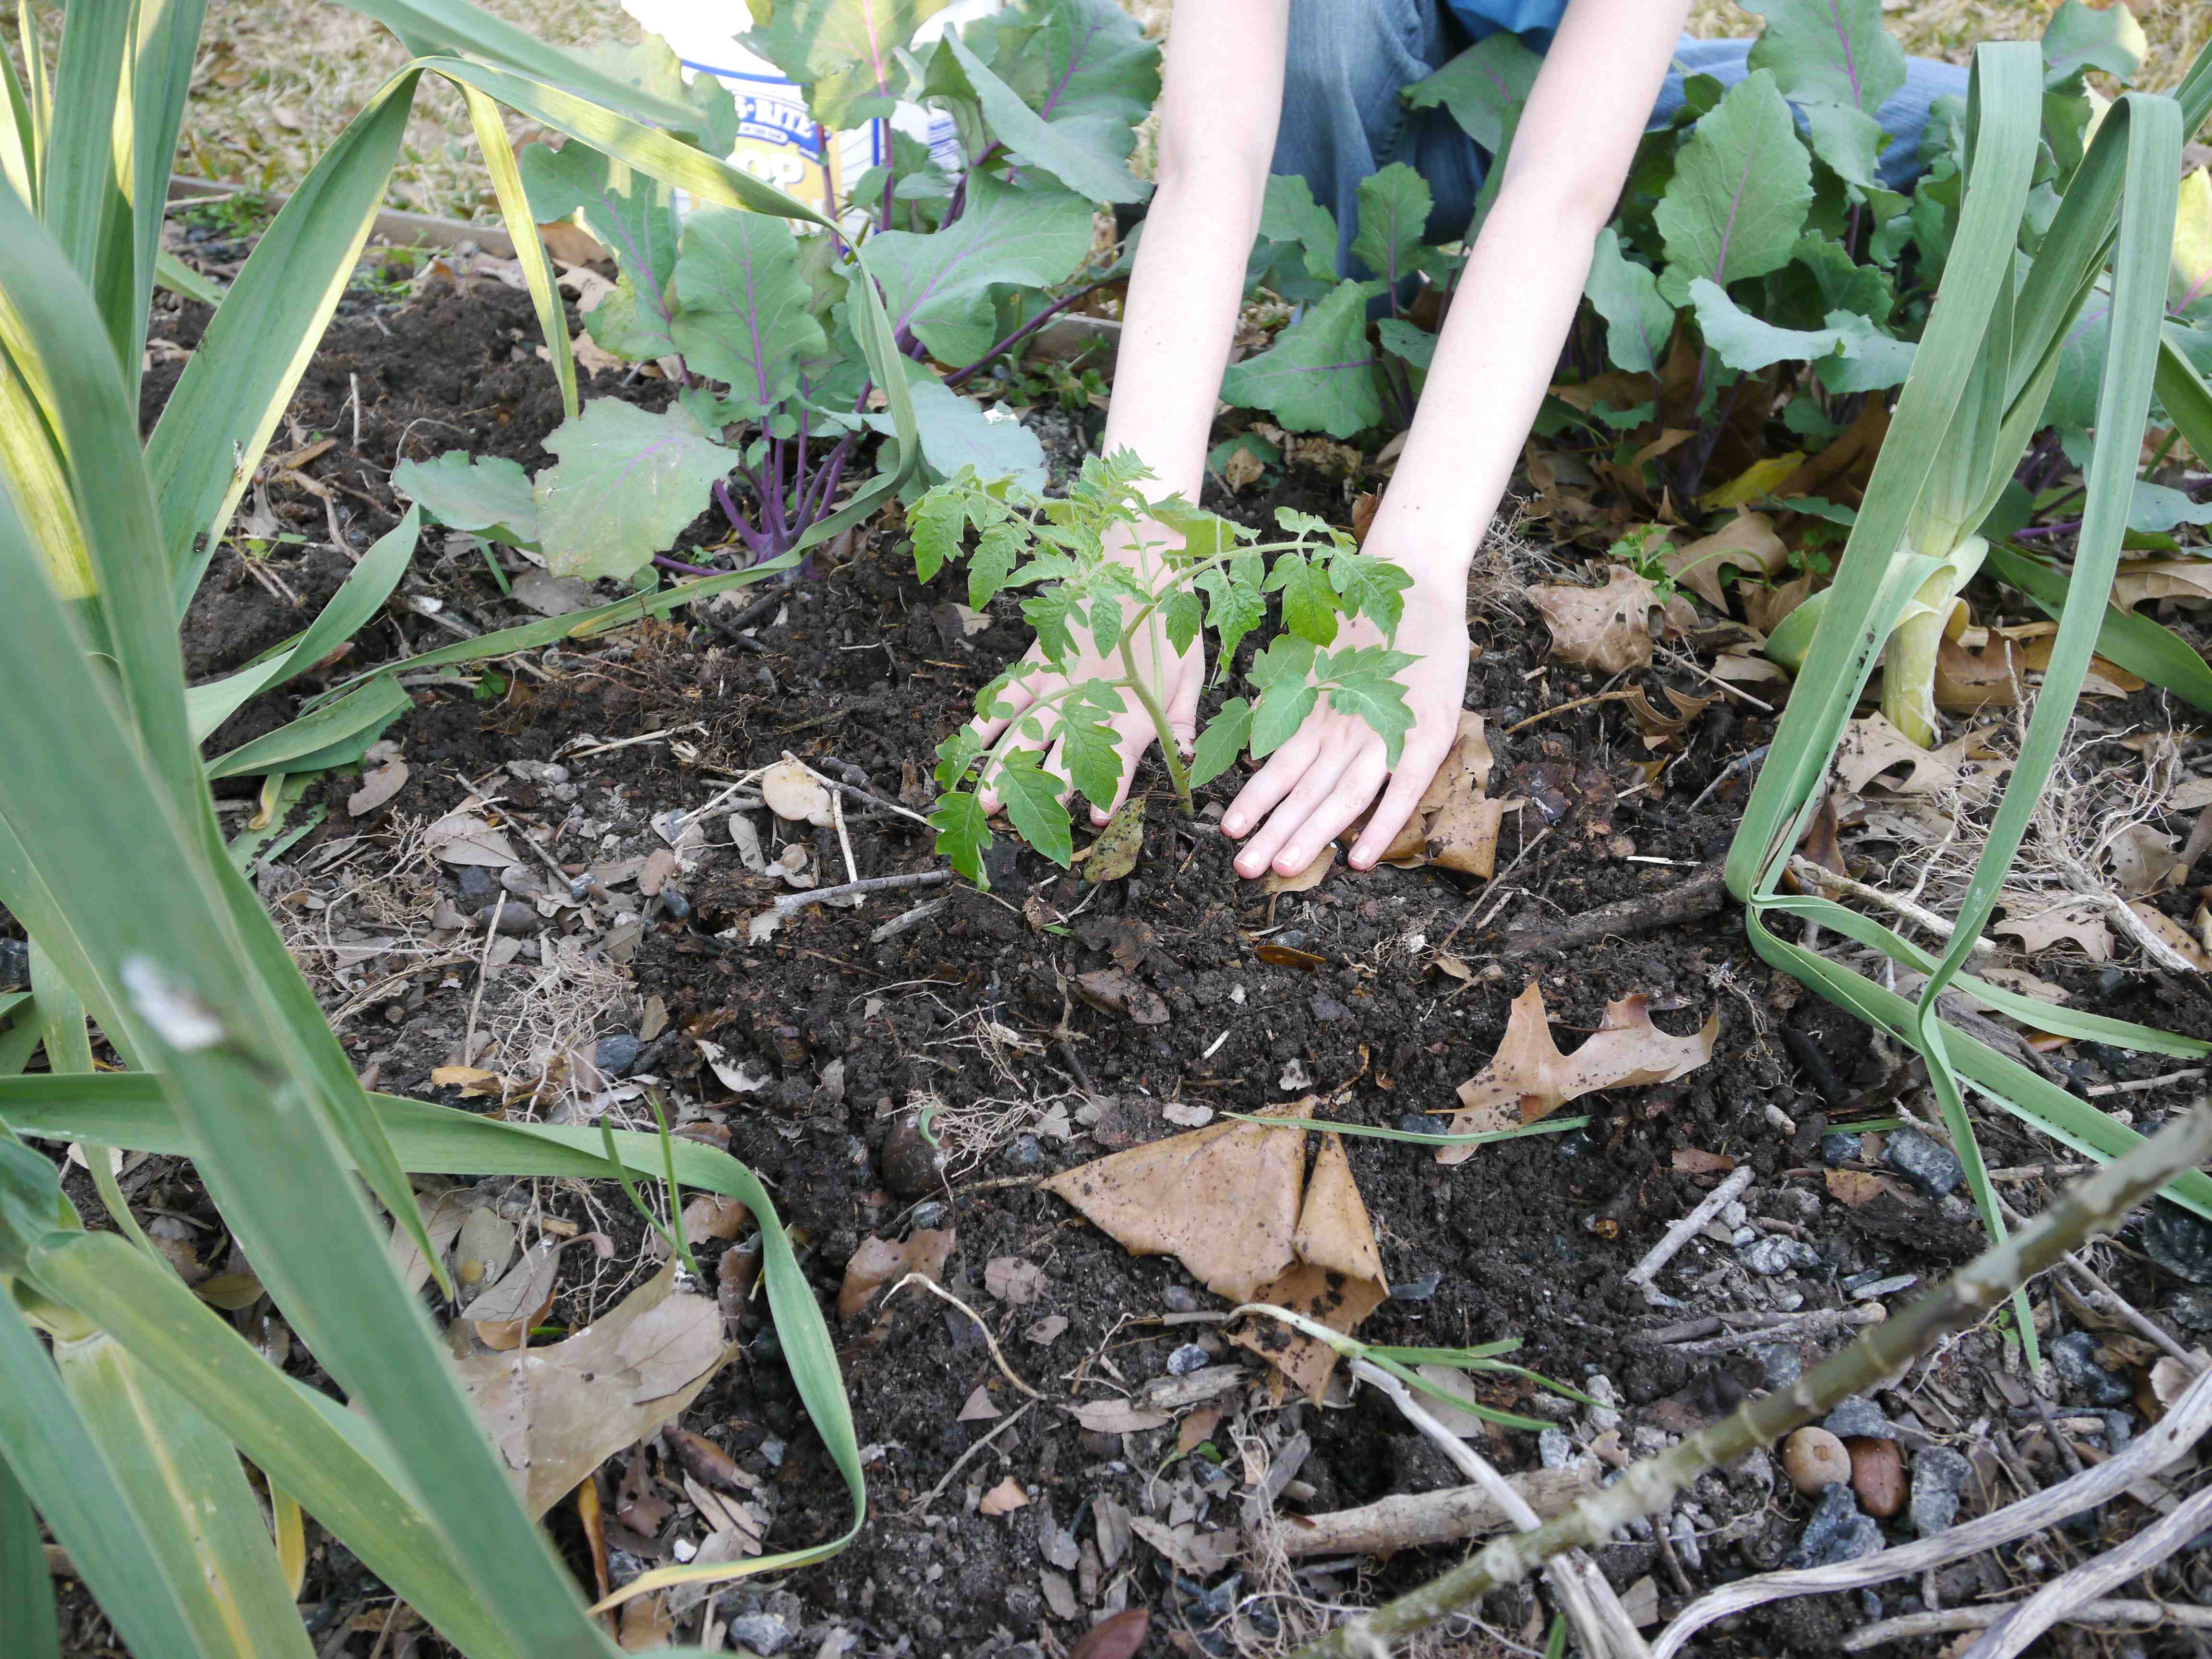
Pull the soil into the hole and firm up all around the plant. The goal is to make sure the roots are in good contact with the soil, so don’t be afraid to press down a bit.
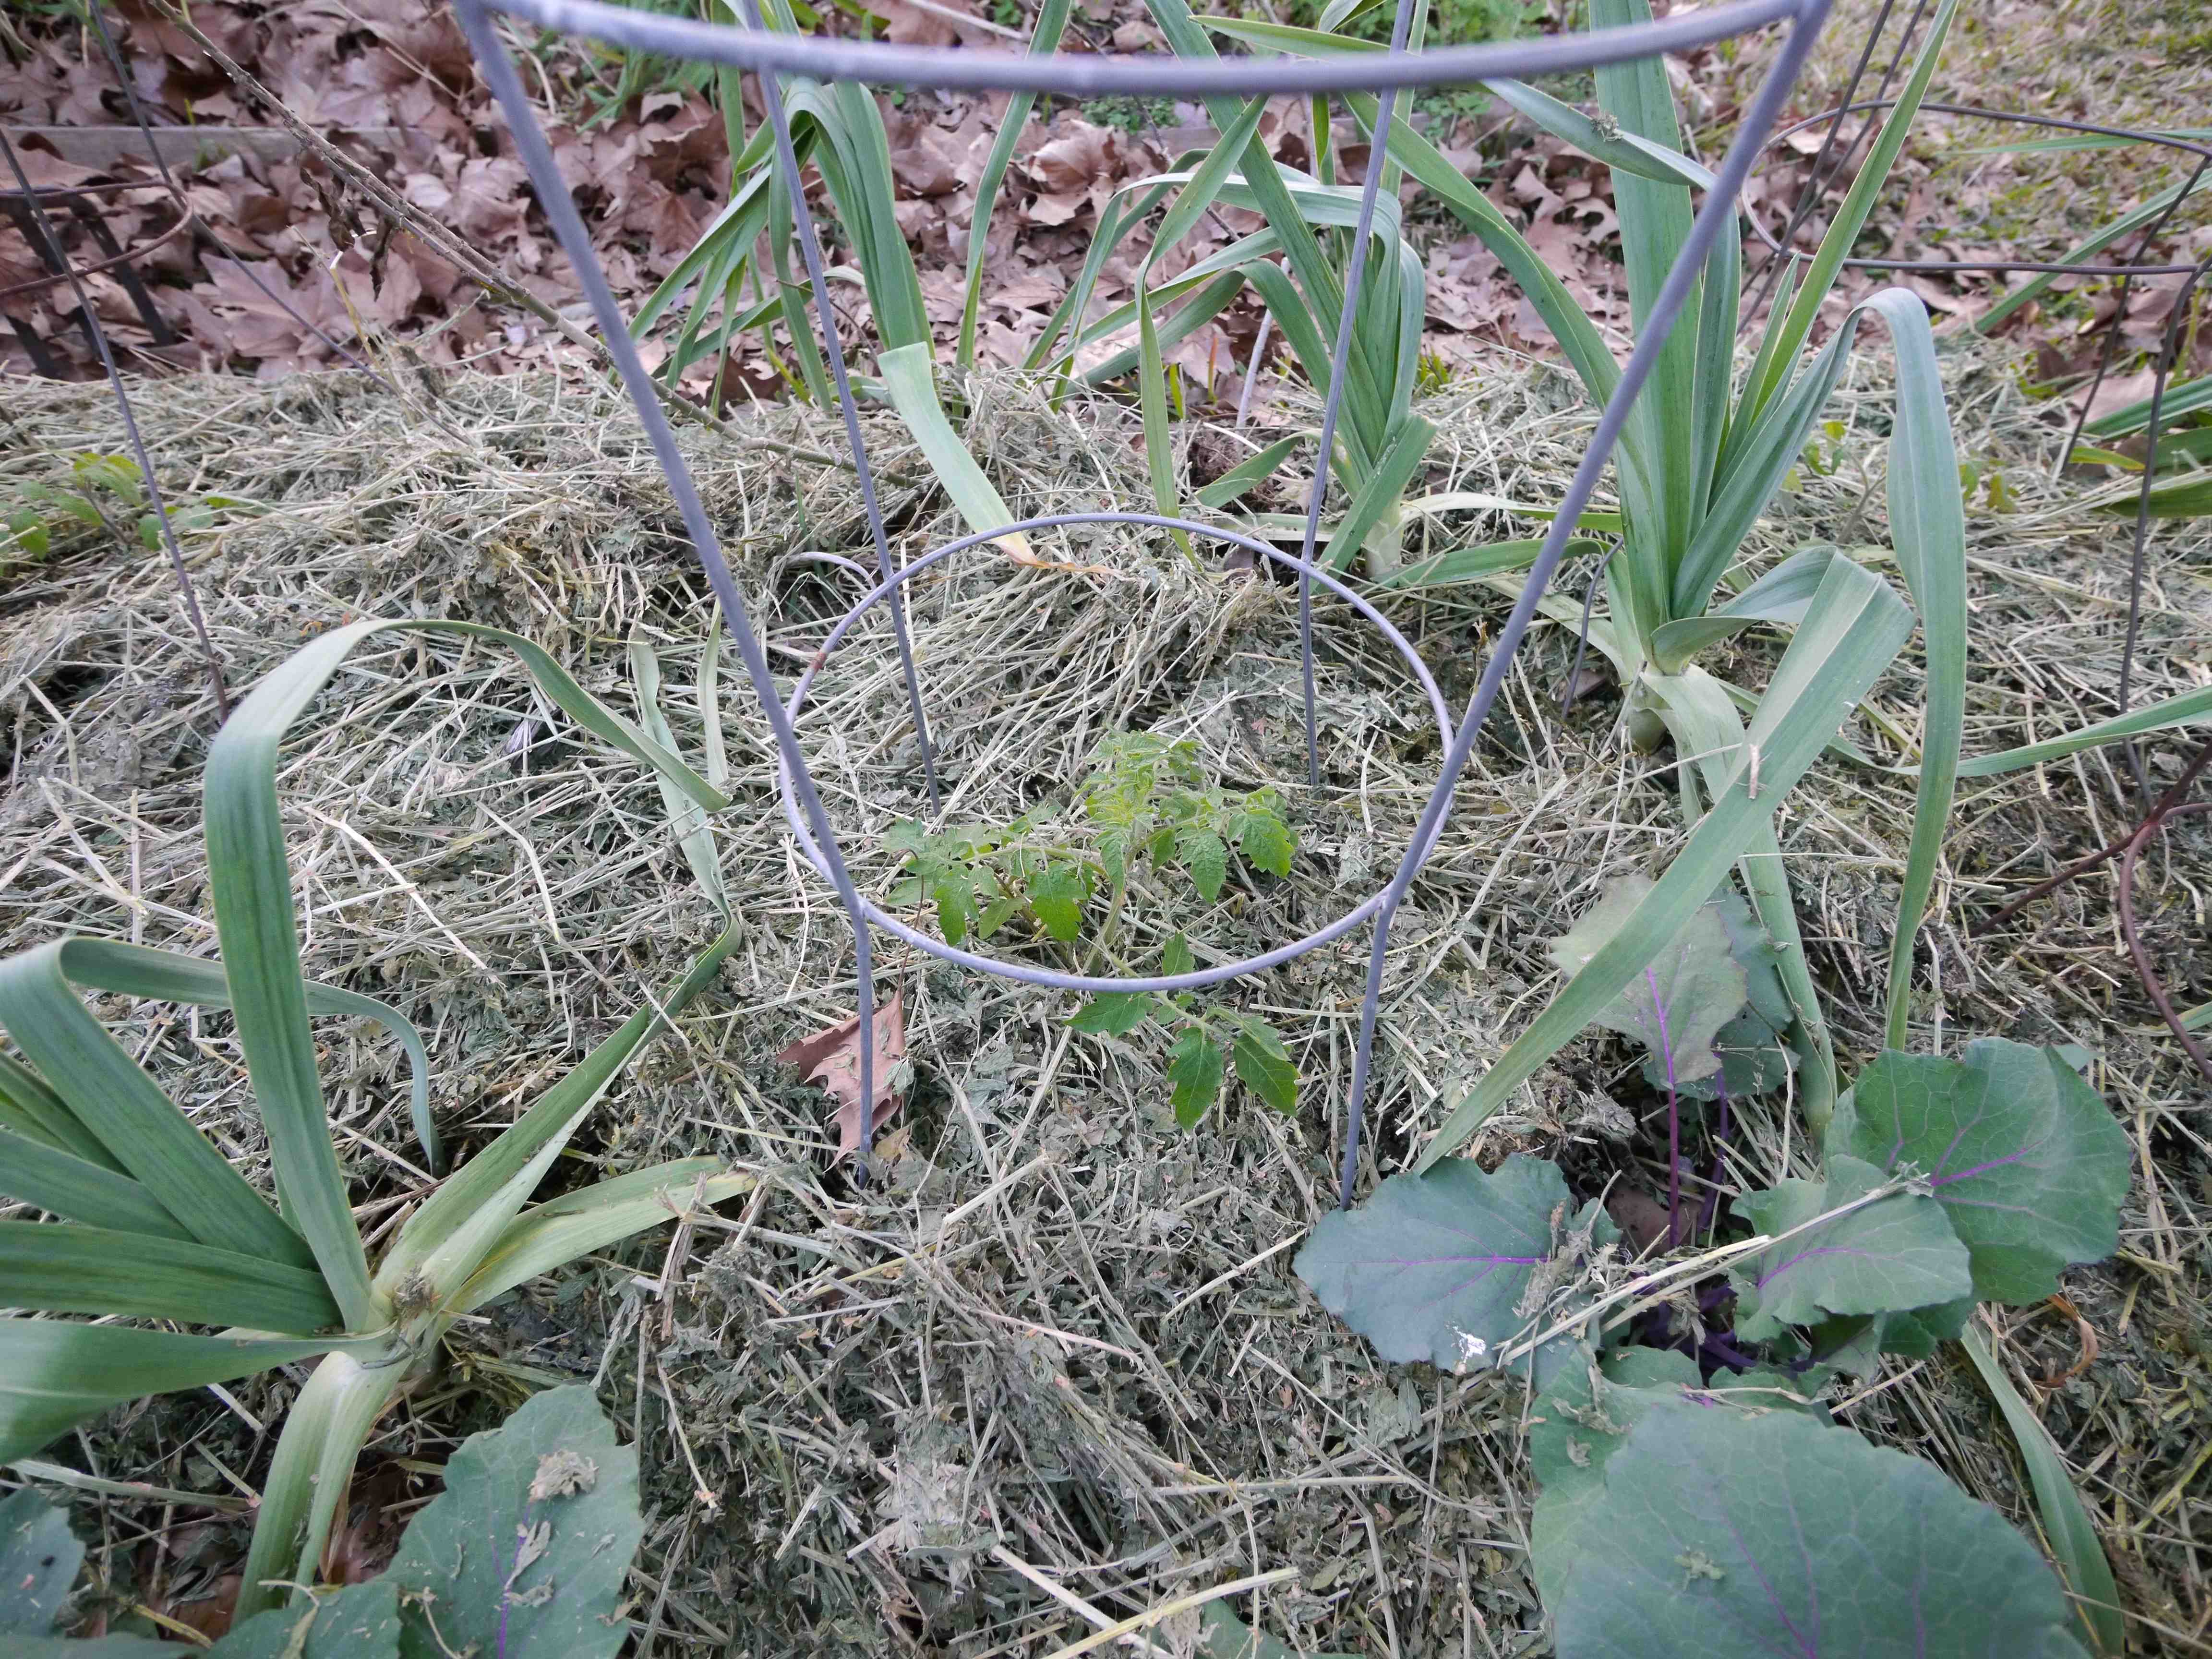
Top off with mulch to keep the soil moist and prevent soil from splashing up on the plant and causing diseases. I use alfalfa hay as much as possible. It’s also a good idea to get the cage in place right away before the plant gets too big, and it becomes a struggle.
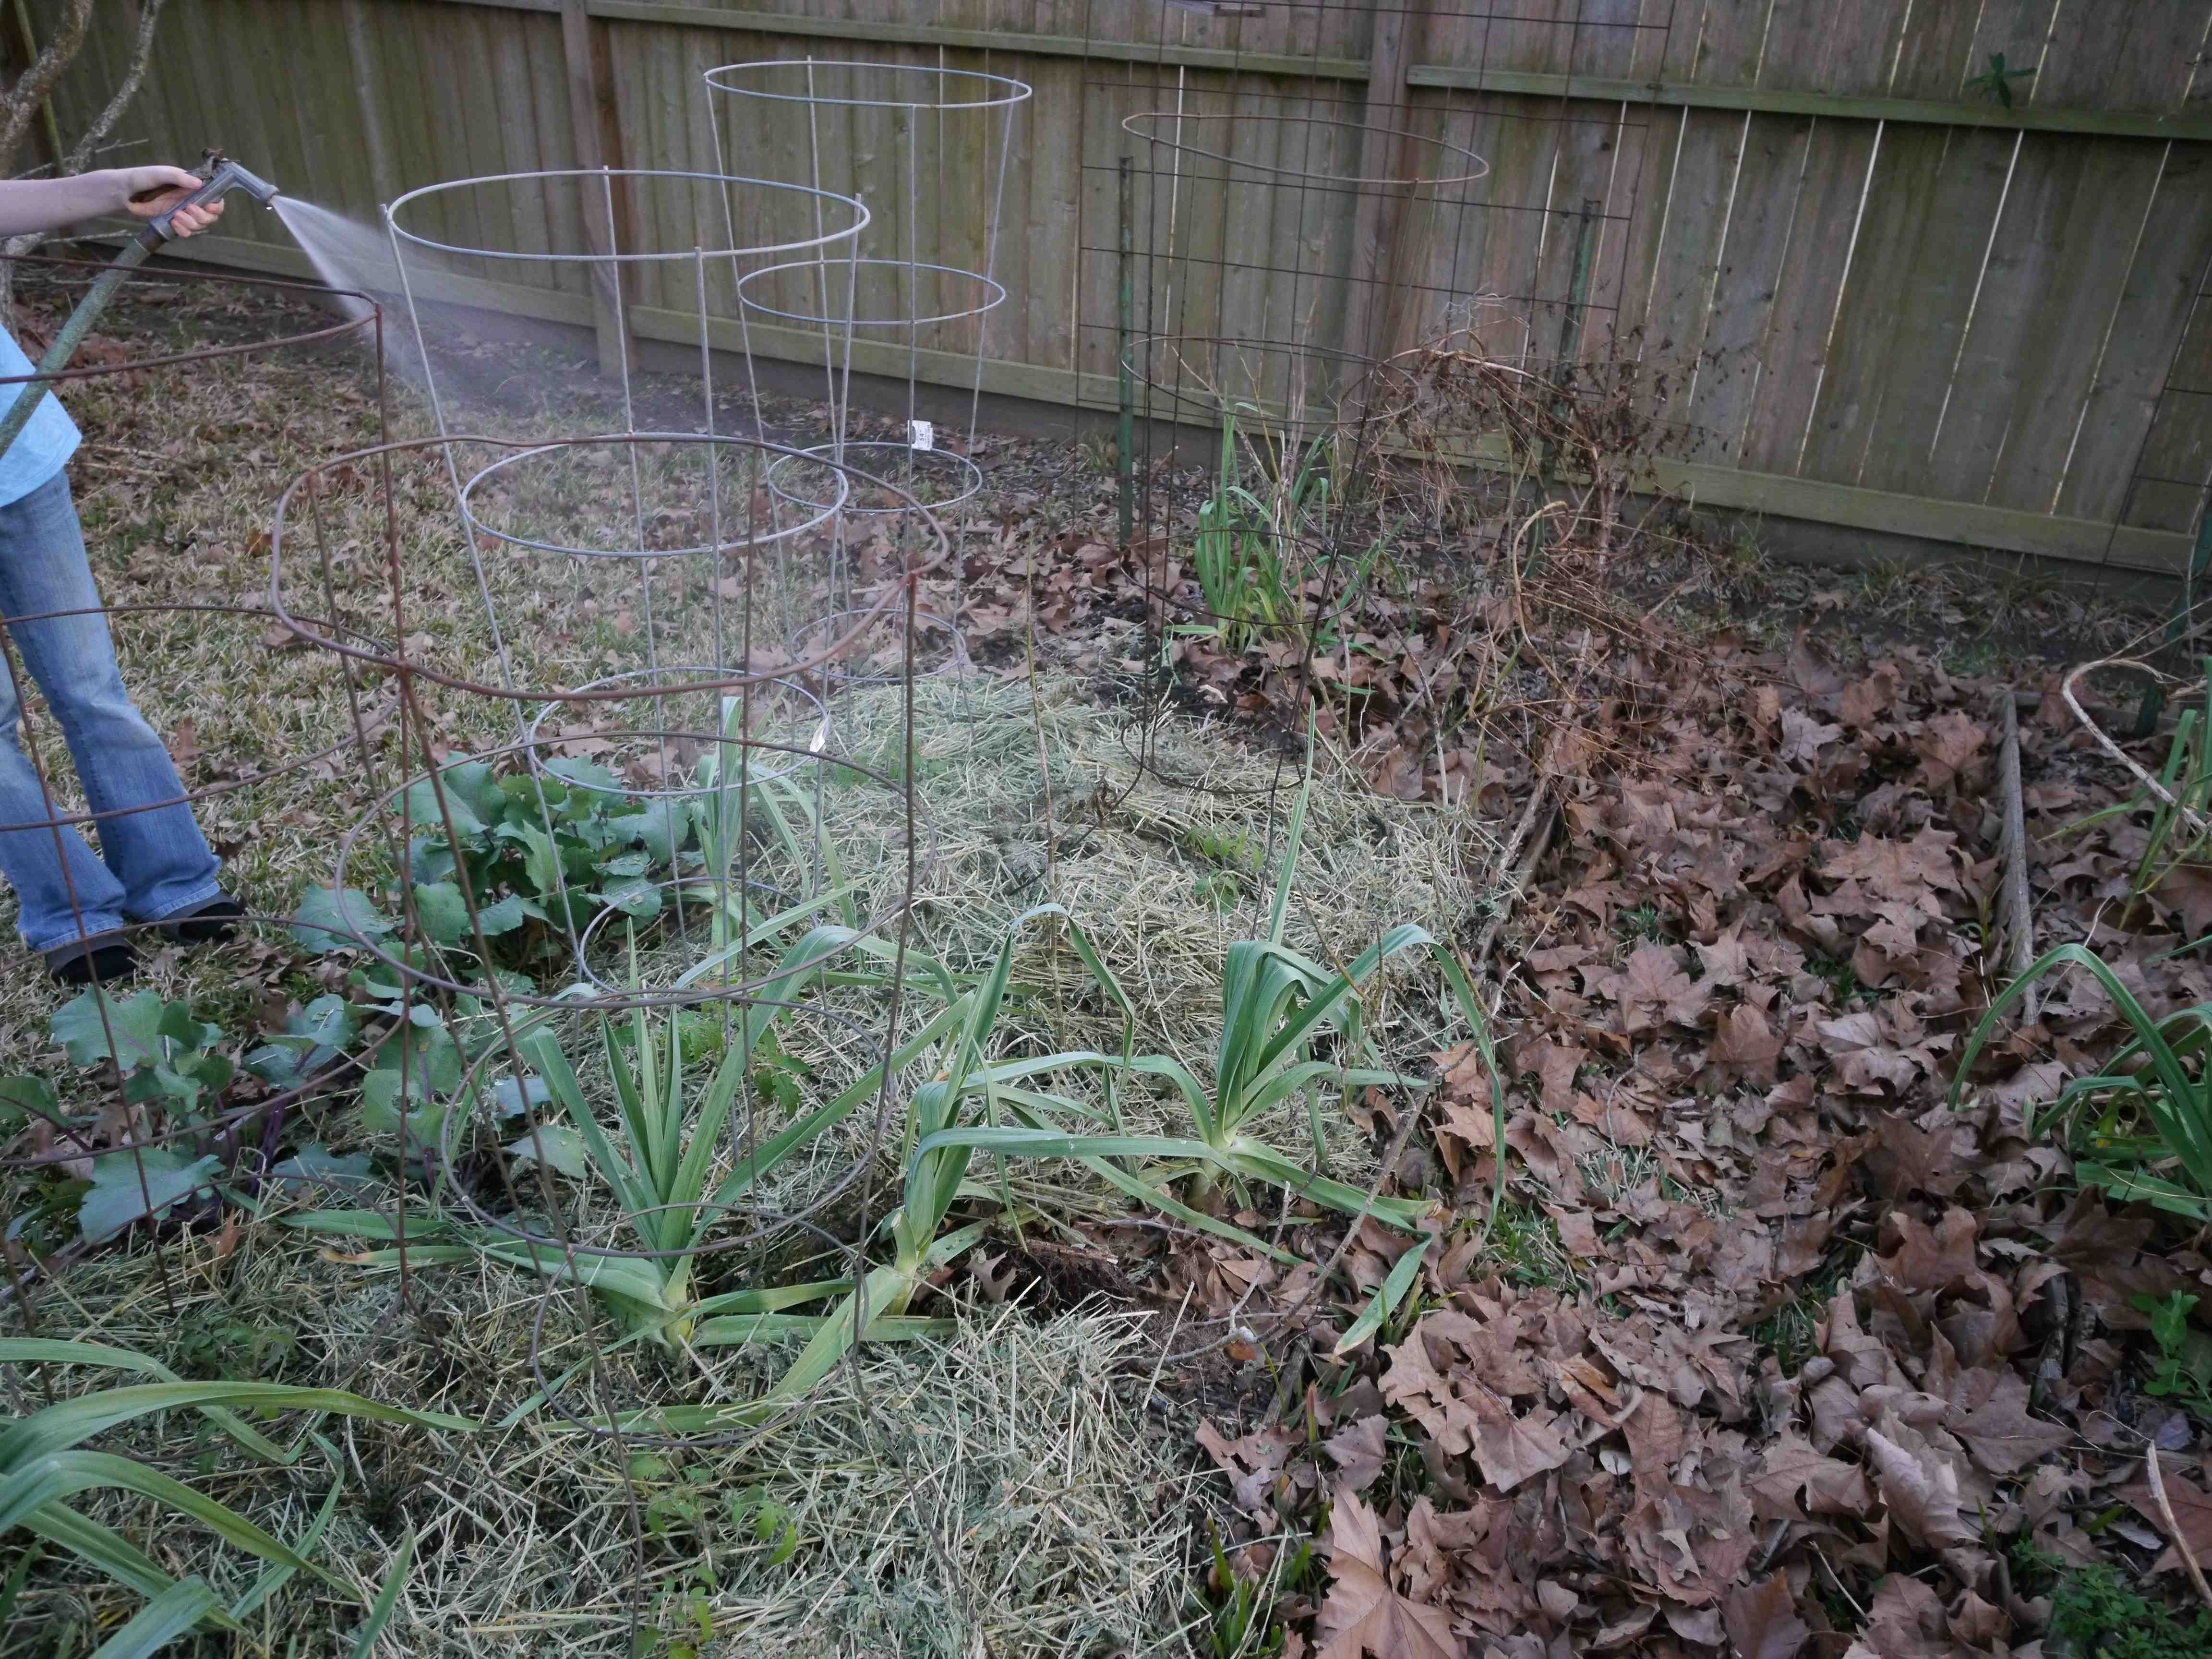
Finally, water in well. For the first watering, spray the entire area to get the mulch wet and seated in place and to thoroughly soak the roots. From here on though it’s important to keep the water off the foliage as much as possible to avoid disease.