It’s relatively straight forward to make good compost that can be used to enrich your garden soil using a wide variety of methods. Described here is the process we have developed using a compost pile after experimenting for a number of years in our own garden. Our method is not the quickest, but it will produce wheelbarrow-loads of wonderful compost with a minimal amount of effort. More frequent turning will quicken the decomposition, but it’s also a lot of work.
Improvise where it makes sense for your situation. Composting is a forgiving process. Everything will eventually break down!
Ingredients
First you need the right ingredients:
- Carbon-rich material (“brown stuff” – dried plants, fallen leaves, wood shavings, small cut-up branches, etc.)
- Nitrogen-rich material (“green stuff” – fresh lawn clippings, green plants, animal manure, alfalfa hay, fruit and vegetable trimmings, etc.)
- Moisture (get out the hose with a hand-held sprinkler)
- Microbes (we use a few scoops of dirt)
Process
Follow these simple steps to assemble the compost pile.
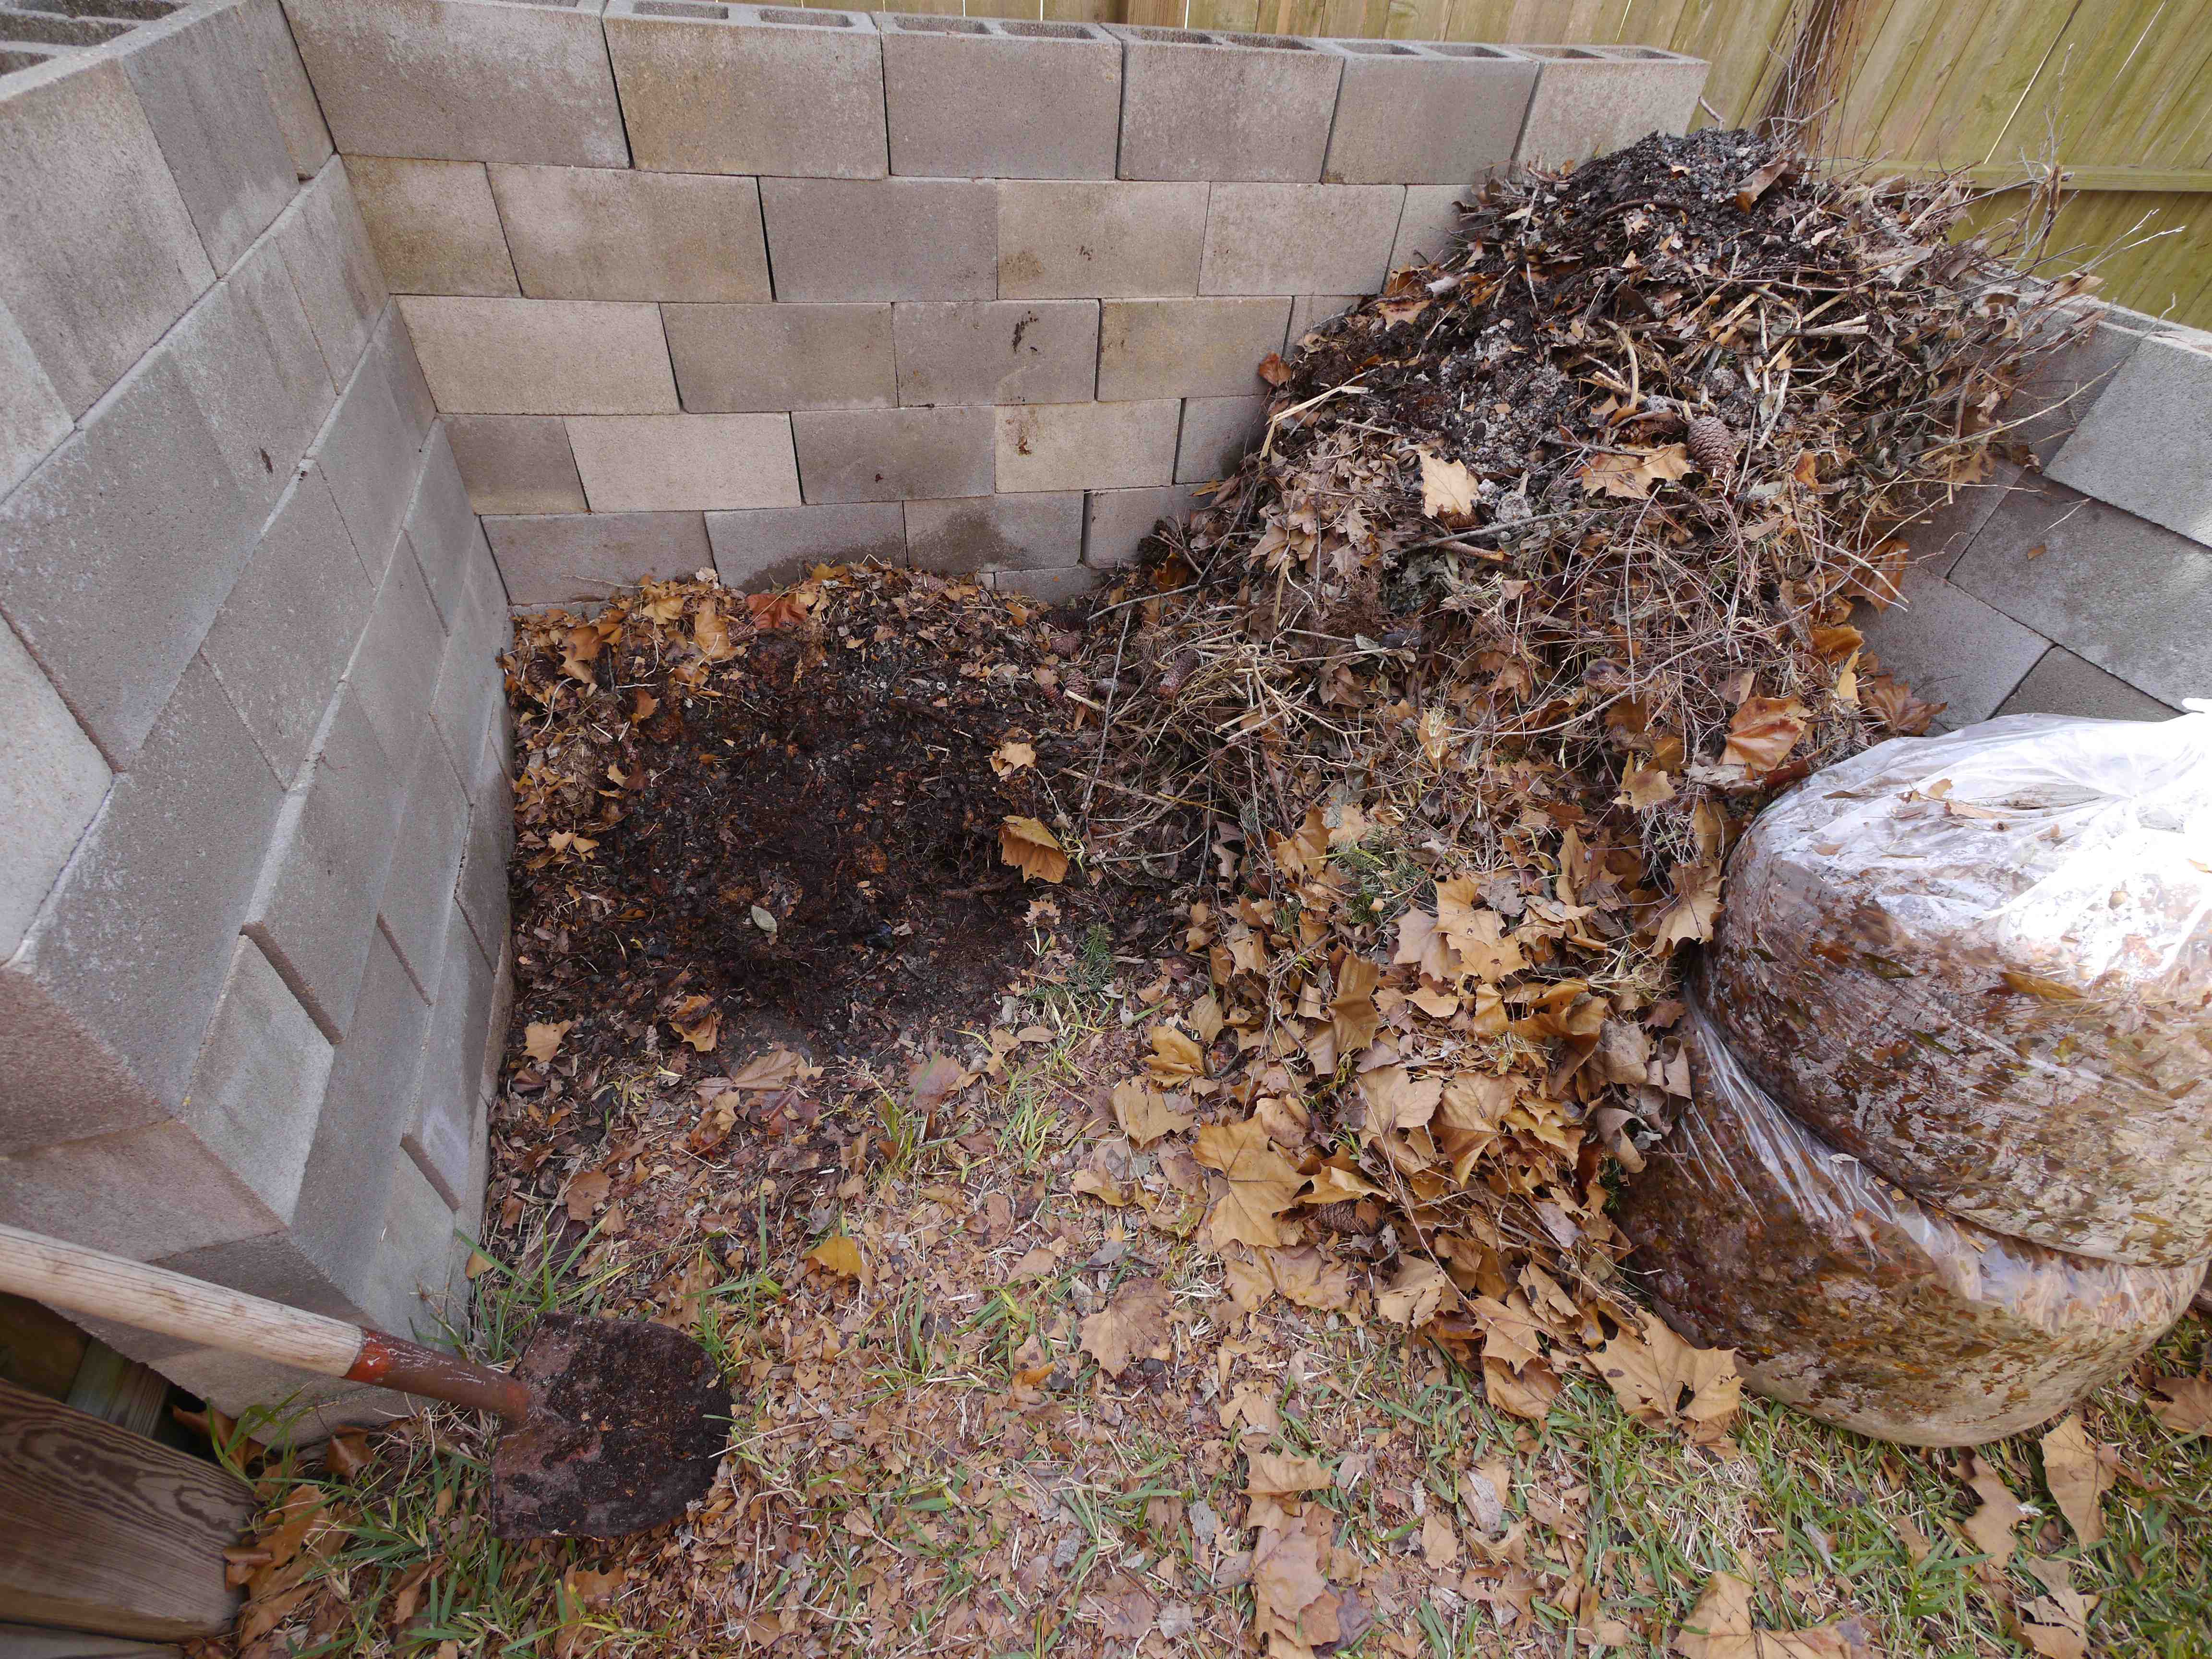
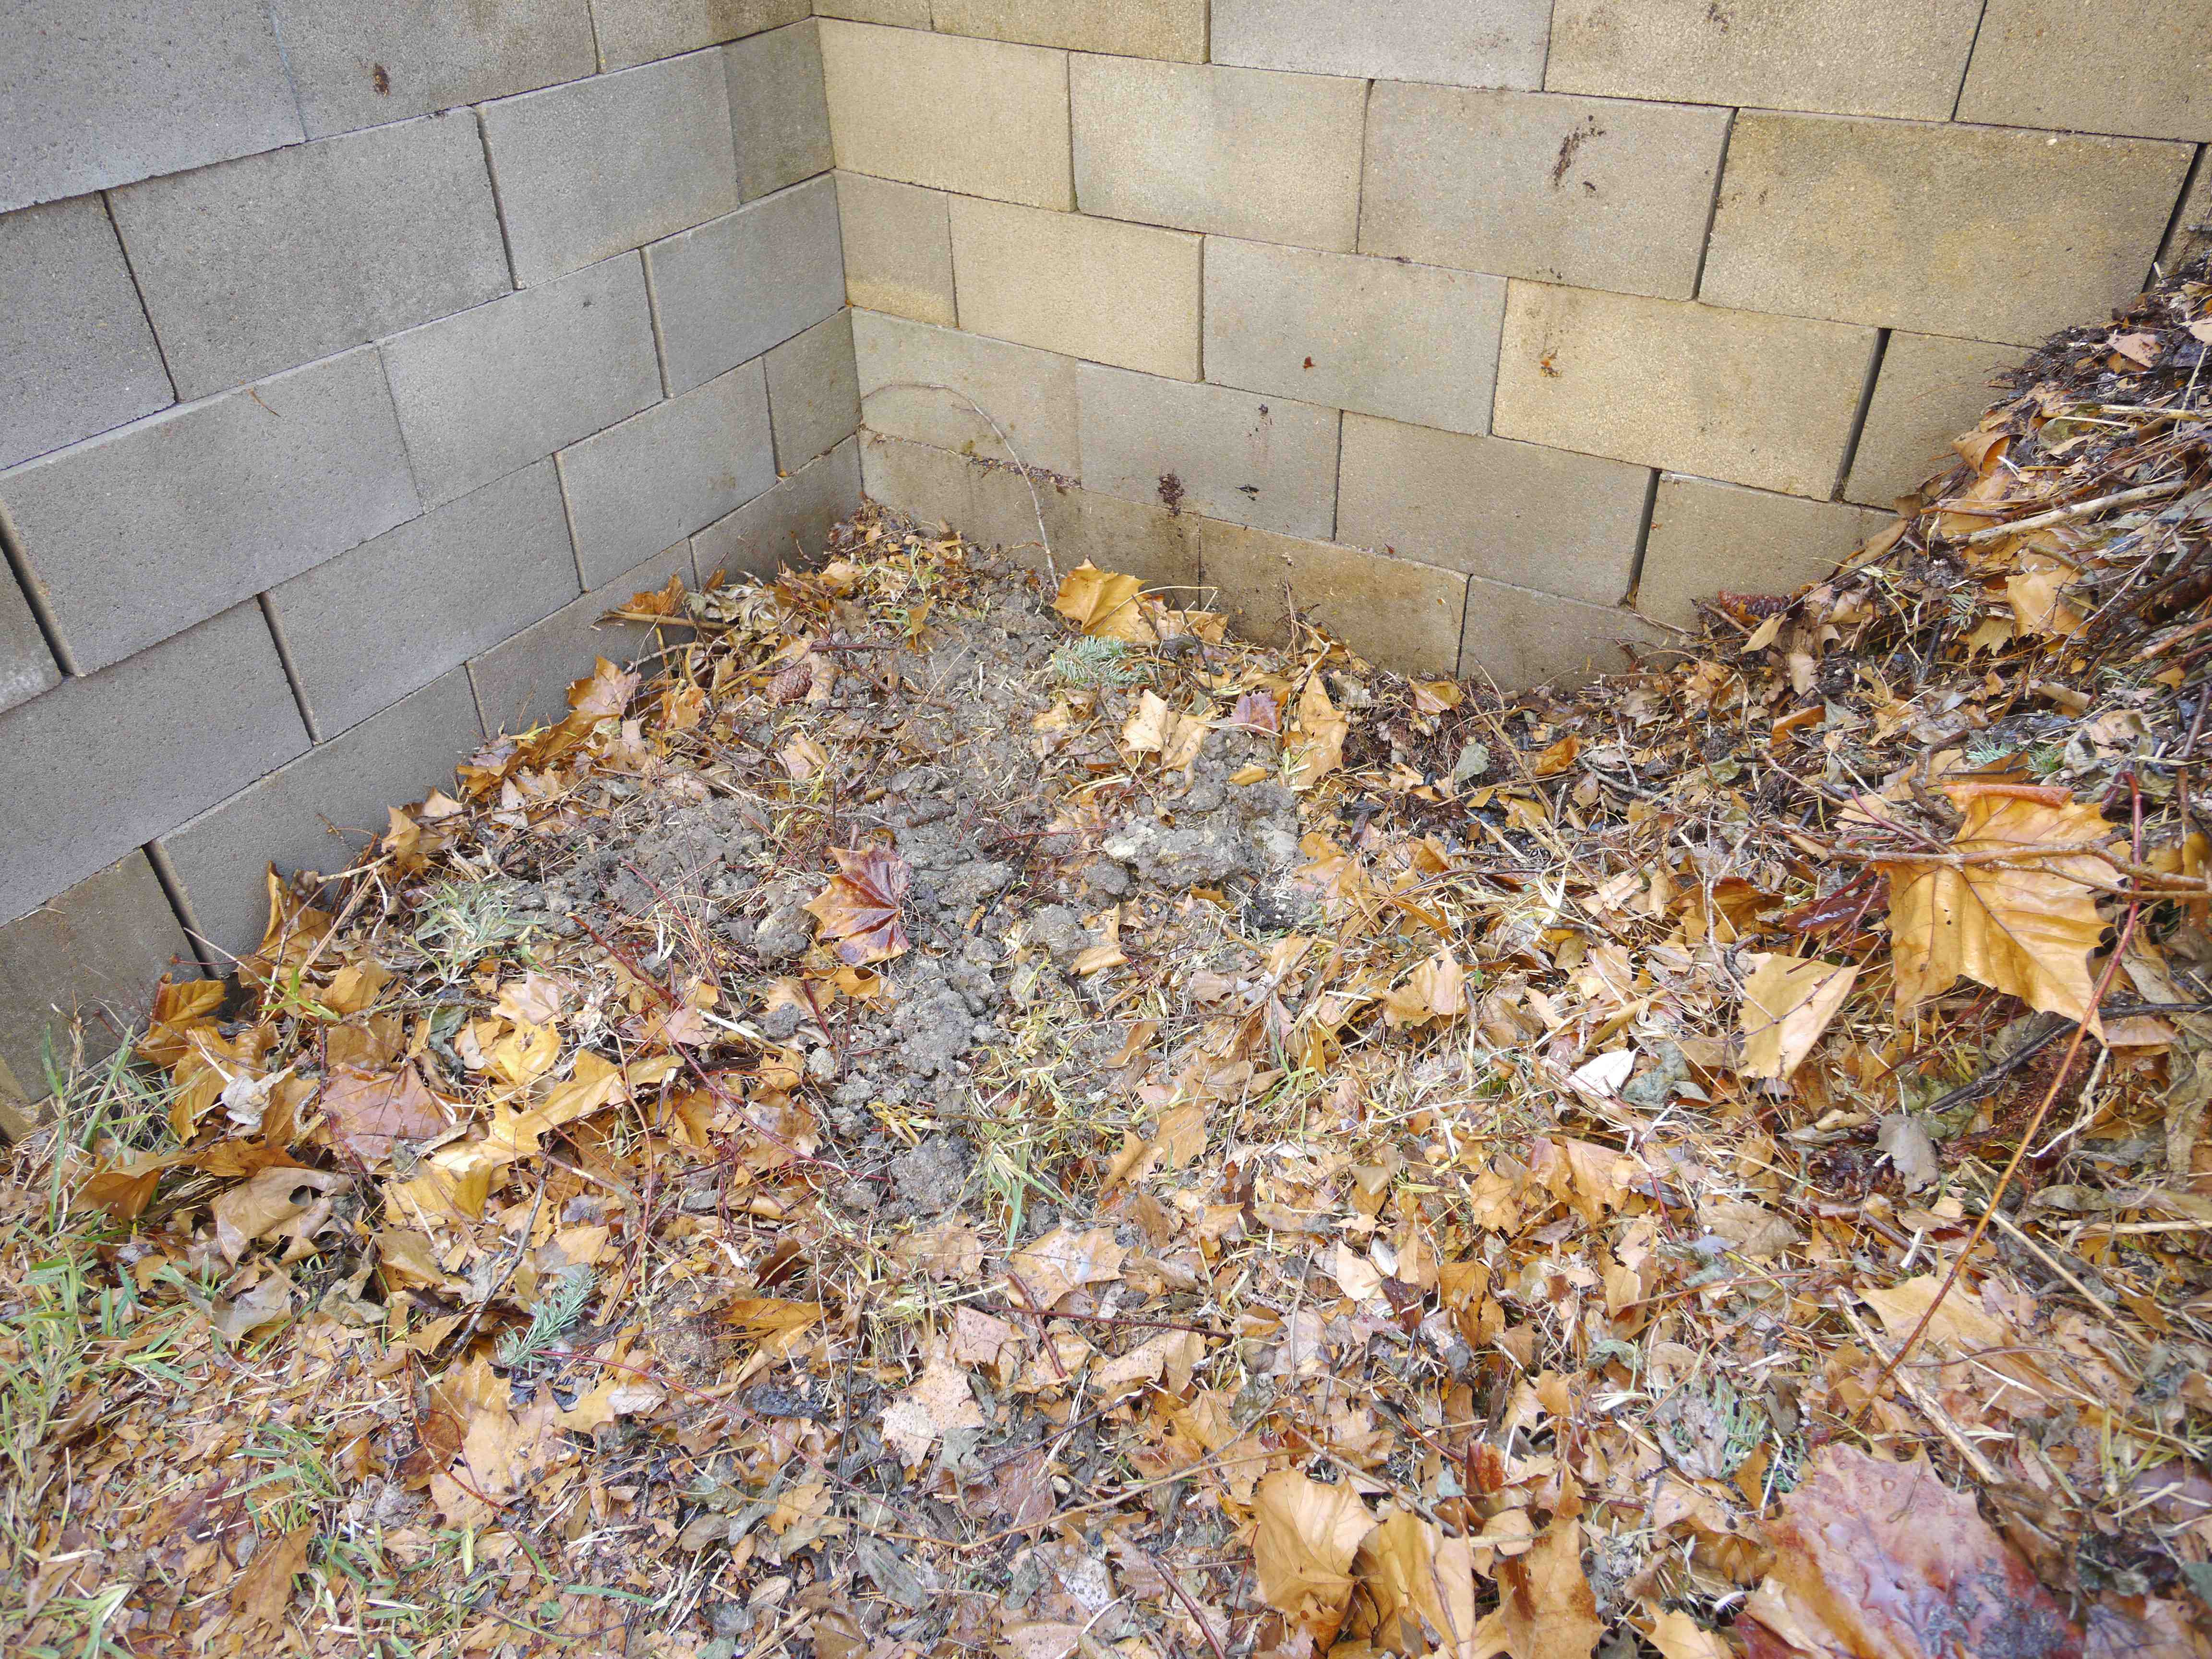
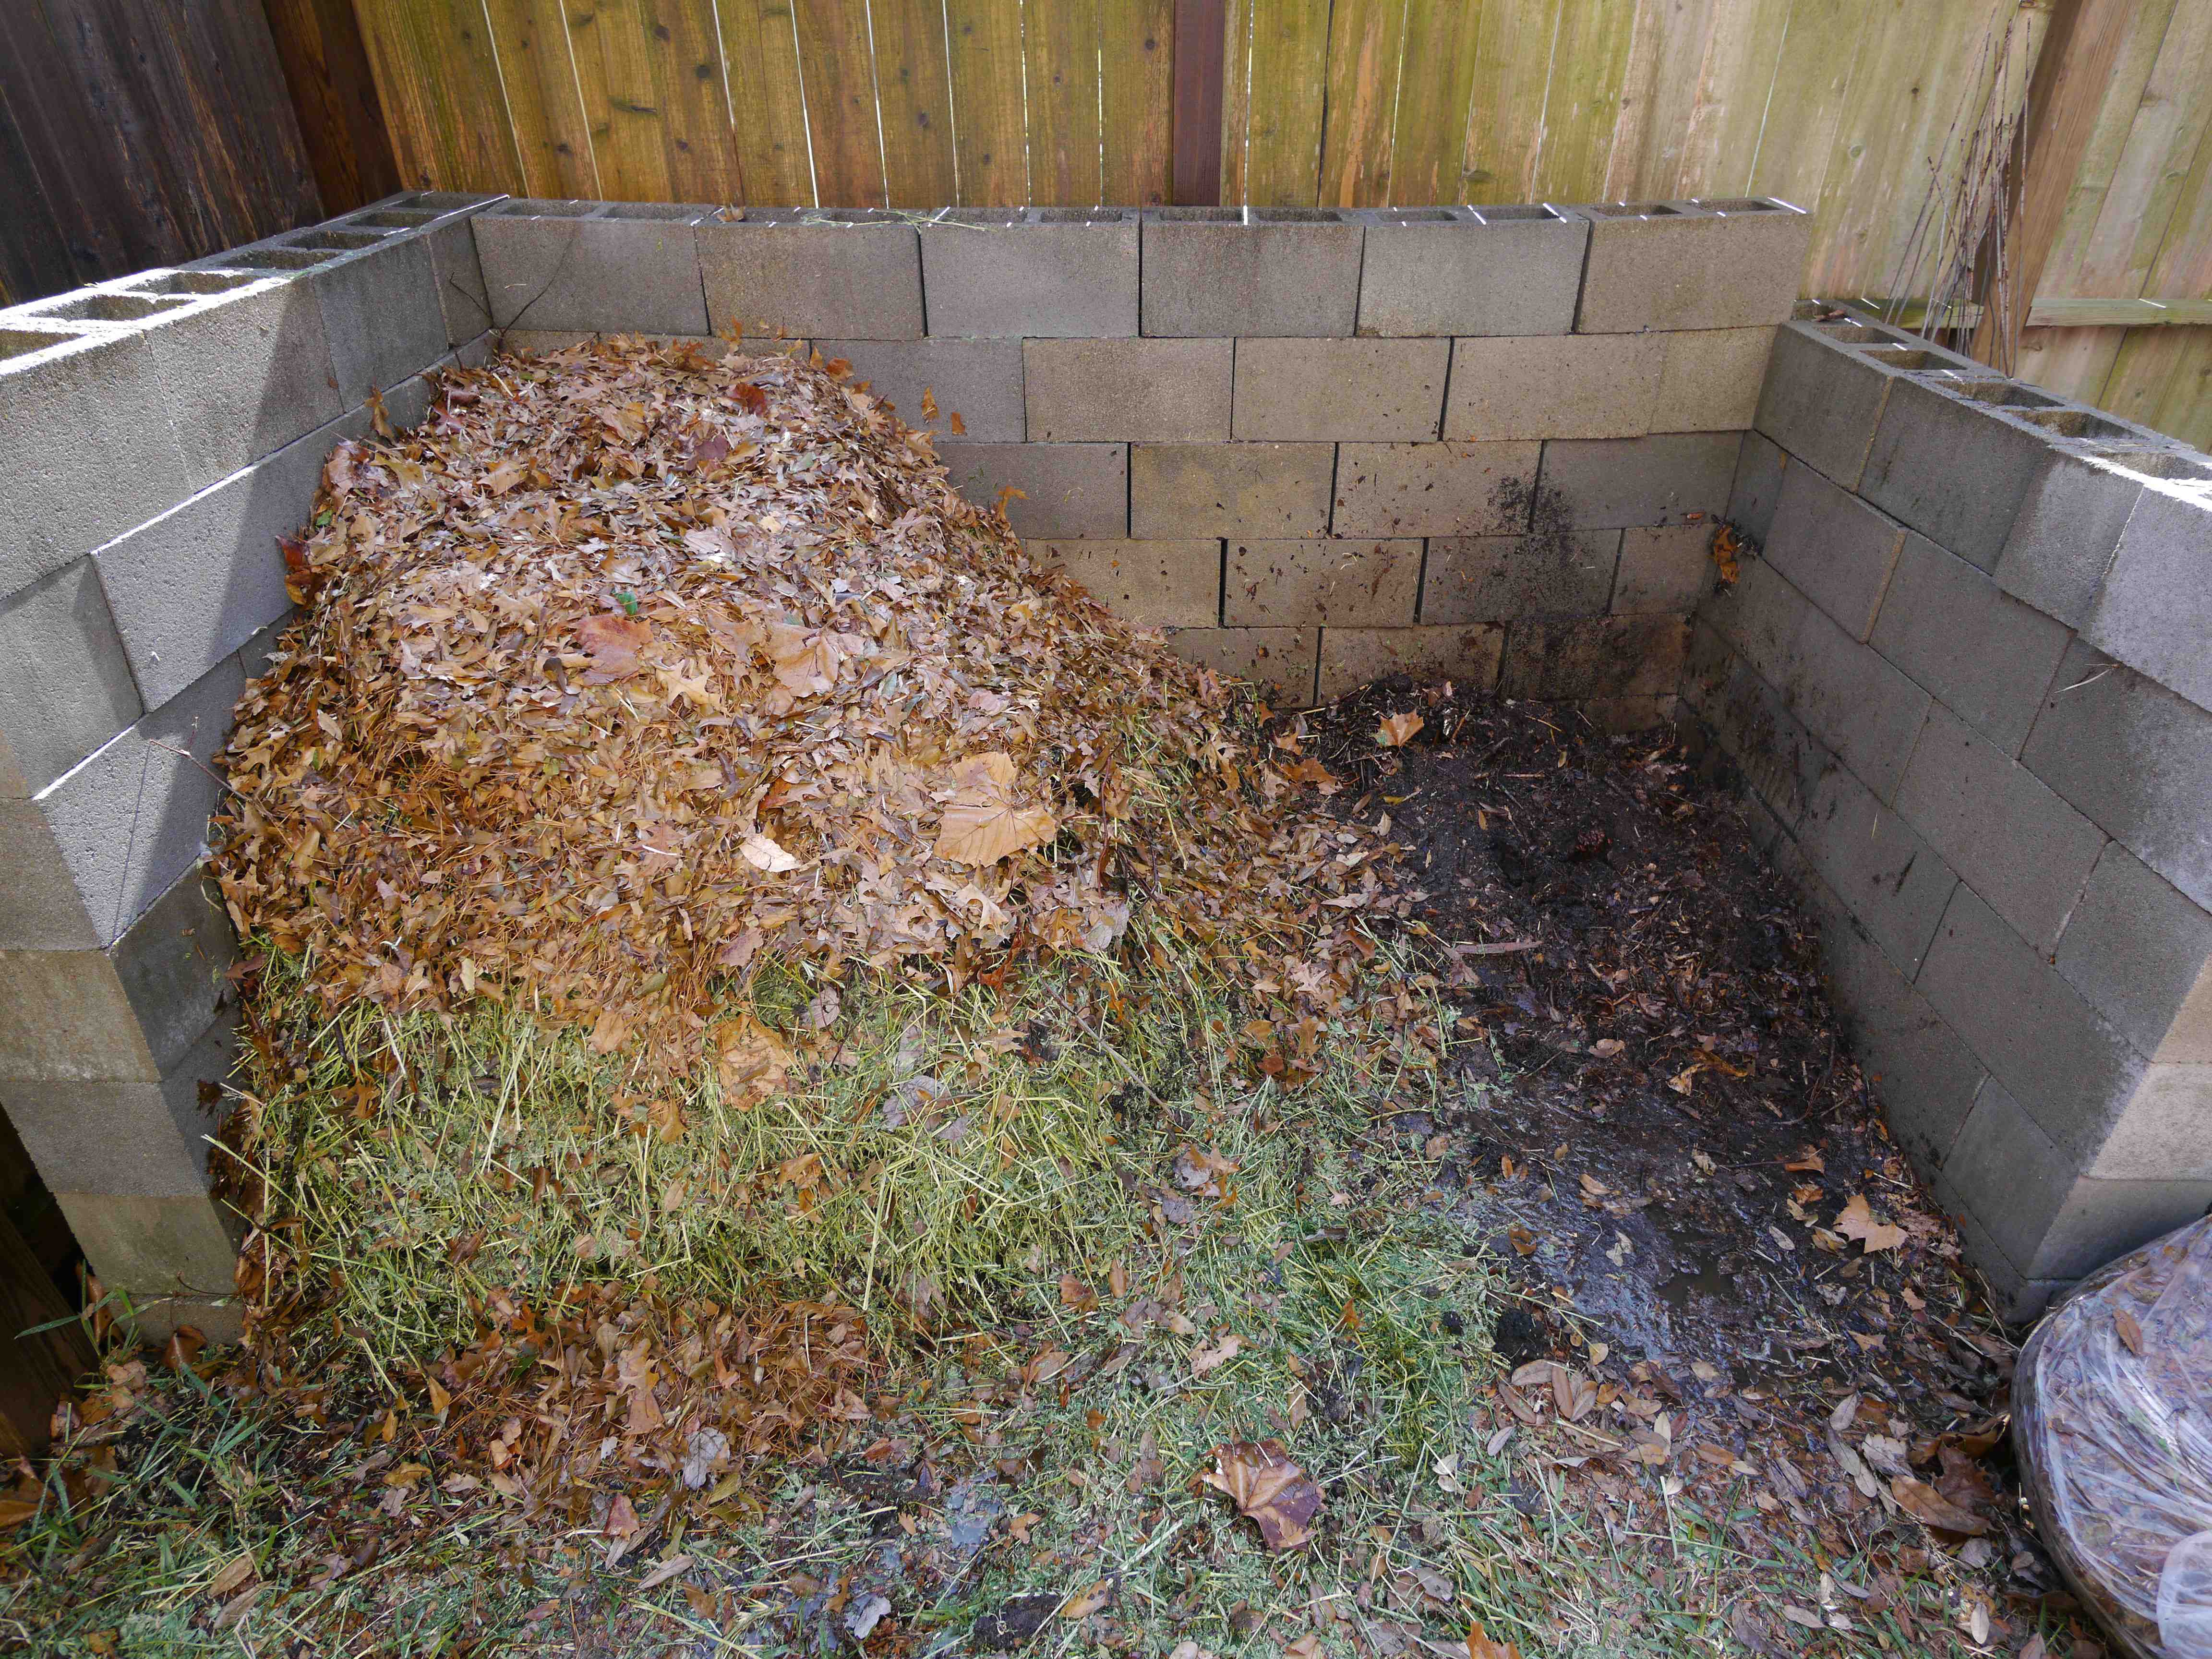
This is the starting point. On the left is some completed compost that we are removing from the bin to spread on the garden beds. On the right is a pile of brown stuff to be layered into our new pile. Note that our bin is wide enough to allow us to conveniently turn the pile from one side to the other.
Start with a layer of coarse brown stuff. Bigger branches and pine cones are good. If you don’t have any coarse material just start with what you have. Shoot for a layer about 4 – 6 inches thick.
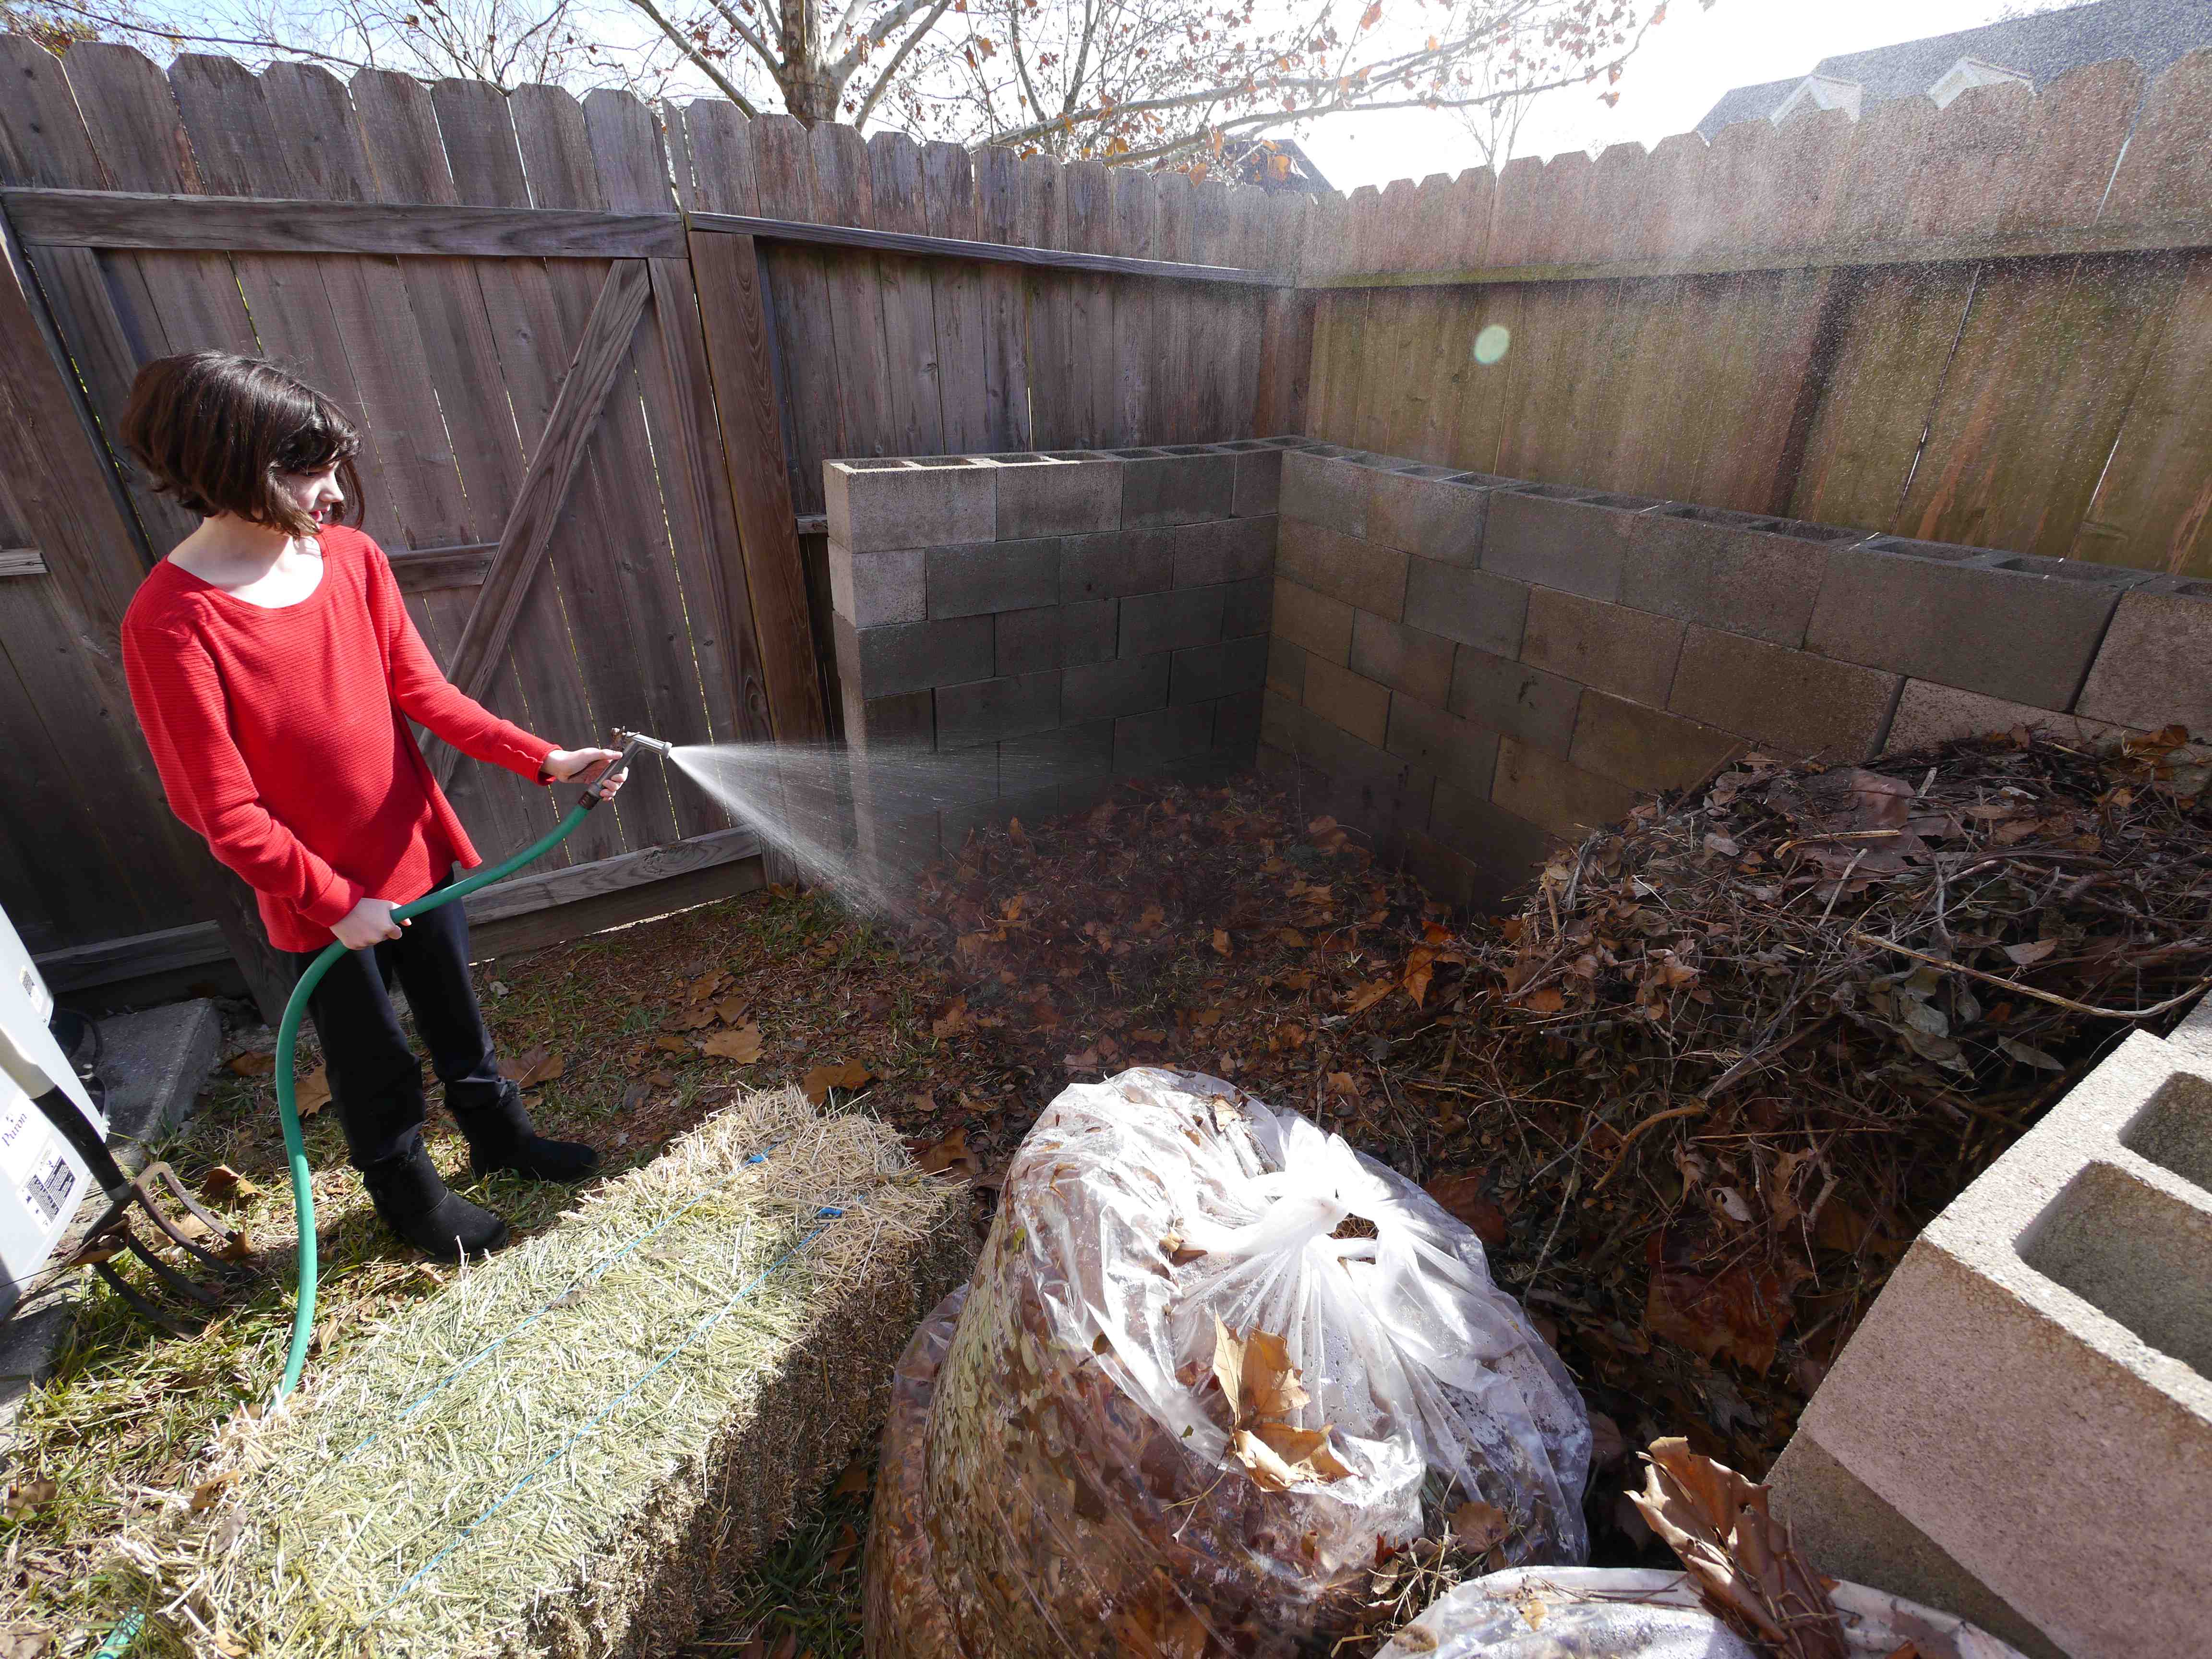
Then wet it down.
Add a few scoops of dirt.
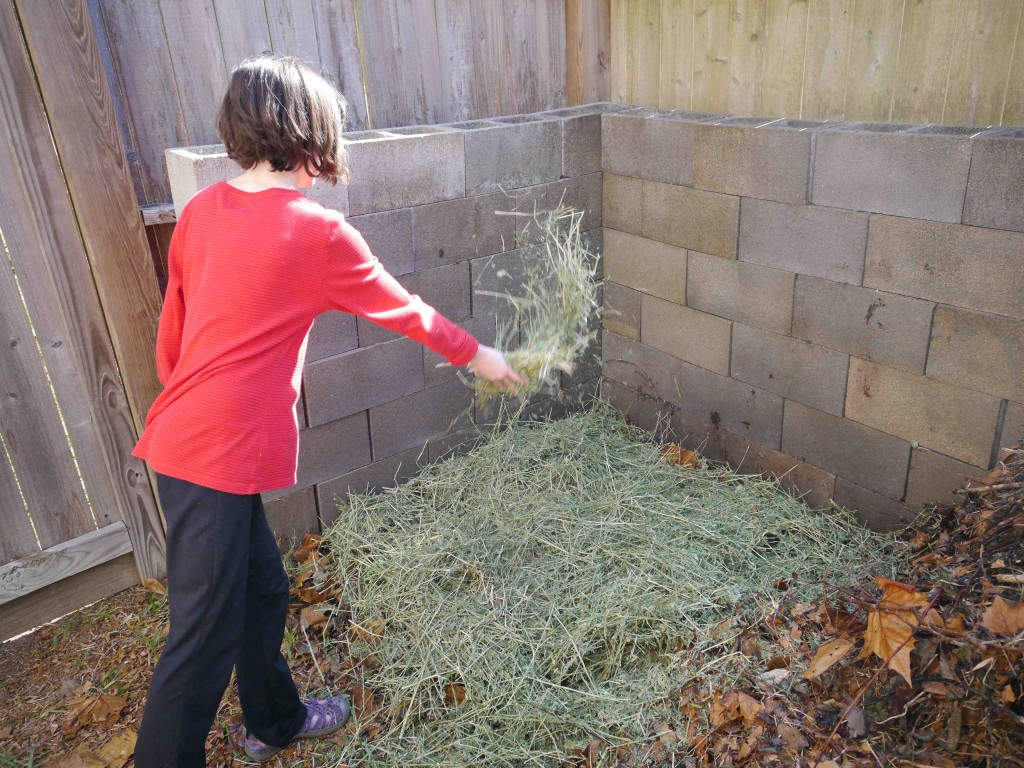
Add a layer of green stuff about 2 – 3 inches thick. We often use alfalfa hay because it seems we never have enough green stuff to decompose all the brown stuff we accumulate. It’s a little expensive at about $15 a bale locally, but considering what you get in return, it’s worth every penny. This stack used 1 bale of alfalfa. If you can grow your own or collect enough green stuff then by all means use that instead.
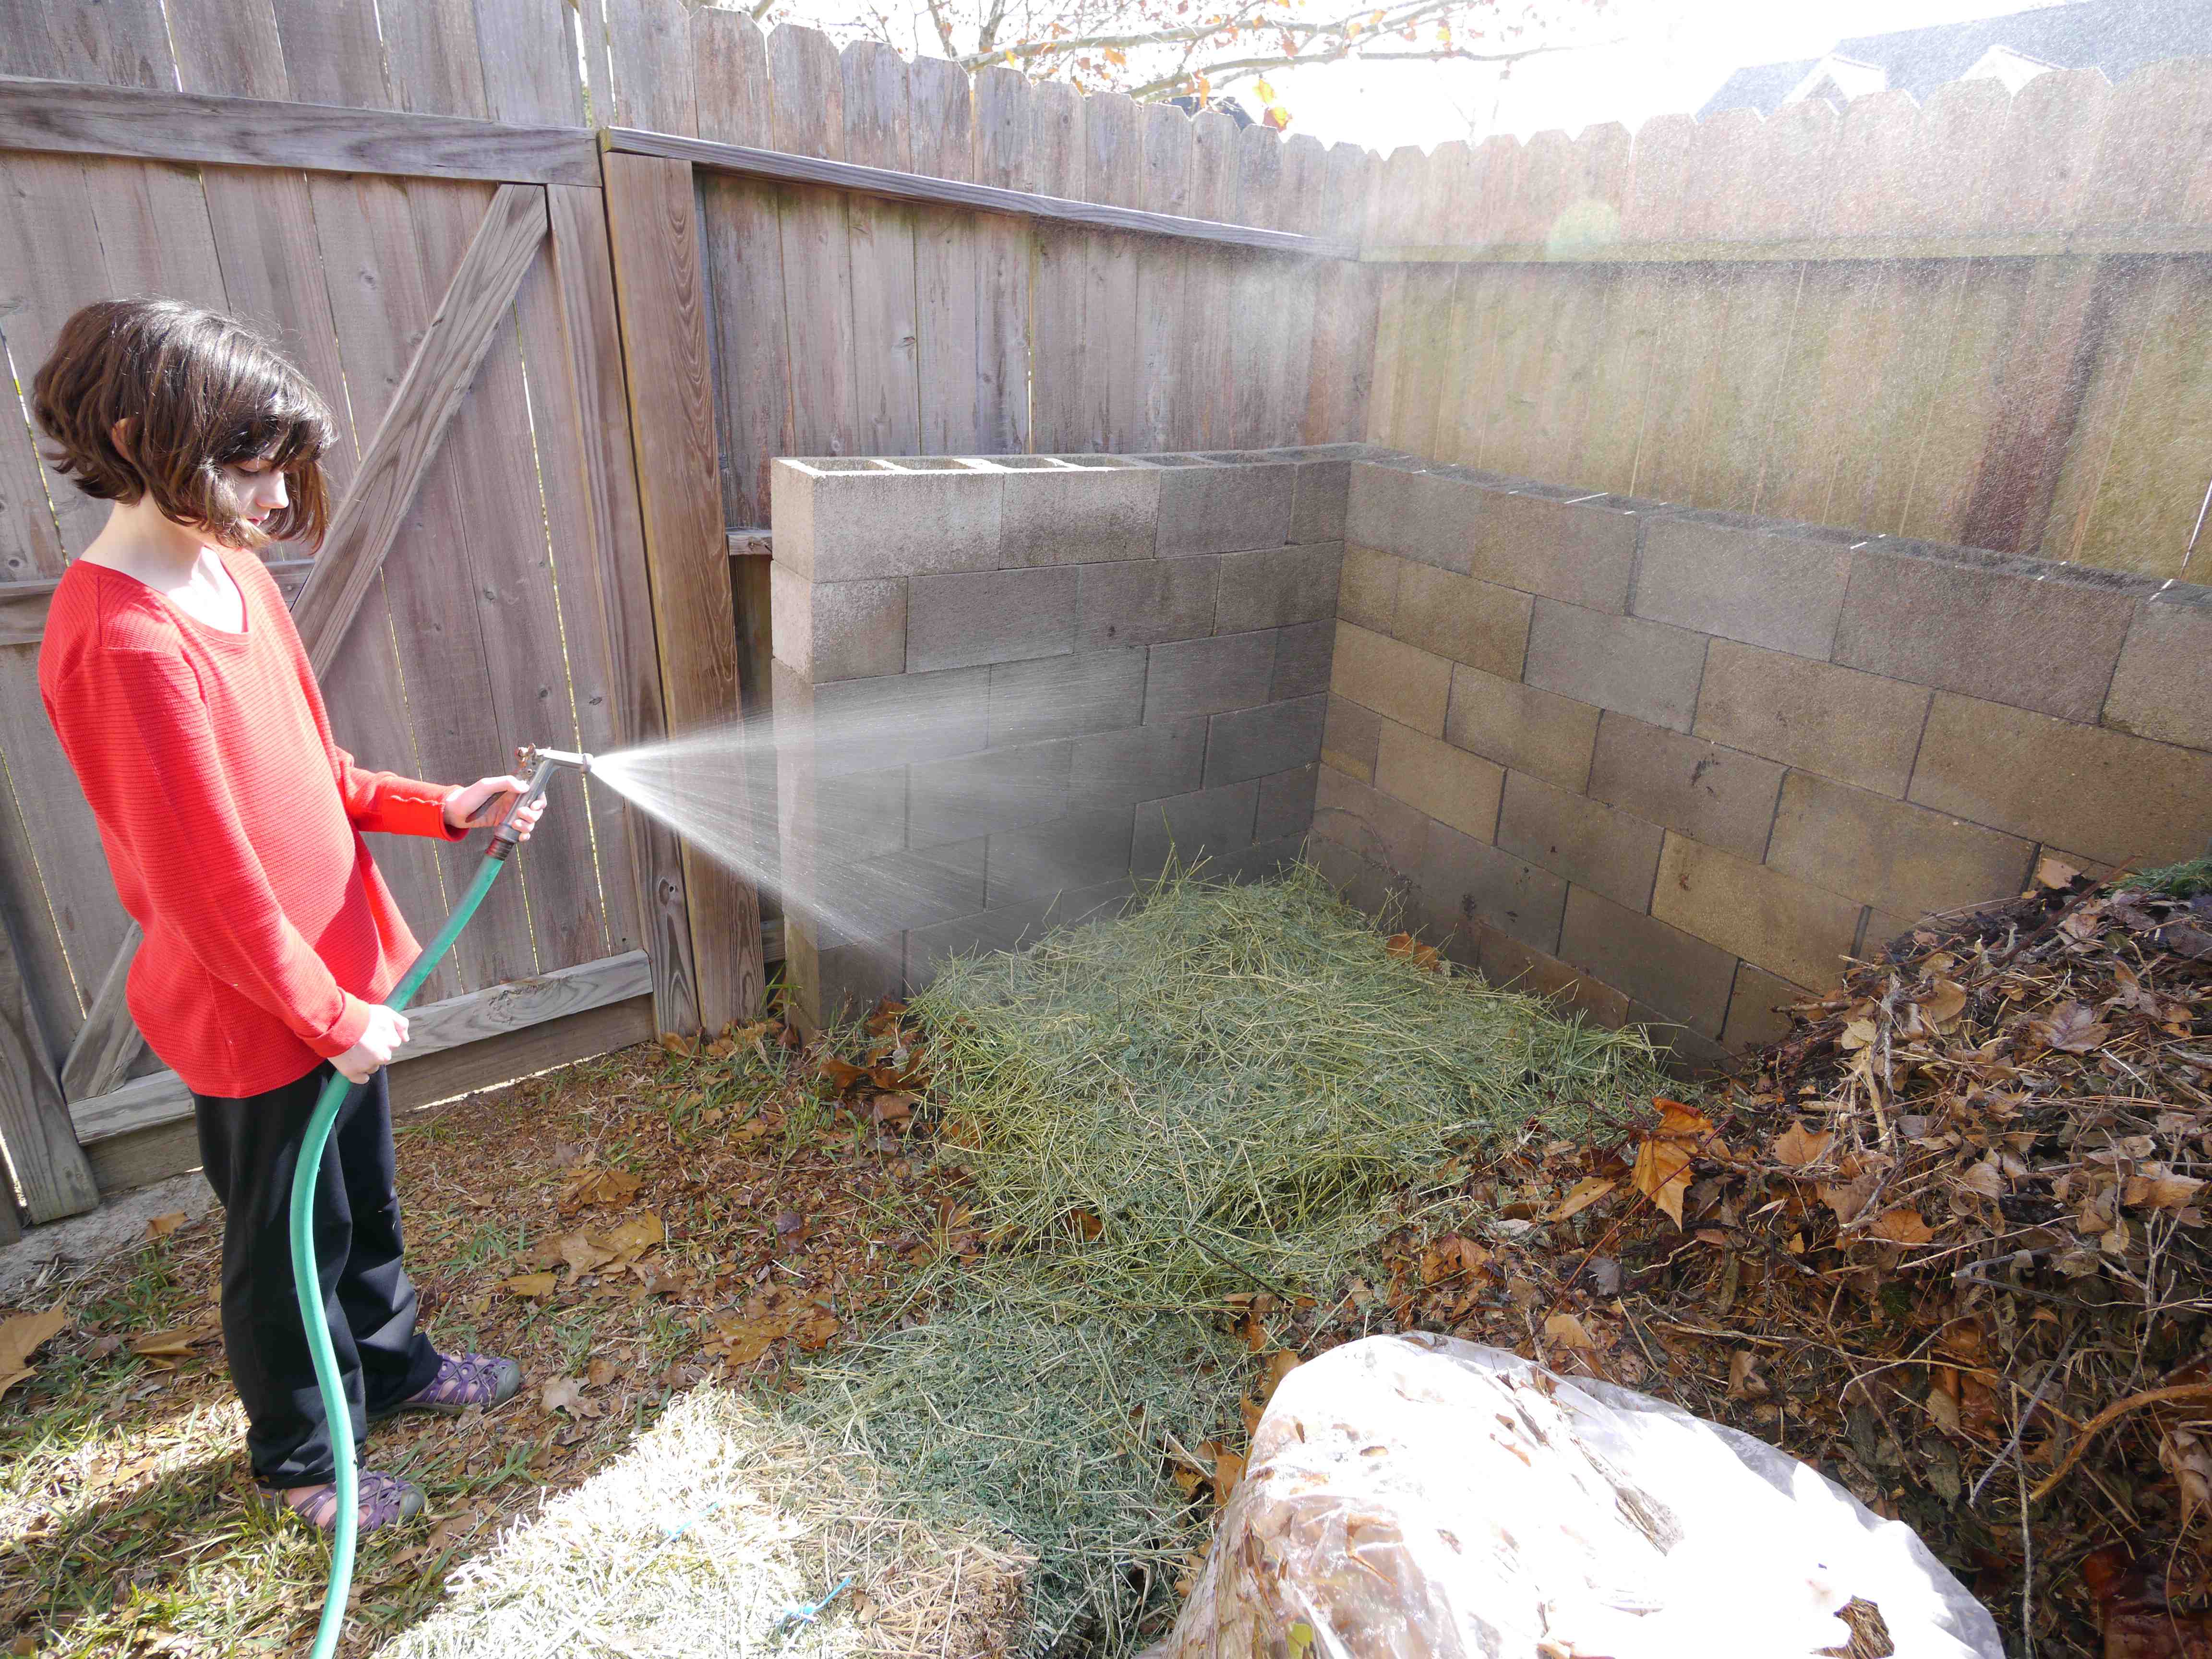
Then wet it down.
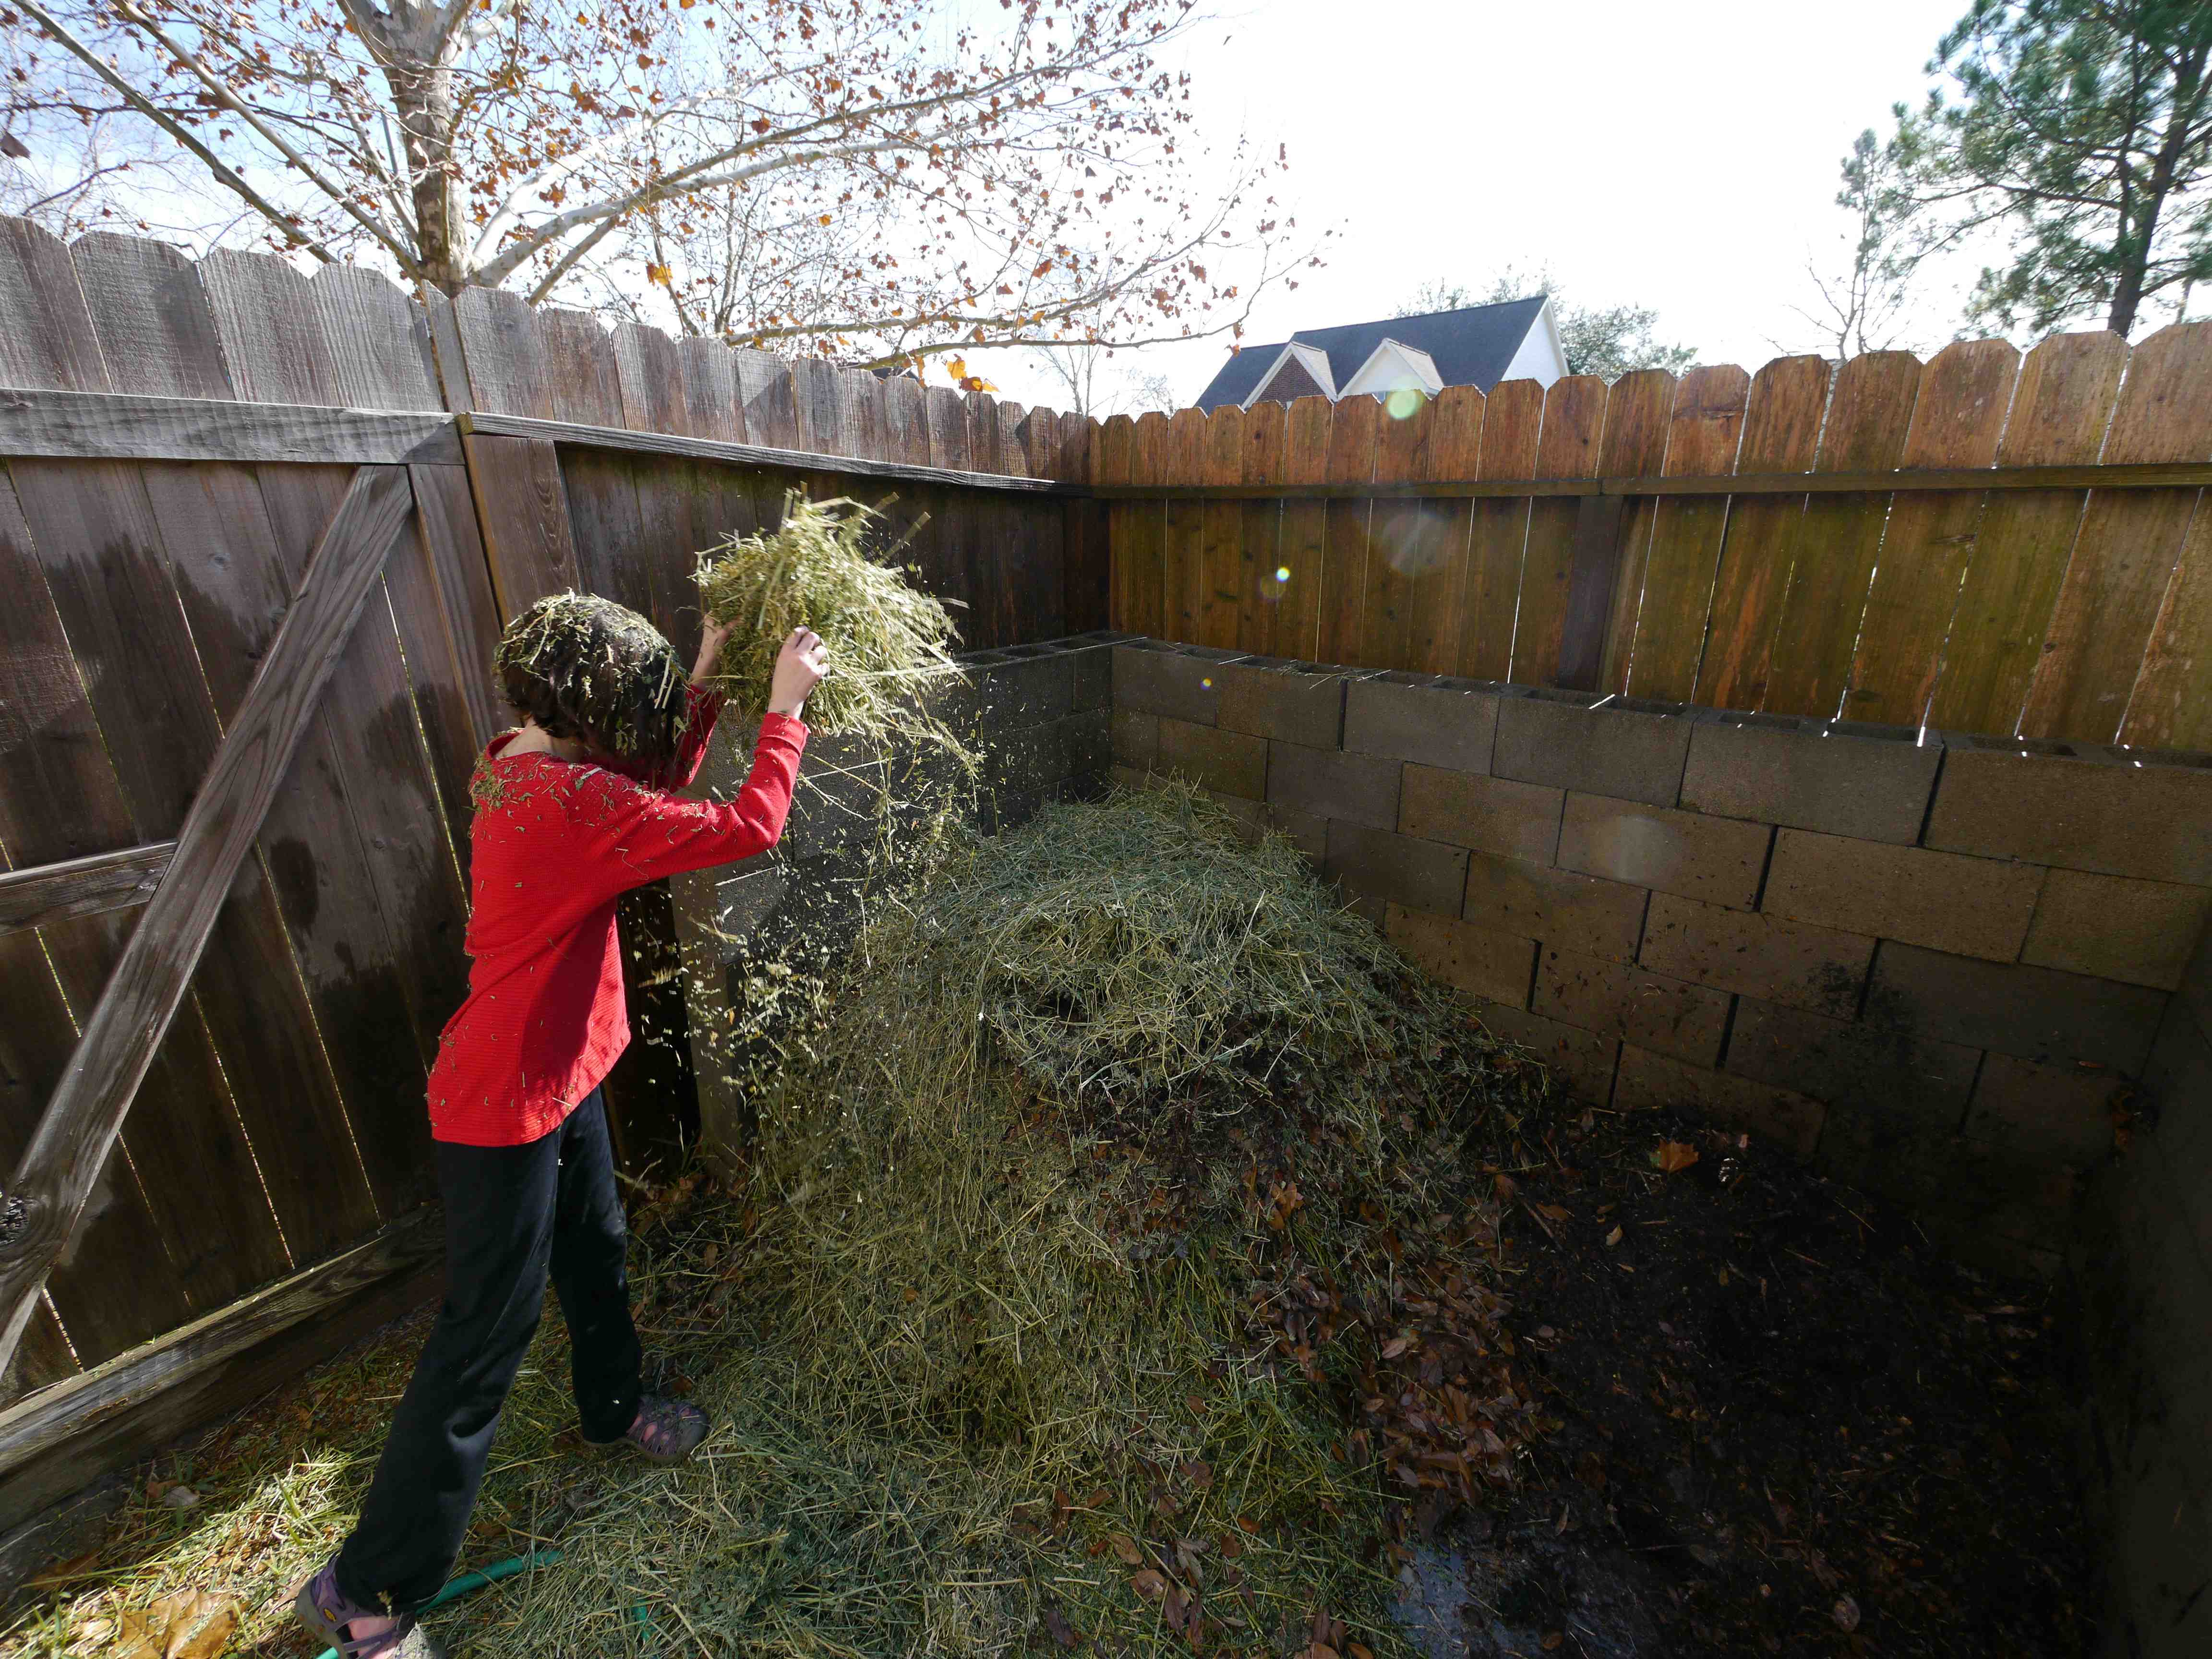
Start over with more brown stuff and repeat the layering and wetting process again and again as described above, until you run out of materials or your stack gets as high as you can manage. We aim for a finished stack about 3 – 4 feet cubed.
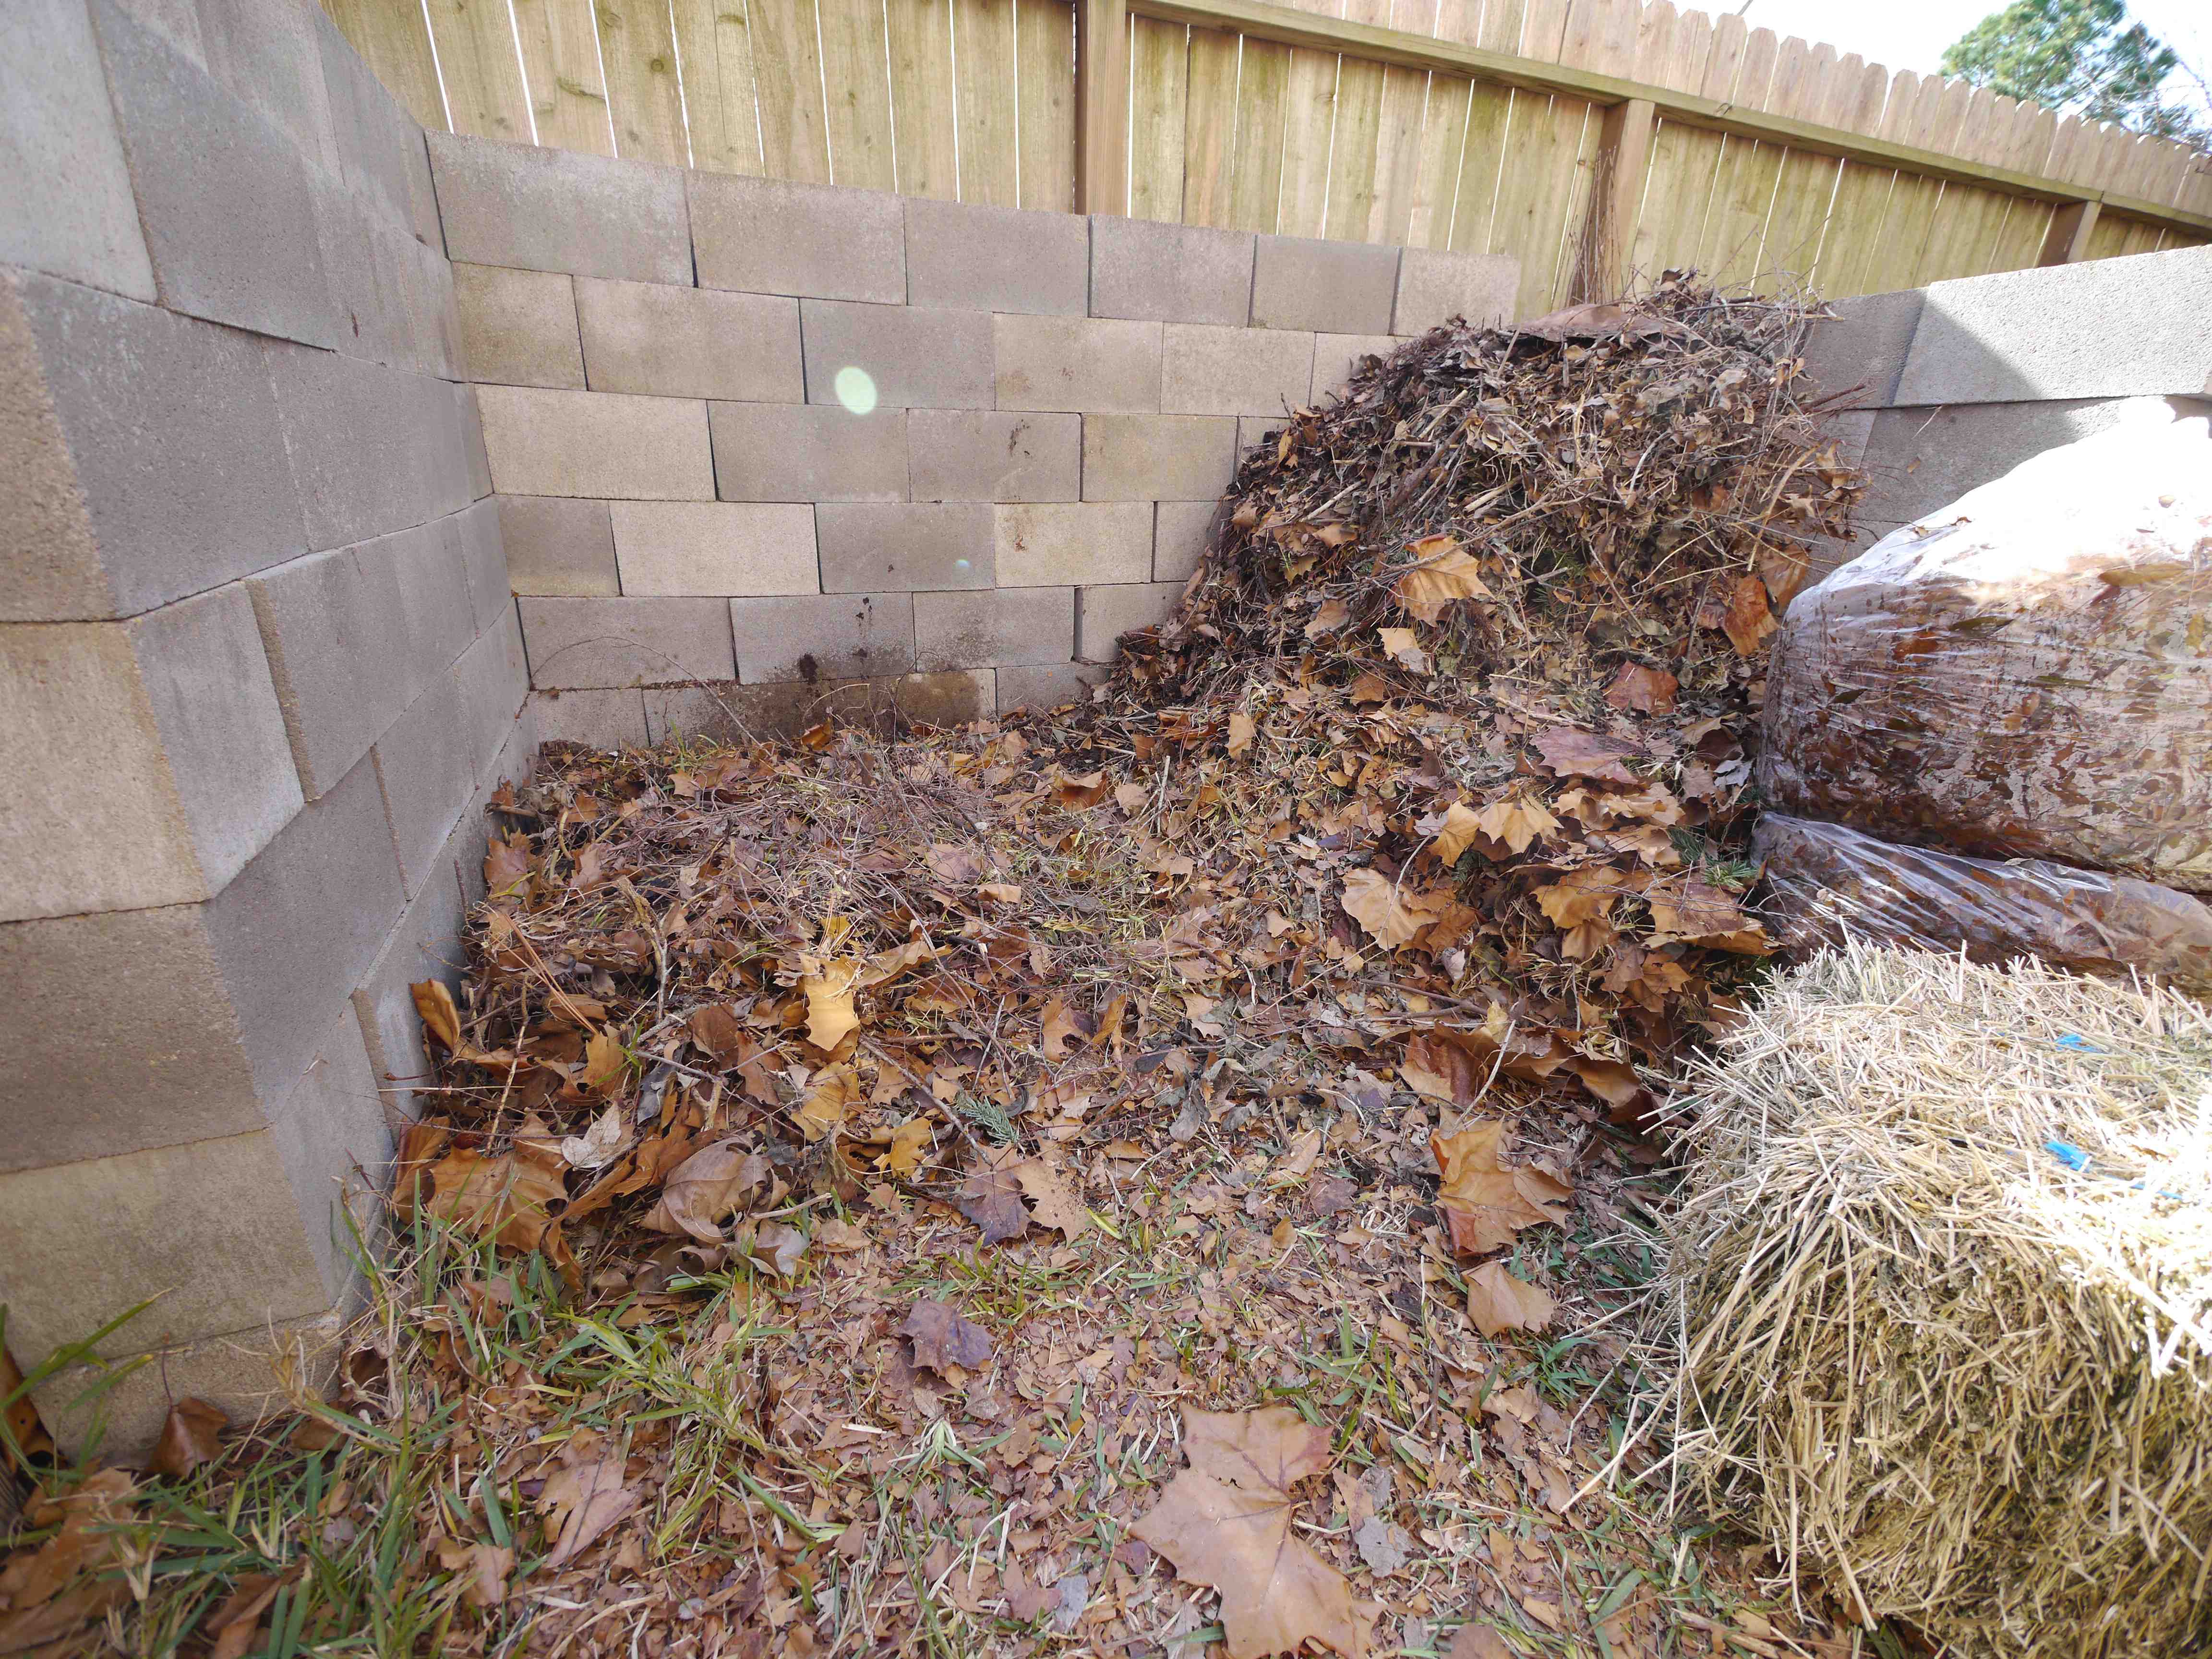
Always finish off with brown stuff. This helps to seal the stack to keep it cooking and shield it from heavy rain that can leach out nutrients or cause the stack to get too wet.
Note the finished compost on the right that is now ready to spread on the garden as needed.
Paydirt
Within a couple days you should be able to feel the heat coming off your new compost pile. Back when we had a working compost thermometer we would sometimes see temperatures approaching 200° F! There will be significant shrinking of the pile also within the first few days. These are good signs that all is working.
Sometimes we’ll turn the pile after a few weeks. Sometimes we don’t touch it for 6 – 12 months. Almost always we keep adding materials to the top throughout the year, but we don’t typically layer them as shown here. Shredded leaves, small branches cut to short lengths, pulled plants and weeds from the garden, all just get cut up small and heaped on. More often than not these materials only partially break down and end up getting scraped off the top and being the brown stuff for the next time we stack the compost pile, which is normally just once or twice a year.
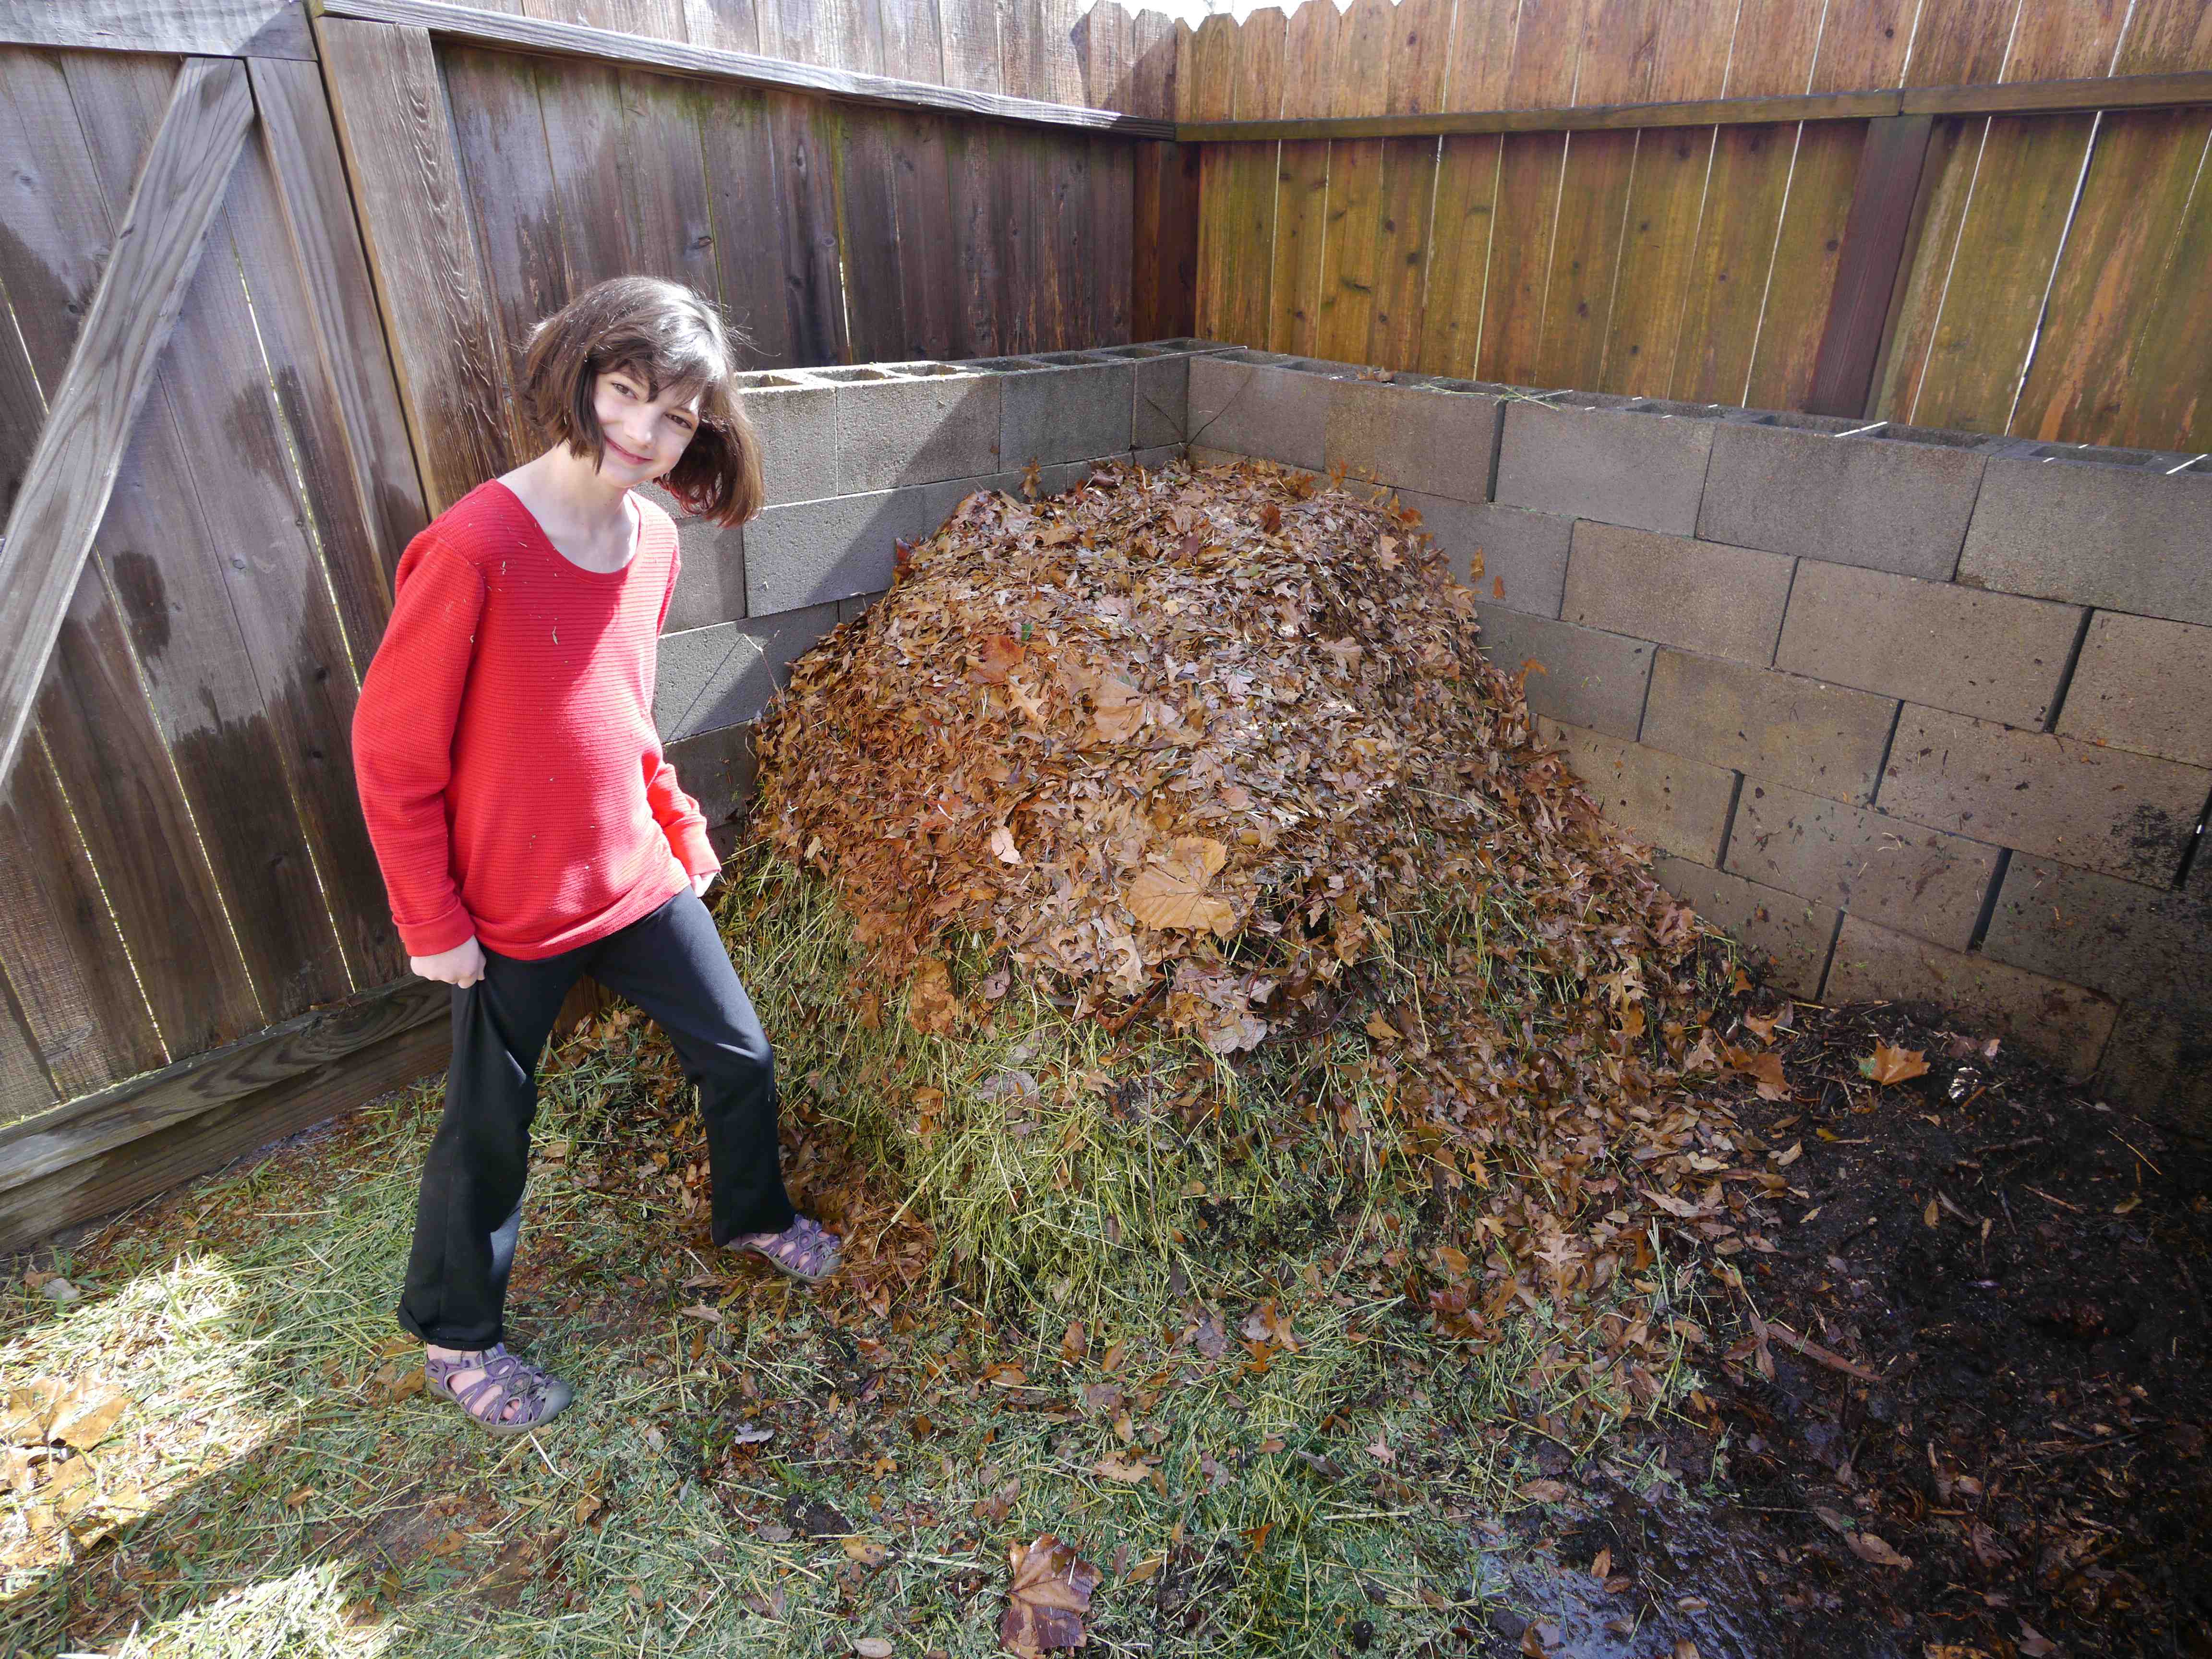
That’s it! It took the Harvest Gardener Girl and I about two hours to complete the project including set-up and clean-up. We burned some serious calories, got to smell alfalfa for a while (a real treat if you grew up on a farm), and enjoyed a pleasant, sunny day outside learning how to make compost to feed our garden soil. Good luck with your composting! It is one of the most important things you can do for your gardening success.